ESP32-C3 AI Voice Board: First Setup and Voice Test
Power the board, connect it to Wi-Fi, activate the voice service if prompted, and make a first voice test.
On this page
Before you turn it onConnect to Wi-FiActivate the voice service, if promptedMake a first voice testTroubleshootingDocumentation and product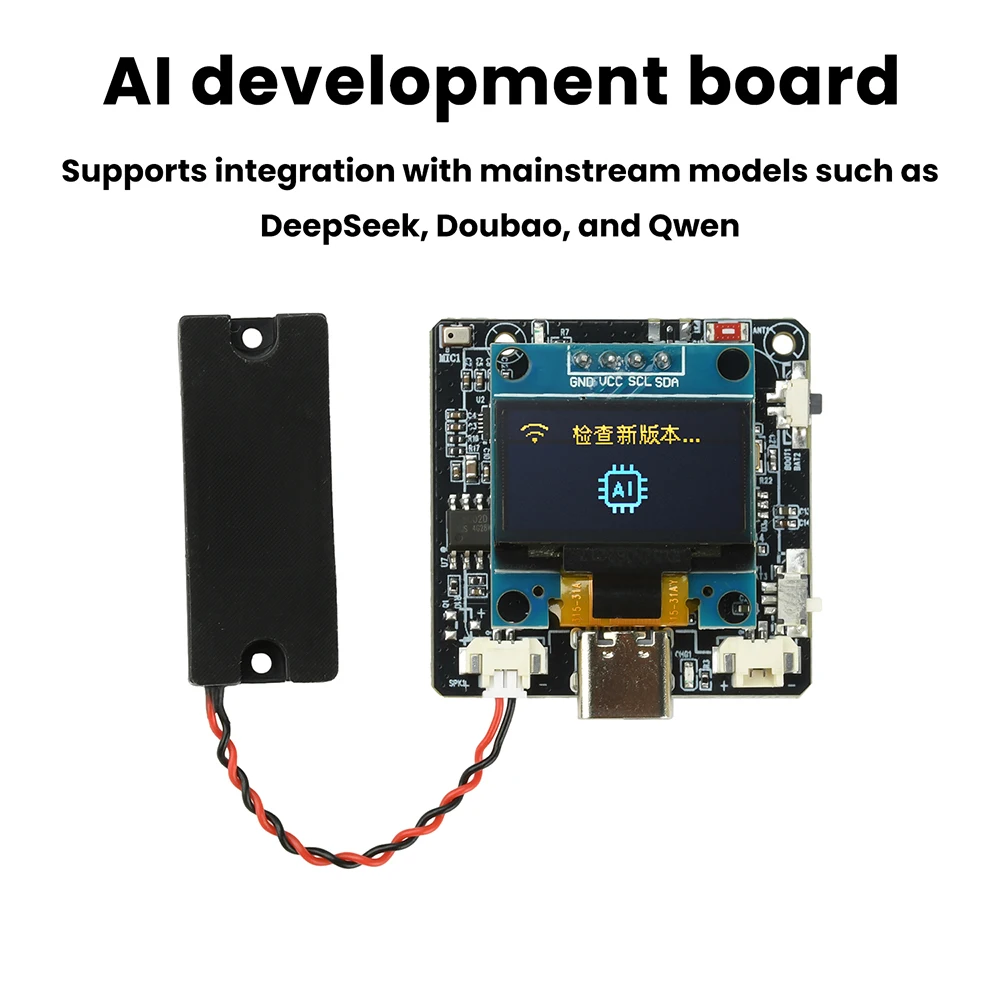
Before you turn it on
This guide is for the DB42038A02 development board. DB42038A01 is the enclosure only. Battery not included. The development board ships without a battery due to shipping restrictions.
Use the board's USB-C port and a known-good USB cable connected to a standard 5 V USB supply for the first check. Leave the battery connector empty. If you plan to add a battery later, ask support to confirm the compatible cell and connector polarity for your board revision before connecting it.
Connect to Wi-Fi
- Power the board and note the OLED message. If the device already joins Wi-Fi, continue to the voice service check.
- When the firmware prompts for setup, follow the method shown on the screen. If it displays a setup hotspot, connect your phone to that network and open the setup address shown by the device. Some Xiaozhi firmware builds use Bluetooth provisioning instead.
- Select an internet-connected 2.4 GHz network and enter its password. Wait for the display to report a connection. A setup hotspot can disappear once the board joins your network.
If setup does not start, record the screen message and check the instructions for your shipped firmware. Setup button sequences and reset procedures depend on the board build.
Activate the voice service, if prompted
Use the service address shown by the firmware or supplied with your board. If it asks you to bind the device, sign in to that service, follow its add-device flow and enter the code shown by the board. If you receive no binding prompt, check whether the screen has reached its ready state.
Available services and models, including any Xiaozhi, DeepSeek, Doubao or Qwen integration, depend on the installed firmware, account and region. Keep the factory firmware for initial setup. Ask support for a matching image and recovery steps before reflashing.
Make a first voice test
- Wait for the device to be online and ready.
- Start listening using the on-screen instructions for your firmware. If it specifies a wake word or talk button, use that control.
- Ask a short question in a quiet room. Check whether the display indicates listening, then whether the device replies through its speaker. Record the last successful step if the test fails.
Troubleshooting
| Symptom | What to check |
|---|---|
| OLED stays blank or the board repeatedly restarts | Try a known-good USB cable and a stable 5 V USB supply. Record any startup indicators and contact support if it persists. |
| Cannot finish Wi-Fi setup | Verify the password and 2.4 GHz network. Try a simple network without a browser sign-in page. Use the provisioning method shown by the device. |
| Online, but still asking for activation | Check that you used the correct service account and the current device code. Note the exact prompt if binding fails. |
| Listens but never answers | Check internet connectivity and whether the voice service is available to your account. If the OLED shows a reply but there is no sound, check volume and the speaker connection with the board powered off. |
When contacting support, include the SKU, board revision if marked, the exact OLED message and the step where setup stopped. Keep Wi-Fi passwords and activation codes out of screenshots.
Documentation and product
The steps describe supported setup paths in the upstream project. The factory firmware version, button sequence and account flow for this batch have not been bench verified.
Share the product link, hardware revision, software version and any error messages.
Contact ESP32S support →