720p USB-C Camera: First Preview and ESP32-S3 UVC Setup
Check the camera on a computer, configure the ESP32-S3 USB host, and troubleshoot the first video stream.
On this page
Start with a computer previewCheck the ESP32-S3 USB host connectionCapture a first frameTroubleshootingDocumentation and product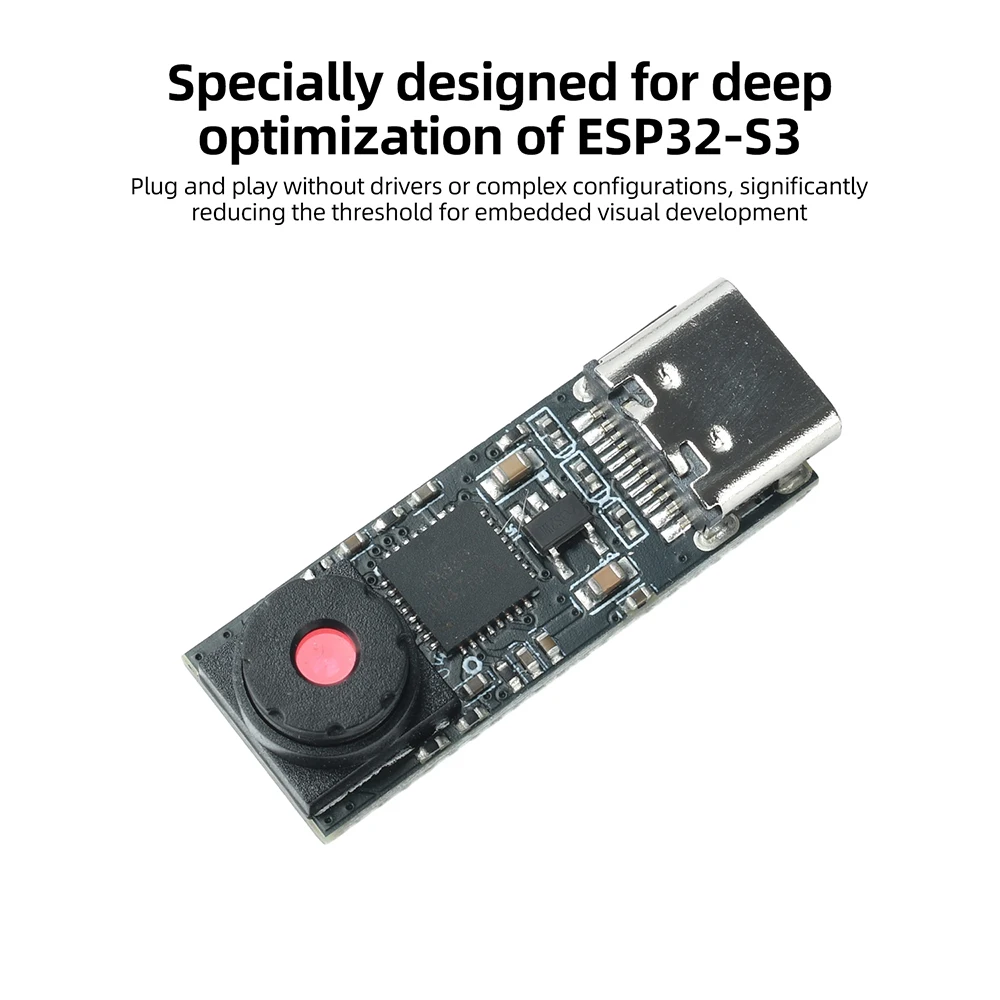
Start with a computer preview
This guide covers the CM41976 mini USB-C camera, sold as a module or a module with a cable. Use a known-good USB data cable, connect directly to a computer, and aim the camera at a well-lit nearby target.
- In Windows, open the Camera app and switch to the external camera if the computer has a built-in webcam. If the preview is blocked, check camera permissions and close other applications using the camera.
- On Linux, list the camera devices and modes with
v4l2-ctl. Select the device for the external camera and preview it in a camera application.
v4l2-ctl --list-devices
v4l2-ctl --device /dev/videoX --list-formats-ext
Replace /dev/videoX with the capture device for the module. Save the list of advertised formats, resolutions and frame intervals. A working preview establishes a baseline for the module and cable on that host.
Check the ESP32-S3 USB host connection
- Use a board that exposes the ESP32-S3 native USB OTG port in host mode. Check the board documentation for the host port and its VBUS supply. On boards with both a native USB port and a USB-to-UART port, use the native host-capable port for the camera.
- Use the board's supported host cable or adapter and power the camera through the host connection as documented for that board. Connect the serial monitor through a separate UART interface if your board supports it.
- For Espressif's
usb_streampath, check that the camera enumerates at USB full speed and offers an MJPEG mode the host can stream.
Capture a first frame
- Build the USB UVC host example that matches your ESP-IDF release and target
esp32s3. Follow the example README for board and host-port settings. - Attach the camera and check the serial log for enumeration and UVC interface detection.
- Start with a low-resolution, low-frame-rate MJPEG mode that the camera advertises and the example accepts. Check that frames arrive repeatedly. Increase resolution or frame rate one setting at a time.
The listing specifies up to 1280 × 720. Record the resolution, format and frame rate demonstrated on your ESP32-S3 setup. This module's usable ESP32-S3 modes have not been bench verified.
Troubleshooting
| Symptom | What to check |
|---|---|
| Computer does not detect the camera | Try another known-good data cable and direct USB port. Check the operating system's camera device list. |
| Computer works, ESP32-S3 does not enumerate | Check the native host port, host-mode example, VBUS supply and cable. Compare the result with a known-good USB device using the same host setup. |
| ESP32-S3 enumerates but reports no frames | Check the UVC descriptors and select a listed MJPEG mode with the correct frame interval. Where possible, check the descriptors at full speed as they may differ from the computer's high-speed connection. |
| Frames arrive but stall or drop | Reduce resolution or frame rate and retest. Record the actual delivered mode and inspect power and transfer errors in the log. |
For support, include the ESP32-S3 board model, ESP-IDF version, camera mode list and the host log from connection through the first error.
Documentation and product
Share the product link, hardware revision, software version and any error messages.
Contact ESP32S support →