DOIT ESPS3 Modules: Flash, PSRAM, Antenna and Upload Setup
Setup, programming checks, troubleshooting and documentation for DOIT ESPS3 Modules.
On this page
Choose the correct modulePrepare power and programming connectionsEnter download modeBuild and upload the first programTest wireless operation nextIf the first upload failsModule manualsRelated productsOfficial references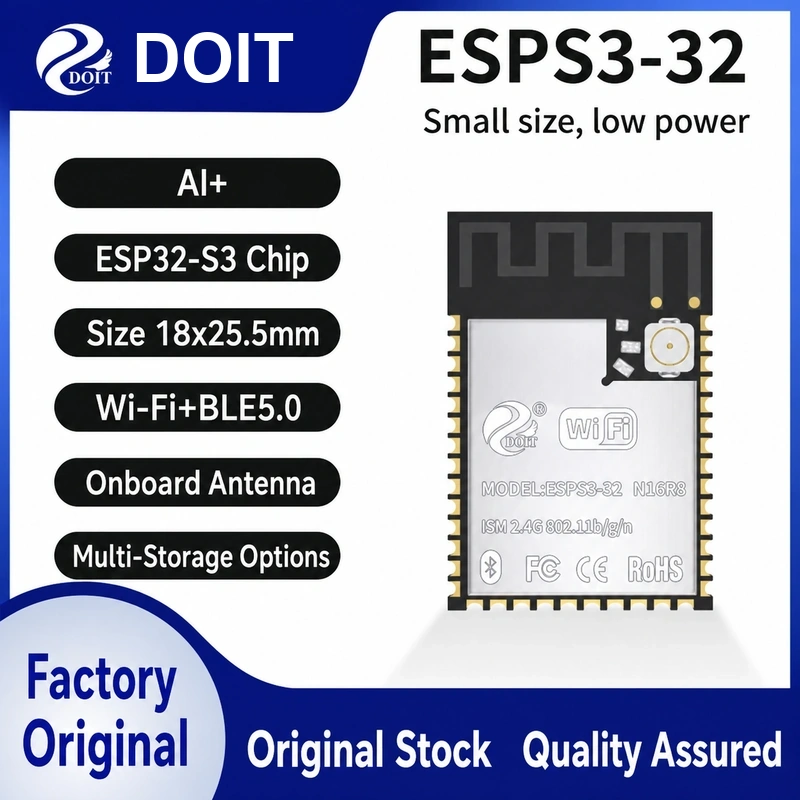
Read the complete ESPS3 memory suffix. ESPS3-32, 32E and the advertised 32-N16R8 2-in-1-antenna version must not share an assumed antenna or memory configuration.
Choose the correct module
Record flash capacity, PSRAM capacity and bus mode from the exact ordered part. If PSRAM mode is unconfirmed, leave it disabled for a basic serial test. Enable it only with the documented settings. Never reuse flash/PSRAM pins as ordinary GPIO.
Prepare power and programming connections
| Connection | Before power-on |
|---|---|
| Module supply | Regulated 3.3 V to the supply pad; common ground. Follow the exact minimum-system diagram and decoupling requirements. |
| UART TX / RX | 3.3 V TTL adapter TX to module RX, adapter RX to module TX. Match pad numbers from the exact module drawing. |
| Enable / reset / boot | Use the target-specific instructions below. A GPIO number is not a module pad number. |
| Antenna | Fit the specified external antenna where required; keep a PCB antenna clear of surrounding copper and metal. |
Do not feed USB 5 V into a bare module supply pad. A carrier may accept USB power through its regulator; this does not change the module I/O voltage.
Enter download mode
Hold GPIO0 low while resetting the chip, then release it after download mode is entered. GPIO46 must be low or floating for serial download. Use BOOT and RESET/EN buttons only after confirming their functions. Restore the normal boot state and reset after flashing.
Build and upload the first program
- Install and activate ESP-IDF using the official esp32s3 guide below, choosing a release supporting your chip revision.
- Copy examples/get-started/hello_world from that installed release to a writable folder and open the ESP-IDF terminal there.
- Run the commands below. Replace COM3 with the observed port; on Linux/macOS use the appropriate device path.
- Check that serial output identifies the expected chip and reaches the example output. Exit the monitor with Ctrl+].
idf.py set-target esp32s3
idf.py menuconfig
idf.py build
idf.py -p COM3 flash monitor
Match flash size in menuconfig to the selected part. Let the build system supply flash offsets instead of copying them from another chip. This workflow has been checked against documentation, not bench-tested on the supplied modules.
Test wireless operation next
Make a separate copy of examples/wifi/scan from the same ESP-IDF release. Set the same target, build and flash it, then check for a nearby compatible access point. Keep this first test independent of displays and sensors.
If the first upload fails
- No port: identify the USB bridge, use a data cable and the matching driver. A bare module has no USB bridge unless its carrier provides one.
- Connecting timeout: check ground, crossed UART wires, enable/reset and boot straps; disconnect peripherals from strapping pins.
- Repeated resets: inspect the 3.3 V rail during startup and radio activity. An adapter output may not supply the required peak current.
- Upload succeeds but the application fails: release the download strap, reset and check target, memory configuration and the serial log.
Module manuals
Related products
Official references
Documentation reviewed: 17 November 2026. Hardware instructions are based on the linked manufacturer documents; no physical bench test is claimed.
Share the product link, hardware revision, software version and any error messages.
Contact ESP32S support →