Biped Robot Duck Quick Start: Unboxing, Charging & First Test
Unpack your Biped Robot Duck, identify the controller, check the supplied charger and prepare for a first motion test.
On this page
Check the box and identify your controllerCharge and prepare the robotRun your first motion testWatch the robot in actionIf the robot does not startProduct and support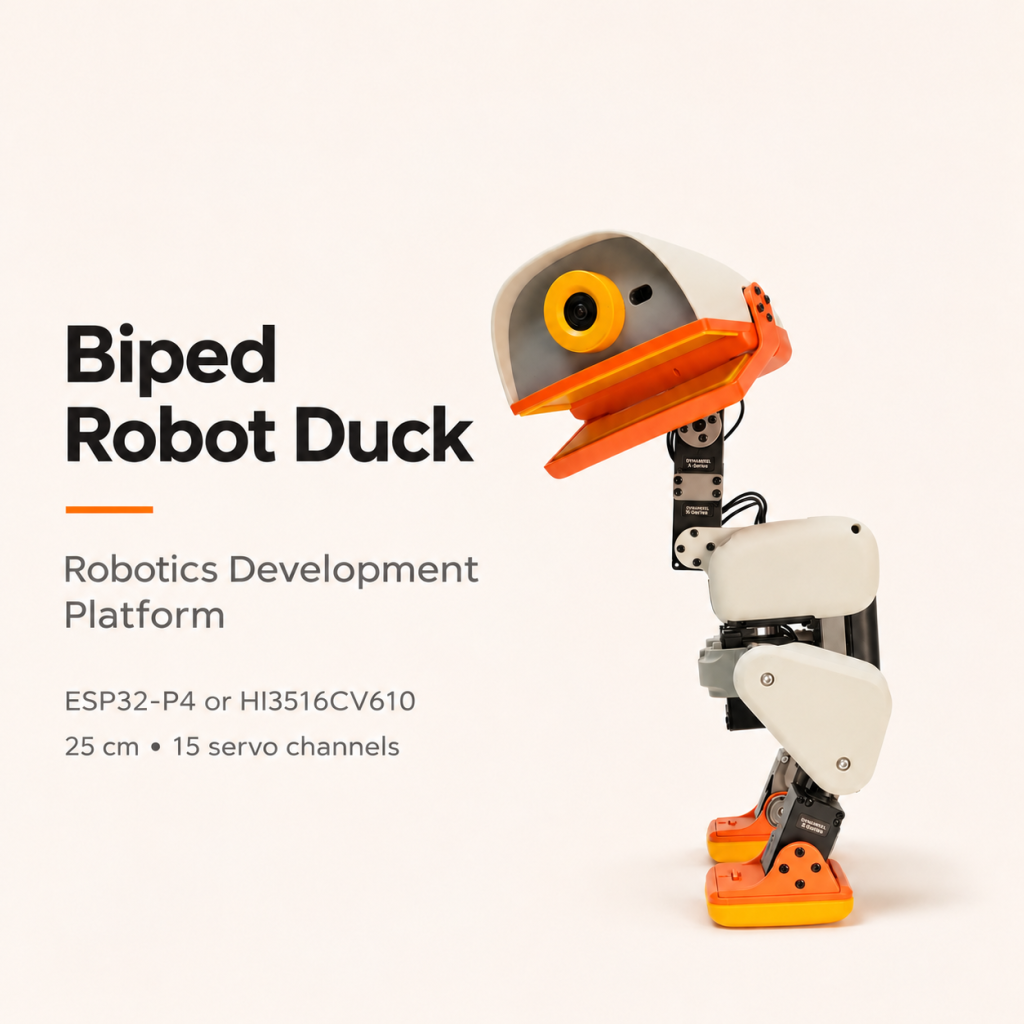
Unpack your Biped Robot Duck, identify the controller, check the supplied charger and prepare for a first motion test.
Check the box and identify your controller
Check the assembled robot, battery, charger and included instructions against your packing list. Use your order details or the supplied documentation to identify the ESP32-P4 or HI3516CV610 version before connecting to a computer or installing firmware.
Charge and prepare the robot
Use the supplied charger and follow the charging instructions for your battery. Check the battery and connectors for visible damage before use. Consult support if the charger, connector or charging indicator differs from the instructions.
Run your first motion test
Choose a flat, clear surface away from edges. Keep fingers and loose cables clear of the joints. Follow the supplied startup instructions and begin with the shortest documented motion test. Stop if a joint binds, the robot tips repeatedly or a cable catches.
Watch the robot in action
Watch the latest Biped Robot Duck demonstration on YouTube. The video shows the robot in action. Confirm your controller from your order and the documentation supplied with your unit.
If the robot does not start
Check that the battery is charged and that the power connection matches the supplied instructions. Record the controller option and any indicator behavior before contacting support. Use only firmware intended for your specific hardware.
Product and support
Share the product link, hardware revision, software version and any error messages.
Contact ESP32S support →