Heltec Wireless Paper: Versions & Firmware
Identify the display revision, test the factory example, update images and choose the correct Meshtastic firmware target.
On this page
Identify hardware and radio variantFirst test and serial connectionShow your own imageMeshtastic installationCustom firmware and recoveryReferences and support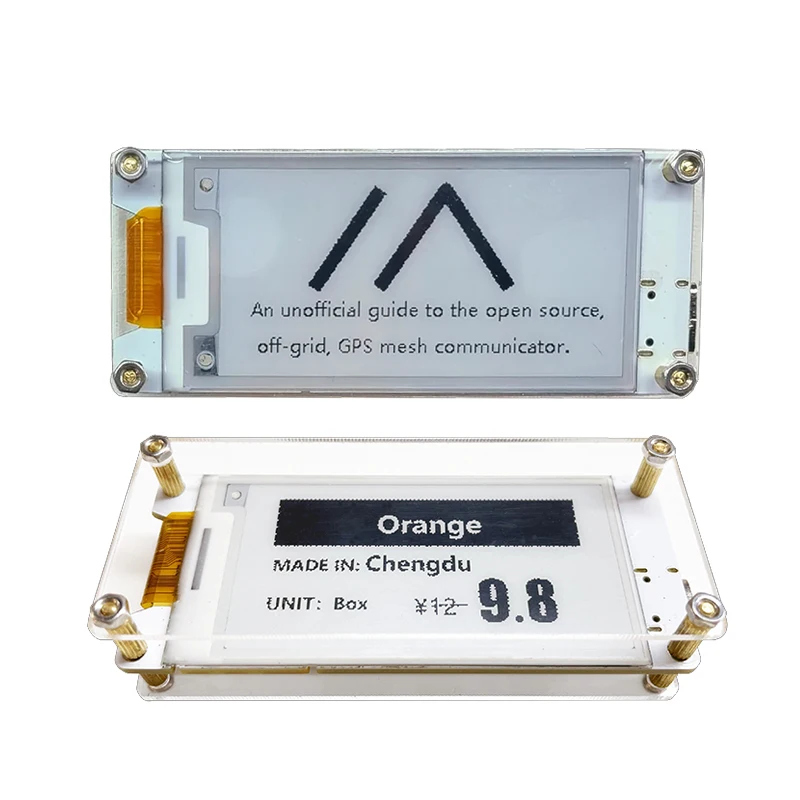
Identify hardware and radio variant
Wireless Paper combines an ESP32-S3, SX1262 radio and a small e-paper display. Record the PCB revision, panel marking and purchased radio-frequency variant. The product title alone is insufficient to choose a display driver or firmware target.
The manufacturer’s revision log distinguishes V1.0, V1.1 and V1.2, including some V1.1.1-labeled units with the newer screen. V1.2 documentation identifies the E0213A367-BW panel. A successful flash does not prove that the selected firmware supports your display.
First test and serial connection
- Attach the appropriate antenna before using radio transmission. Connect a USB data cable and confirm a serial port appears.
- Record factory behavior and settings before replacement firmware.
- Install the manufacturer’s board support and libraries, choose Wireless Paper and the correct port.
- Use the factory-test example matching the screen revision. For the documented newer screen, the upstream example is
Wireless_Paper_E0213A367_FactoryTest.
Do not substitute Wireless Tracker, WiFi LoRa 32 or a generic ESP32-S3 display example. Their pin maps and drivers differ.
Show your own image
- Start with a high-contrast black-and-white image sized to the active display, normally 250×122 for the standard configuration.
- For a compiled bitmap example, convert the artwork to the format expected by that example and update its width/height as well as the bitmap data.
- Build and upload, then confirm the image orientation and refresh completion.
For the manufacturer’s Wi-Fi image-upload example, configure your local Wi-Fi, upload the matching sketch and read its assigned IP address from Serial Monitor. Open that address from the same network and upload a supported image. Use the format and resolution accepted by the installed example. Keep this development interface on a trusted local network.
Meshtastic installation
- Record the exact hardware/display version and verify its target against the current official release notes or target list.
- Open the official Meshtastic Web Flasher in a supported browser, select the matching Wireless Paper target and release channel, then connect the serial port.
- Back up settings first; use an erase/install option only when you intend to reset the existing configuration.
- After flashing, use the supported Meshtastic client to configure the region, channel and device settings for your installation.
- Test a message with another correctly configured node, then check whether the screen updates after reboot.
Do not copy an old firmware filename across revisions. If the flasher does not explicitly support your screen version, resolve the target choice before flashing. This guide does not assign a universal radio region or frequency.
Custom firmware and recovery
The Arduino display demo, Wi-Fi upload demo and Meshtastic are different applications; installing one replaces another. Keep a known compatible factory image or reproducible source build. If upload fails, check the USB cable and driver, close other serial applications and use the board’s documented download-mode procedure.
| Symptom | Likely next check |
|---|---|
| Radio works, screen does not | Display revision and matching firmware driver. |
| Screen shows an old logo | Retained image, serial boot log and actual power state. |
| Nodes cannot communicate | Matching radio hardware, region/channel settings and antenna. |
| Reset during transmission/update | Power source, battery connection and supply stability. |
Measure your full duty cycle before estimating runtime. Neither the retained image nor a deep-sleep specification establishes active radio battery life.
References and support
Reviewed October 15, 2026. This is an original ESP32S integration guide based on the listed documentation; it has not been tested on a physical unit here. Match the supplied hardware revision before using a driver or firmware image.
- Manufacturer documentation
- Hardware revision history
- Programmed image workflow
- Wi-Fi image workflow
- Newer-panel factory example
- Official Meshtastic flasher
See the e-paper setup and troubleshooting basics and firmware flashing guide. For support, send the product link, panel/PCB markings, software version, wiring and serial log.
Share the product link, hardware revision, software version and any error messages.
Contact ESP32S support →