XIAO 7.5-inch ePaper: Setup & Dashboards
Configure the ESP32-C3 panel, test Arduino graphics, connect Home Assistant or TRMNL and recover USB programming.
On this page
Identify your XIAO panelFirst power-on and USB recoveryArduino: verify graphics firstESPHome and Home AssistantTRMNL setup pathSleep, updates and troubleshootingReferences and support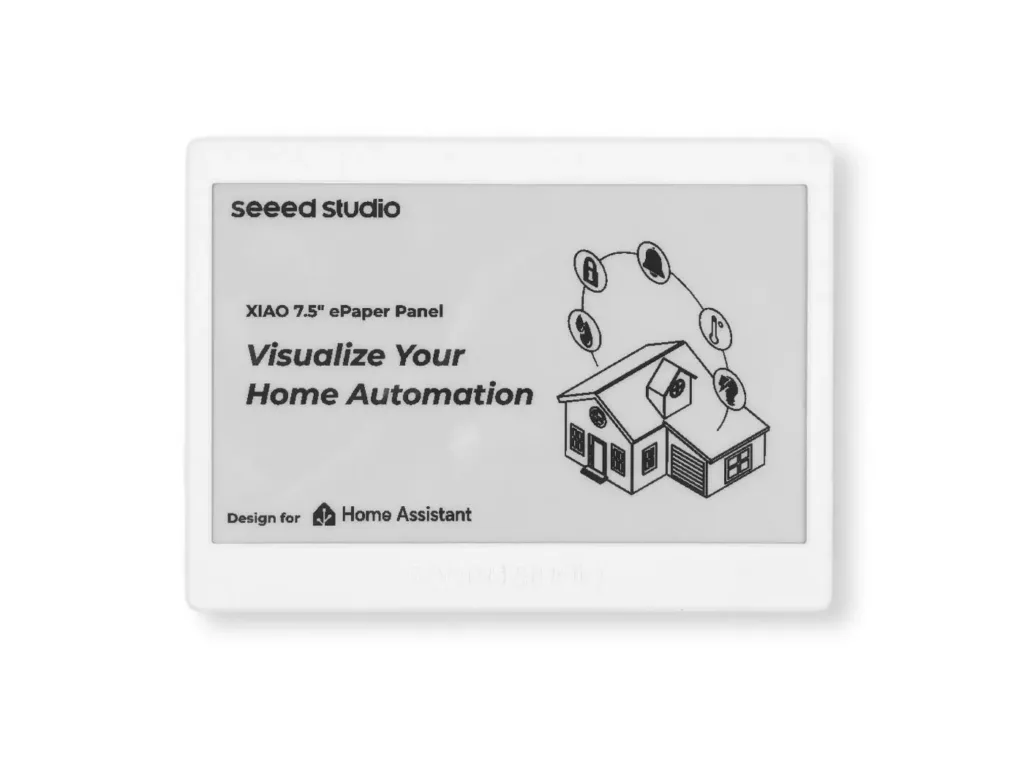
Identify your XIAO panel
This guide is for the XIAO ESP32-C3-based 7.5-inch monochrome 800×480 panel. It is not the XIAO ESP32-S3 Plus TRMNL kit. Check the board and panel revision before selecting firmware.
The manufacturer reference lists 218 g and −25°C to 50°C. Supplied configurations can differ; battery charging limits must be checked separately. Runtime depends on update interval and networking, so a quoted standby figure is not a guaranteed dashboard battery life.
First power-on and USB recovery
- Inspect the enclosure, power switch and supplied battery configuration. Use a USB data cable and a suitable USB supply.
- Power on and record the factory behavior before overwriting firmware. Keep a copy of the original configuration where available.
- If a sleeping device will not enumerate, hold BOOT, press and release RESET, then release BOOT and reconnect USB if needed. Select the newly appeared port.
A persistent screen can show an old image while the controller is off. Check serial output or another live response before diagnosing the display.
Arduino: verify graphics first
- Install Espressif ESP32 board support and select XIAO ESP32C3.
- Install the manufacturer’s Seeed_GFX library in a clean sketch environment; avoid conflicting similarly named display libraries.
- Create the example’s
driver.husing the configuration tool for your exact panel/driver combination. The documented UC8179 combination usesBOARD_SCREEN_COMBO 502andUSE_XIAO_EPAPER_DRIVER_BOARD; confirm the revision before choosing it. - Run a basic shape or bitmap example from the library before adding Wi-Fi or dashboard code.
Keep library and board-package versions with the project. Do not reuse the classic ESP32 GPIO wiring from a raw-panel tutorial.
ESPHome and Home Assistant
- Create a device in ESPHome Device Builder for the XIAO ESP32-C3. Configure Wi-Fi, logging, API and OTA using your own secrets.
- Add the panel-specific display section below to that device configuration; keep only one
spi,fontanddisplaysection, merging entries when necessary. - Validate, compile and install over USB for the first upload. Add the discovered device through Home Assistant’s ESPHome integration.
- Confirm a static message before adding Home Assistant sensor entities, layout and scheduled updates.
font:
  - file: "gfonts://Roboto"
    id: status_font
    size: 24
spi:
  clk_pin: GPIO8
  mosi_pin: GPIO10
display:
  - platform: waveshare_epaper
    id: epaper_screen
    model: 7.50inv2
    cs_pin: GPIO3
    dc_pin: GPIO5
    busy_pin:
      number: GPIO4
      inverted: true
    reset_pin: GPIO2
    update_interval: never
    lambda: |-
      it.print(20, 30, id(status_font), "ESP32S dashboard");
esphome:
  on_boot:
    priority: -100
    then:
      - component.update: epaper_screen
Configuration note: merge the on_boot block into your existing esphome section rather than replacing its device name. This is a panel-specific fragment, not a complete firmware configuration. The font downloads during compilation. Keep the upstream component identifier even though it contains a supplier name; renaming it will break configuration.
TRMNL setup path
- Confirm the required TRMNL account/BYOD access for the chosen service.
- Use the supported XIAO 7.5-inch Panel target, not the ESP32-S3 kit or reTerminal target.
- Install its supported firmware, complete network provisioning and follow the service’s device-claim process.
- Start with a simple screen, then verify scheduled updates and recovery after a power cycle.
Service access and firmware support can change; verify them before flashing. Installing ESPHome, Arduino or TRMNL firmware replaces the previous application.
Sleep, updates and troubleshooting
Keep the board awake while testing uploads. Add deep sleep only after networking, data arrival and a complete display update work reliably. Sleep can prevent immediate API/OTA access; retain a USB recovery path.
| Problem | Check |
|---|---|
| Blank screen | Correct board target, display model, BUSY polarity and panel revision. |
| USB upload fails | Data cable, port permissions and BOOT/RESET sequence. |
| Missing dashboard values | Home Assistant entity ID, API connectivity and data availability before rendering. |
| Short battery runtime | Measure update frequency, Wi-Fi retries, wake duration and board-level current. |
References and support
Reviewed October 15, 2026. This is an original ESP32S integration guide based on the listed documentation; it has not been tested on a physical unit here. Match the supplied hardware revision before using a driver or firmware image.
- Manufacturer hardware reference
- Arduino configuration
- Panel-specific ESPHome reference
- TRMNL hardware workflow
See the e-paper setup and troubleshooting basics and firmware flashing guide. For support, send the product link, panel/PCB markings, software version, wiring and serial log.
Share the product link, hardware revision, software version and any error messages.
Contact ESP32S support →