ESP32-C3 Type-C: getting started
Connect the 16-pin ESP32-C3 board and run a serial test before adding peripherals.
On this page
Product overviewConnect the boardPrepare ArduinoFirst serial testWire peripheralsResources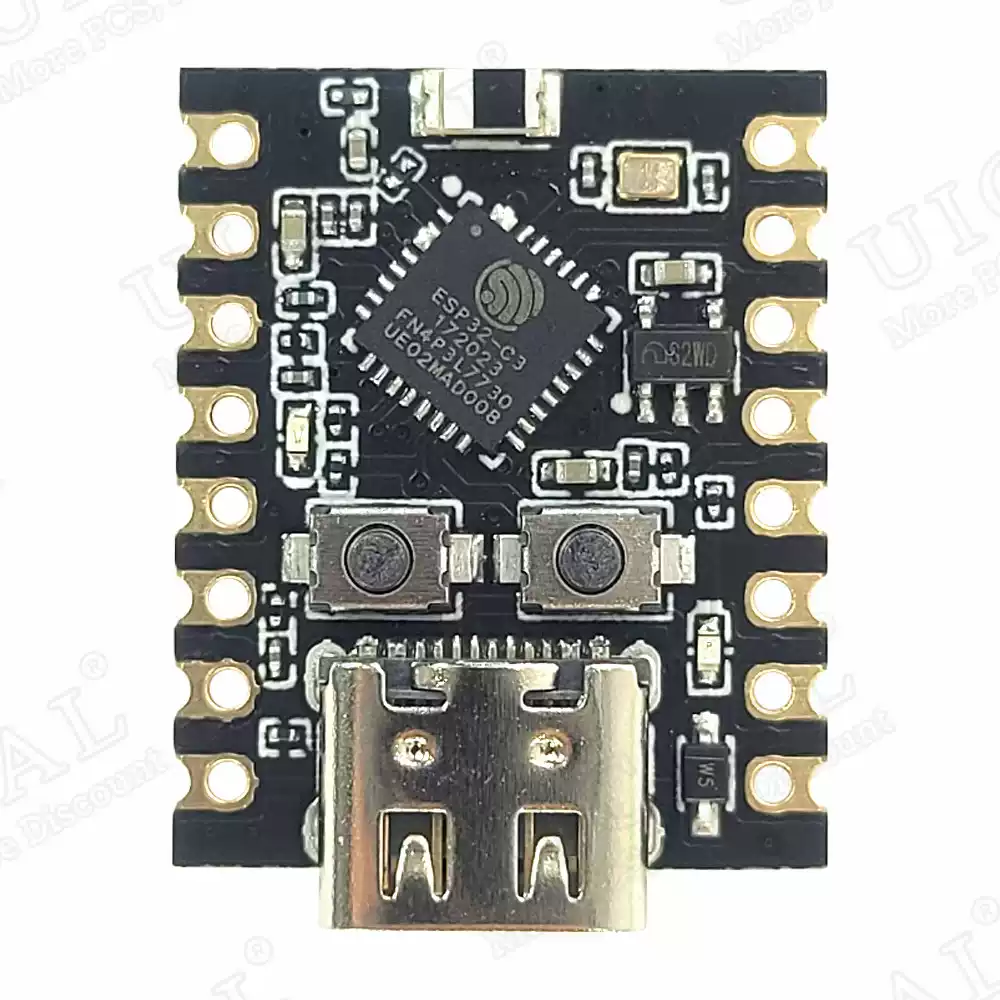
Product overview
This ESP32-C3 development board has a USB Type-C connector and a 16-pin format. Check the module marking and PCB revision on your board.
Connect the board
Use a USB data cable. Leave external peripherals disconnected for the first upload and identify the serial port.
Prepare Arduino
Follow the Arduino setup guide. Select a compatible ESP32-C3 board definition using your hardware instructions. Confirm the flash and USB configuration for this board.
First serial test
Upload the following example and open Serial Monitor at 115200 baud. Confirm recurring output before adding peripherals.
void setup() {
  Serial.begin(115200);
  delay(1000);
  Serial.println("Hello from ESP32S!");
}

void loop() {
  delay(1000);
  Serial.println("Board is running.");
}
Wire peripherals
Use the pin labels and schematic for this exact hardware revision. Check supply voltage, interface and signal levels before connecting a sensor or display. A different 16-pin board may have different assignments.
Resources
Arduino-ESP32 documentation · USB troubleshooting. Request a board-specific schematic or firmware package from support with your product and revision.
Share the product link, hardware revision, software version and any error messages.
Contact ESP32S support →