
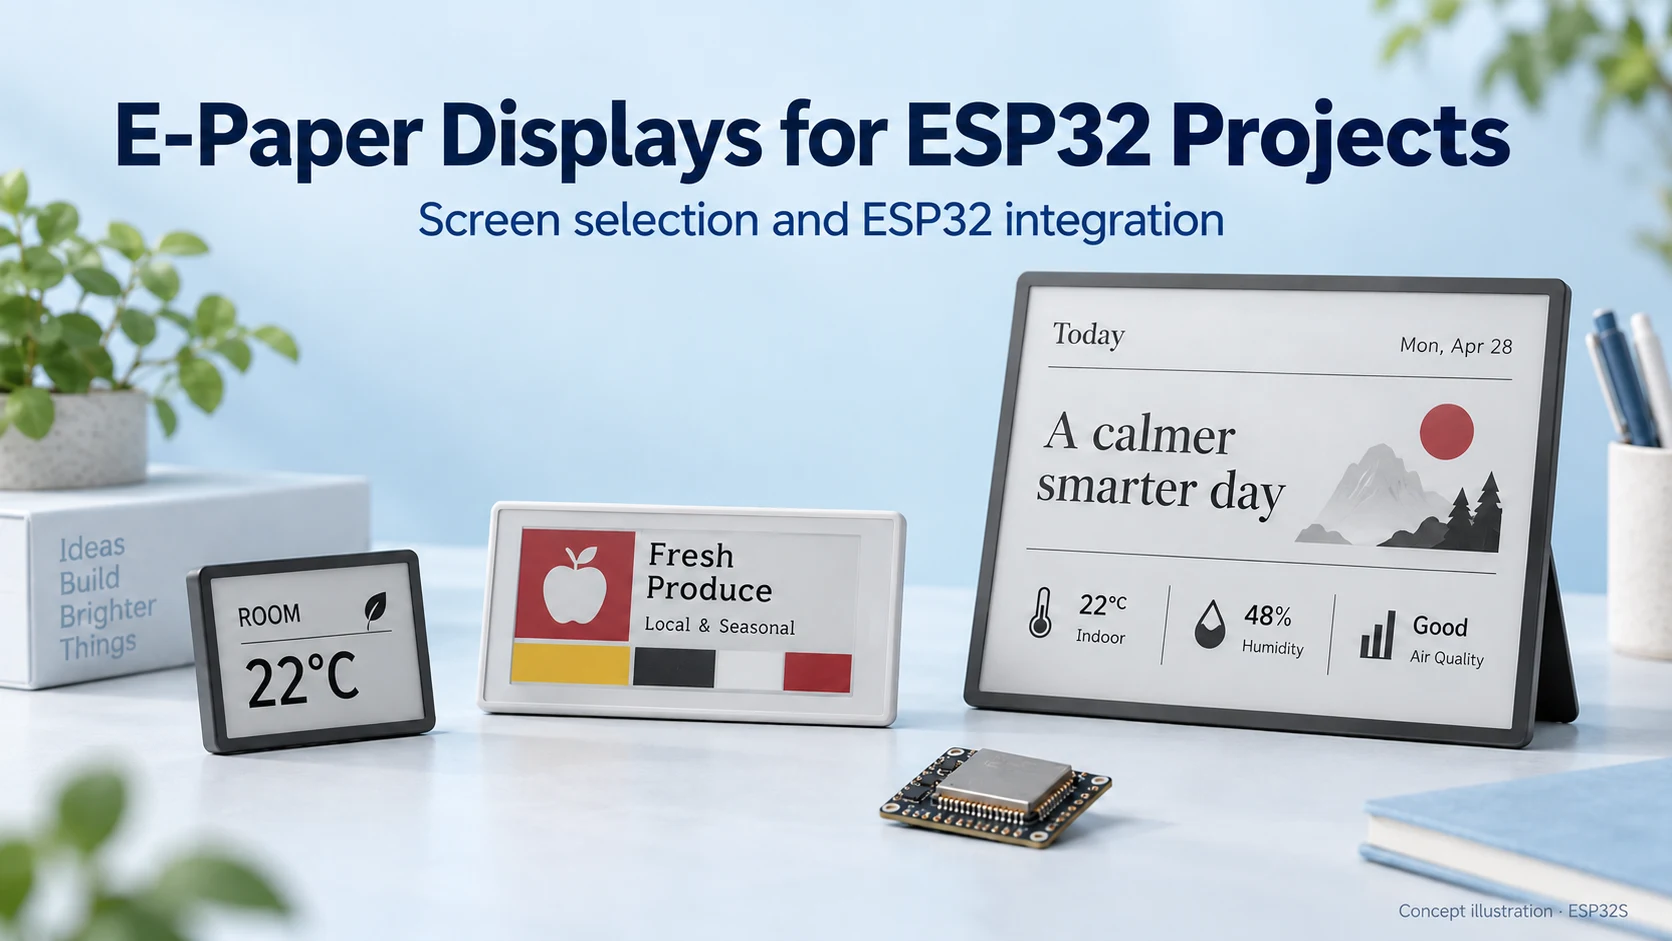
E-Paper Displays for ESP32: How to Choose the Right Screen
Choose an e-paper display for your ESP32 project: compare screen types, raw panels and modules, refresh modes, memory needs and power considerations.
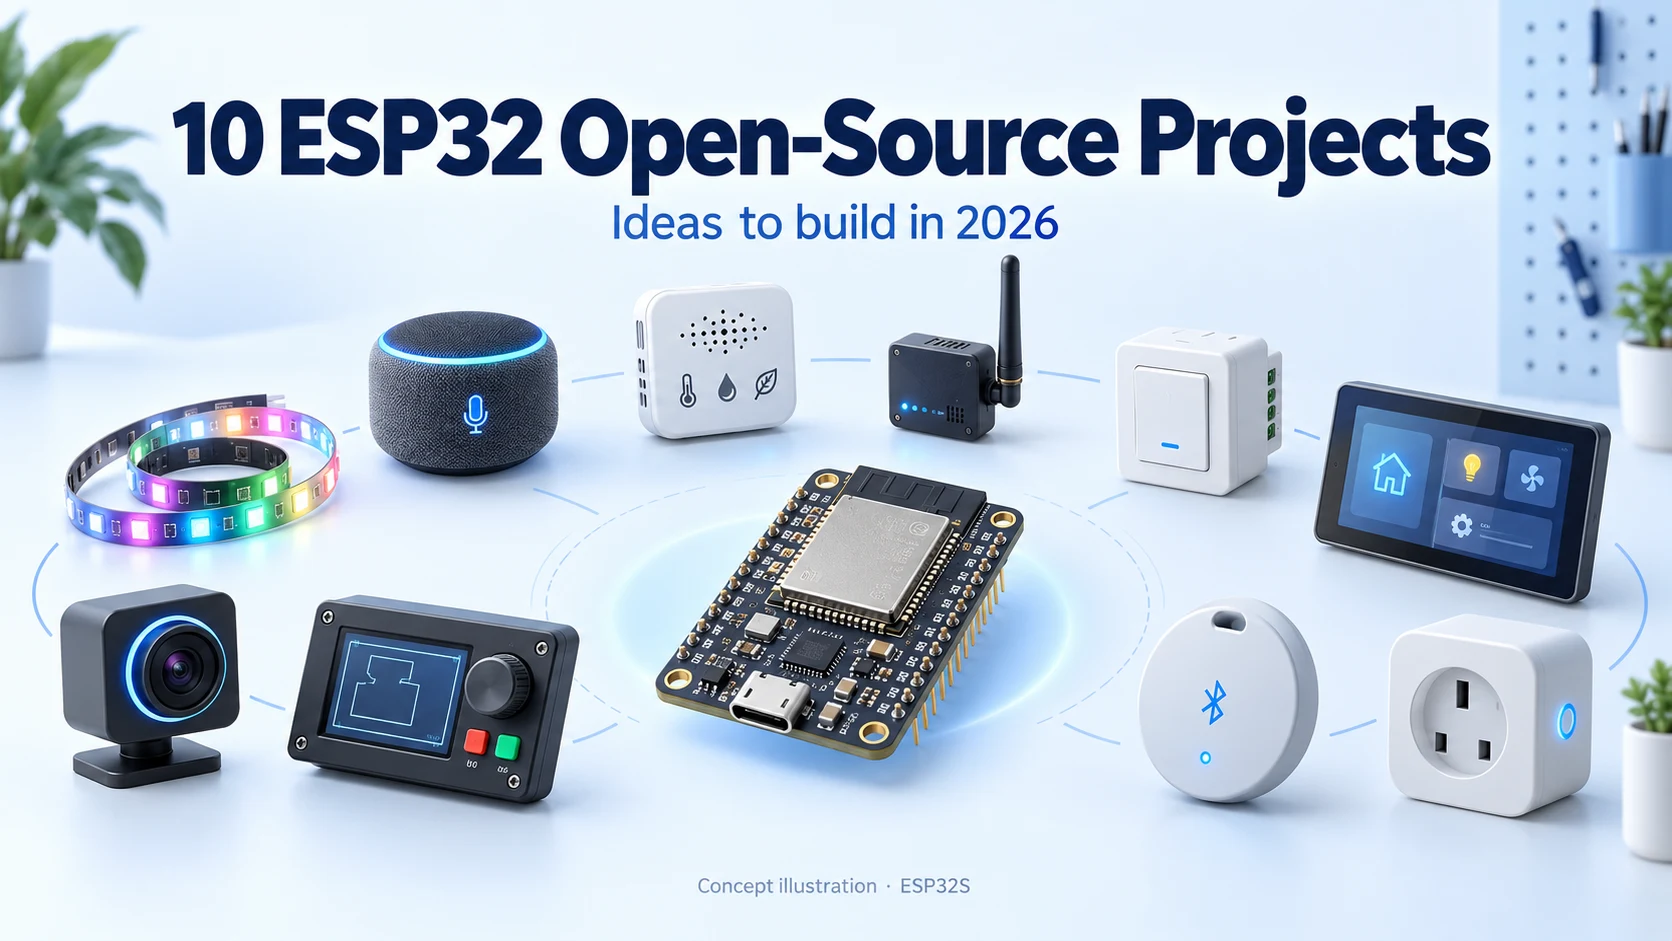
Looking for an ESP32 project worth building in 2026? These ten open-source projects cover voice AI, lighting, home automation, LoRa, cameras and motion control. Some are installable firmware; others are frameworks or libraries for building a device. Each offers a practical direction beyond another blinking-LED demo.
Snapshot: October 16, 2026. We screened a set of established ESP32-related repositories for public source code, an identifiable open-source license, recent repository activity, documentation and a useful hardware application. The selected projects all showed repository pushes during September or October 2026 when checked.
“Hottest” is our editorial shortlist, not an official global ranking. The table is ordered by cumulative GitHub Stars within this selected set; it does not measure stars gained during 2026, active installations or project quality. It is not a complete search of every ESP32 repository. Counts change, and not every project supports every ESP32 variant.
| Project / source | GitHub Stars | Repository push | Build direction |
|---|---|---|---|
| XiaoZhi AI | 31,206 | 2026-10-15 UTC | Voice assistants |
| Tasmota | 24,864 | 2026-10-15 UTC | Local device control |
| WLED | 18,857 | 2026-10-15 UTC | Addressable LED lighting |
| ESPHome | 11,904 | 2026-10-16 UTC | Home Assistant devices |
| Meshtastic | 8,436 | 2026-10-16 UTC | Off-grid LoRa messaging |
| FluidNC | 2,605 | 2026-10-16 UTC | CNC motion control |
| HomeSpan | 2,188 | 2026-09-15 UTC | Custom HomeKit accessories |
| ESP32-CAM_MJPEG2SD | 1,761 | 2026-10-08 UTC | Camera streaming and recording |
| ESPresense | 1,493 | 2026-10-14 UTC | Bluetooth-based presence |
| openHASP | 1,024 | 2026-10-10 UTC | MQTT touchscreen panels |
XiaoZhi turns supported ESP32 hardware into a voice-interaction device connected to AI services. The project combines audio input/output, networking and device control, with display and camera features on suitable boards. It is a compelling way to explore how a physical interface can interact with a larger AI system.
Your first build: Start with a board explicitly supported by the chosen release, including its microphone, audio output and memory configuration. Do not assume the ESP32 runs a large language model locally: inspect the backend requirements, account setup, connectivity and data flow. Match the current SDK instructions rather than reusing an old flashing tutorial.
Repository: 78/xiaozhi-esp32 · License summary: MIT. Confirm the license files for the release and components you use.
Tasmota remains a prominent option for configurable connected-device firmware. Its web interface, rules and integrations make it relevant to sensors, switches and automation nodes. MQTT and other supported interfaces allow the device to participate in a wider system without requiring a custom application from scratch.
Your first build: A useful first build is a low-voltage sensor or indicator on a documented board. Confirm the exact firmware target, GPIO template and peripheral support. Configuration-oriented firmware is convenient, but a template for a similar-looking board is not proof that its electrical connections match yours.
Repository: arendst/Tasmota · License summary: GPL-3.0. Confirm the license files for the release and components you use.
WLED is a strong starting point for addressable LED strips and matrices. Its effects, segments and control interfaces let you build interactive lighting without first writing a complete rendering and networking stack. A small desktop light is an approachable project, while larger installations introduce more demanding electrical design.
Your first build: Choose an explicitly supported ESP32 target and LED type. Size the power supply, wiring and protection around the actual installation; a GPIO is a data connection, not a power source for a strip. Prove a short strip and a modest brightness limit before expanding the build.
Repository: wled/WLED · License summary: EUPL-1.2. Confirm the license files for the release and components you use.
ESPHome uses configuration files to produce firmware for sensors, switches, displays and other connected devices. It is especially attractive when the goal is a device integrated with Home Assistant rather than a standalone firmware architecture. The project supports multiple microcontroller families, with ESP32 being a major target.
Your first build: Start with one sensor or one display message, then add networking and automation incrementally. Check both the ESP32 variant and the individual component driver. Our XIAO ePaper panel guide shows a relevant dashboard workflow; it does not mean every e-paper screen shares that configuration.
Repository: esphome/esphome · License summary: MIT + GPLv3 by component. Confirm the license files for the release and components you use.
Meshtastic builds a messaging ecosystem around supported LoRa-equipped hardware. It is broader than ESP32, but ESP32-based radio boards remain part of its supported ecosystem. This makes it an interesting project for learning about radio configuration, mesh behavior, antennas and low-power connected devices.
Your first build: An ESP32 development board alone is not a complete Meshtastic radio: choose a supported board with the required LoRa transceiver and matching hardware target. For e-paper hardware, our Heltec Wireless Paper guide explains why the display revision matters. Configure the appropriate region and evaluate the actual deployment rather than assuming a fixed communication range.
Repository: meshtastic/firmware · License summary: GPL-3.0. Confirm the license files for the release and components you use.
FluidNC is ESP32-oriented CNC firmware with a web interface and a machine-configuration approach. It is useful for builders who want to understand motion-control architecture, controller hardware and the relationship between firmware configuration and a real machine.
Your first build: Use a supported controller and begin with configuration review and a controlled test setup. Motor drivers, limit inputs, emergency stopping and tool control are system-level requirements; the firmware does not replace those circuits. This is an advanced build compared with a sensor or LED demo. Verify the selected release’s controller support before buying hardware.
Repository: bdring/FluidNC · License summary: GPL-3.0-or-later, subject to file notices. Confirm the license files for the release and components you use.
HomeSpan is a HomeKit library for Arduino-ESP32, rather than a universal ready-to-flash appliance image. It lets developers create accessory behavior around ESP32 I/O and integrate that behavior with Apple’s home ecosystem. It is a useful project for makers who want to write the application logic themselves.
Your first build: Begin with a documented example on a supported ESP32 target. The current project documentation requires a supported Apple Home Hub for its intended operation, so include that infrastructure in the plan. A working development accessory is not a claim of commercial product certification.
Repository: HomeSpan/HomeSpan · License summary: MIT. Confirm the license files for the release and components you use.
This project combines camera capture, browser streaming and SD-card recording on supported ESP32/ESP32-S3 camera hardware. It takes a camera build beyond a simple still-image demo and exposes practical topics such as storage performance, memory limits and board-specific camera connections.
Your first build: Select the exact camera board, sensor and memory configuration supported by the release. Start with stable power, a known working camera and suitable storage, then add features one at a time. Do not assume every feature fits an older ESP32-CAM board or that a frame-rate figure transfers across sensors, quality settings and SD cards.
Repository: s60sc/ESP32-CAM_MJPEG2SD · License summary: AGPL-3.0. Confirm the license files for the release and components you use.
ESPresense uses ESP32 nodes to gather Bluetooth-related observations and publish data over MQTT for presence and positioning workflows. It can be combined with Home Assistant’s room-oriented integration or the project’s companion software. It is a different architecture from a radar sensor that detects an untagged person.
Your first build: A useful first experiment is one node, one supported device or beacon and a working MQTT connection. Evaluate room boundaries and signal behavior in the actual space before adding nodes. RSSI-based results depend on placement and the environment; they are not automatically precision coordinates.
Repository: ESPresense/ESPresense · License summary: AGPL-3.0. Confirm the license files for the release and components you use.
openHASP connects a customizable touchscreen interface to home automation through MQTT. It uses LVGL on the controller to drive supported display hardware, making it relevant to wall panels, room controls and compact operator interfaces.
Your first build: The display controller, touch device, board wiring and firmware target must match. A random ESP32 display board is not guaranteed to work because the diagonal size looks right. Our CYD board guide helps identify hardware, but openHASP compatibility still needs to be checked against the project’s supported builds.
Repository: HASwitchPlate/openHASP · License summary: MIT. Confirm the license files for the release and components you use.
These suggestions reflect the type of work involved, not a benchmark. Choose a release with documented support for your exact board and retain its configuration before upgrading.
Start with the project’s supported-board list. Record the MCU variant, flash, PSRAM, display/camera controller, audio hardware and external radio requirements. “ESP32 compatible” is too broad to establish that a particular binary will boot or that every feature will work.
For chip selection, read our ESP32-S3 vs ESP32-C3 guide and C3/C5/C6 connectivity comparison. Use the ESP32S Wiki for board setup and flashing instructions.
Open-source availability does not mean every repository has the same reuse conditions. The license summaries above describe the checked repositories, not every dependency, asset, cloud service or historical release. Preserve notices and review the actual files associated with the version you use. ESPHome’s license, for example, distinguishes its runtime code from other parts of the codebase.
Then validate power, recovery, firmware updates, provisioning and factory testing on the finished hardware. A successful demonstration is a starting point for product engineering. If you need a custom board or firmware integration, explore our PCB design service and contact ESP32S about development and production flashing.
Research date: October 16, 2026. Repository links are the primary sources for project descriptions, current hardware support and licensing. Star counts were read from GitHub’s public API. We have not physically tested every project in this article. All project names belong to their respective owners; inclusion does not imply endorsement or partnership.

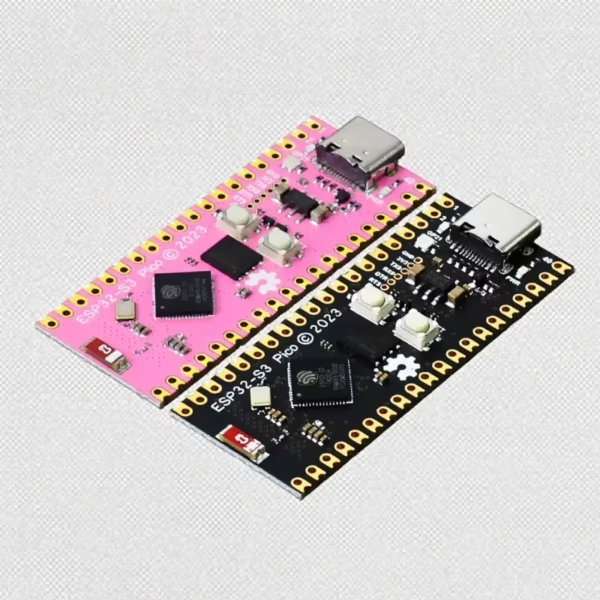
Choose an e-paper display for your ESP32 project: compare screen types, raw panels and modules, refresh modes, memory needs and power considerations.
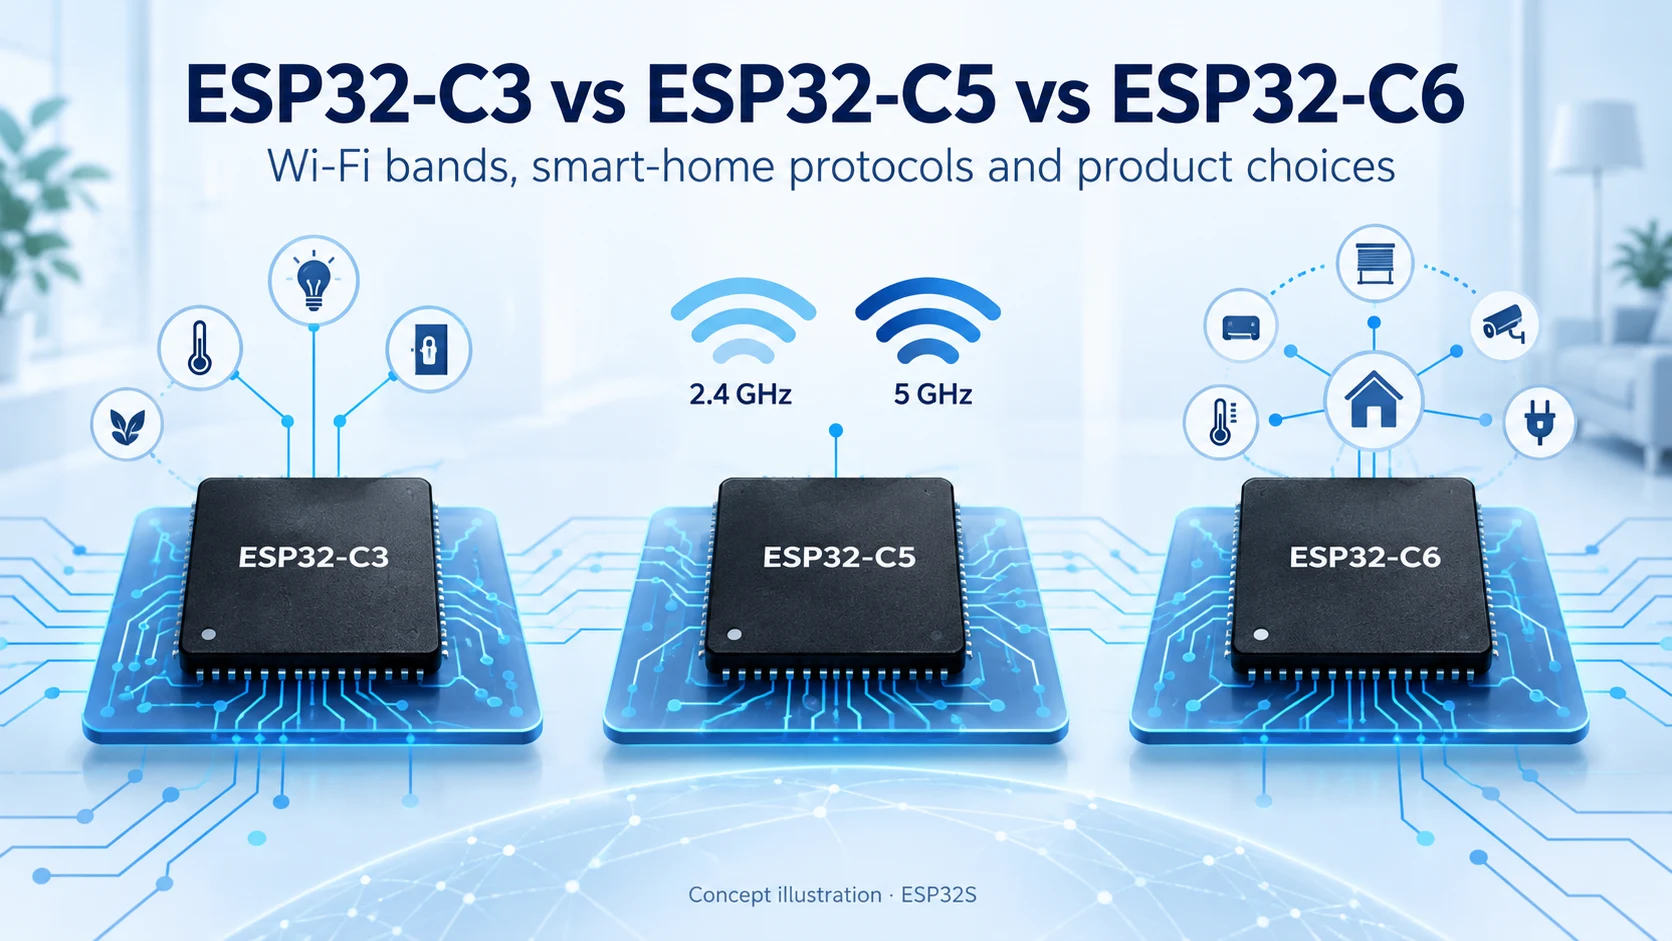
Compare ESP32-C3, ESP32-C5 and ESP32-C6 for Wi-Fi bands, Bluetooth LE, Thread, Zigbee, memory and Matter product design. Find the right connectivity for your project.
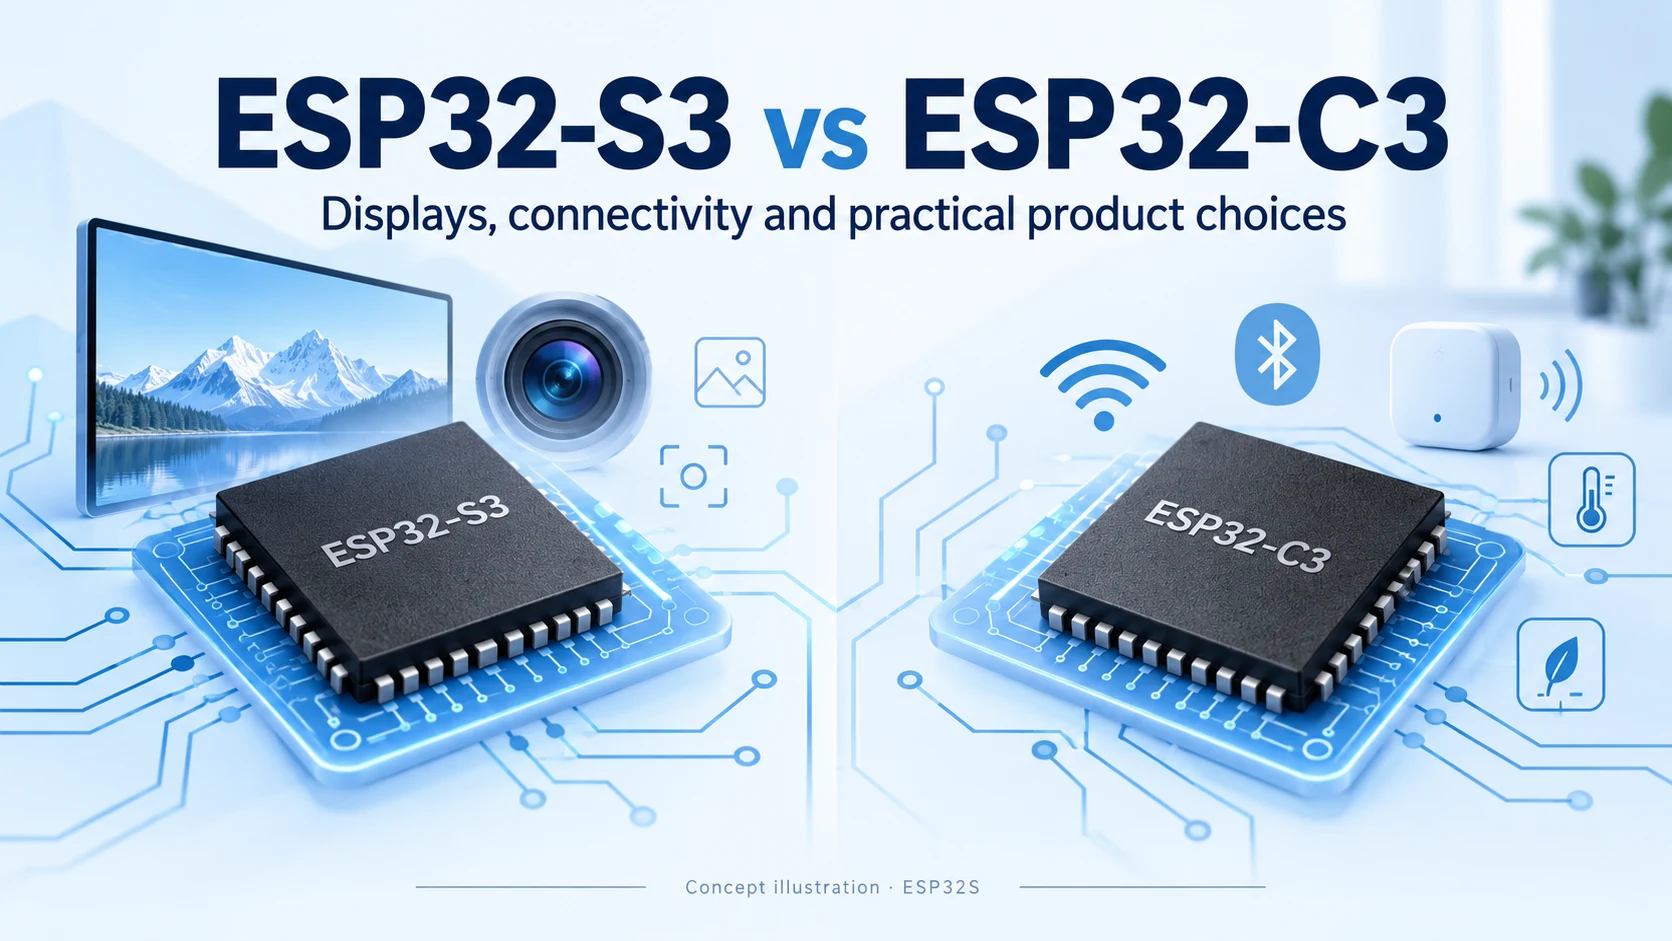
Compare ESP32-S3 and ESP32-C3 for CPU, memory, displays, cameras, USB and wireless connectivity. Practical advice for choosing your next connected product platform.
Compare ESP8266, ESP8285 and ESP32-C3 for Wi-Fi, Bluetooth LE, flash, security and migration. A practical guide for existing designs and new connected products.
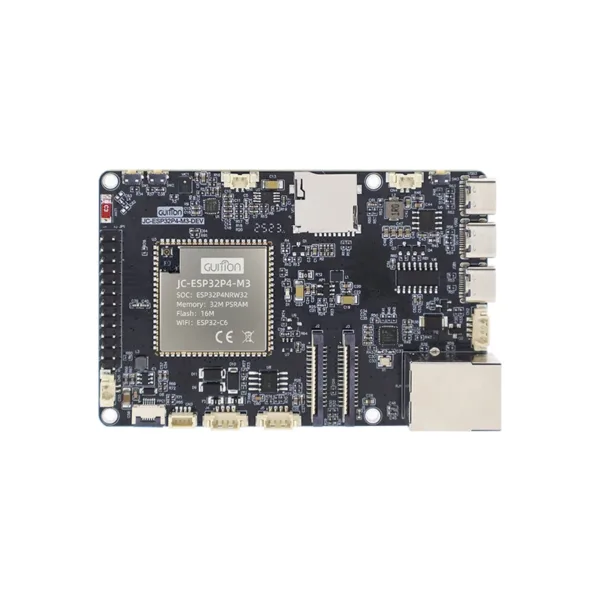
Compare ESP32-S31, ESP32-P4 and ESP32-S3 for connectivity, displays, cameras and memory planning. Learn the key hardware differences and practical selection criteria.
Most people meet us through the store. They buy an ESP32-C3 Supermini board or a camera module, it ships, and
No account yet?
Create an Account