ESP32-WROOM Layout: Antenna, Keep-Out, and Module Placement
The ESP32-WROOM is probably the most common ESP32 module in the world. It is cheap, well-documented, and appears in thousands

Designing an ESP32 board and assembling it are two different disciplines, and the gap between them is where a lot of products stall. A design that hand-solders fine on a bench may be unbuildable at volume; a prototype that works at five units may fail at five thousand because of a component you can no longer buy.
This guide covers ESP32 PCB assembly from the first prototype to a production run, and the decisions that change as you scale.
At five units, almost anything works. You might hand-place parts, use a hot plate, or pay a small shop to assemble a handful of boards. The goal is to prove the design of your esp32 prototype, not to optimize cost.
At five hundred or five thousand units, the rules change completely:
Planning for production assembly from the start — even during prototyping — saves painful redesigns later. The cheapest time to fix an assembly problem is before the first production order.
Turnkey: the assembler sources and buys all components. For an esp32 assembly service, this is the simplest to manage — one invoice, one point of contact — and they own sourcing risk. Best for prototypes and teams without supply-chain resources, and the natural choice when you want an esp32 turnkey arrangement with a single supplier.
Consigned: you buy components and ship them to the assembler. Cheaper at volume and gives you control over sourcing, but you own the risk of shortages, wrong parts, and logistics. The choice between the two is the same across any pcb assembly services contract, not just ESP32 work.
Many teams start turnkey and migrate to consigned as volume grows. The decision should be deliberate: consigned only pays off once you have a reliable supply chain and enough volume to justify the added work. As a rough rule, the crossover is somewhere in the low thousands of units, depending on how much of the BOM is commodity versus specialized.
Not every component is equally assembly-friendly. As you move to production, favor:
For an ESP32 board, the module itself is usually a well-supported part. The risk is more often in the passives, connectors, and the small support components around the radio. A 0201 capacitor near the antenna may save a fraction of a millimeter and cost you a yield problem; a 0402 or 0603 is usually the better trade.
Assembly quality starts with the stencil and the solder paste.
For boards with a module and fine-pitch passives, get the stencil and profile right; most assembly defects trace back here. Ask your assembler for the reflow profile they will use and compare it against the module datasheet's recommended curve. If they cannot produce one, that is a warning sign.
ESP32 boards typically mix both:
Double-sided assembly is common for dense boards. Each reflow cycle adds thermal stress, so plan the side order carefully and use heat-resistant parts where needed. A rule of thumb: place the parts that can survive two reflow cycles on the first side processed, and the temperature-sensitive parts on the second.
You cannot ship boards without verifying them, and the depth of test scales with volume.
For ESP32 boards, functional test should at minimum verify power rails, the module boots, and the radio responds. Design test points into the board so this is easy. A pogo-pin fixture plus a short script that checks the rails and pings the radio will catch most field failures before they ship, and it pays for itself within a single run.
| Stage | Emphasis |
|---|---|
| 1–10 units | Prove the design; hand assembly is fine |
| 10–100 | Stabilize the BOM; confirm sourcing |
| 100–1,000 | Panelize; automate test; nail down DFM |
| 1,000+ | Consigned sourcing, second sources, production fixtures |
At each step, the bottleneck moves — from design correctness, to component availability, to test throughput, to supply chain resilience. Knowing which bottleneck you are about to hit is most of the planning.
Before a production run, ask the assembler to build a small number of boards — five to twenty — and inspect them against your files. This is the first-article inspection, and for ESP32 boards it is where module placement problems appear.
Check on the first article:
A first-article problem fixed before the run costs minutes; the same problem discovered after five hundred boards costs the run.
Assembly yield is the fraction of boards that pass test first time. When yield drops, the cause is usually one of a few things, and knowing them helps you direct the investigation:
Each has a different fix, which is why the assembler's defect data matters. A run with 95 percent yield and clear defect categories is far more useful than 98 percent yield with no explanation.
Every production run produces some boards that need rework. Decide in advance how that is handled:
A board that was reworked twice is not the same as one that passed first time, and for a product that has to run in the field for years, that distinction matters.
For an IoT product, traceability is not bureaucracy; it is the thing that lets you respond to a field problem. Ask the assembler to record:
If a batch of modules turns out to have a problem six months after shipping, traceability is the difference between a targeted fix and a full recall. It costs almost nothing at assembly time and is impossible to reconstruct later.
For a connected product, assembly and programming are usually the same step, and how you handle it affects both cost and security:
For an ESP32 product that will update over the air, provisioning at assembly is also where the initial credentials live, and getting that right early avoids a scramble later.
An assembled ESP32 board is a half-finished product, and it is more fragile than it looks. The module, the fine-pitch parts, and the connectors all take damage from the wrong handling:
The cost of good packaging is negligible against the cost of a batch of boards that arrives oxidized or with cracked connectors.
Testing is where a cheap process turns expensive, so the test strategy should be designed alongside the board:
The mistake is to design the board without test points, then discover at production that the test has to be improvised. Test points cost almost nothing during layout and save an enormous amount when the volume arrives.
It is worth putting a number on the thing everyone knows but few plan for: a change made at different stages of the project costs wildly different amounts. A change caught in the schematic review costs an hour. The same change caught after layout costs a day of rework. Caught after fabrication, it costs a respin. Caught after assembly, a respin plus scrapped parts. Caught after shipping, a field campaign.
The ratio between the first and the last is on the order of a thousand to one. That is the entire economic argument for spending more time on review and first-article inspection, and it is why the checklist items that look like paperwork are actually the cheapest insurance in the process.
For a first production run, three things matter more than anything else in this article: a stable BOM, a verified first article, and a functional test that runs on every unit. Get those three right and the run will be uneventful. Skip any one of them and you will spend the weeks after the run explaining it.
For the first run, resist the temptation to chase the lowest quote. The cost difference between manufacturers is usually small compared with the cost of a run that has to be repeated, and the manufacturer who communicates clearly during the run is worth more than the one who is cheapest on paper. Choose the partner you would want to call if something goes wrong, because eventually you will.
A final word for the first run: pick one thing to check obsessively, and make it the module. The module is the most expensive single part, the most RF-sensitive, and the hardest to rework. If the module is placed, soldered, and programmed correctly, almost everything else can be fixed with a normal rework; if it is not, the board is scrap.
For the first run, remember that a smooth run is a boring run. If the production week is uneventful — no surprises, no emergency calls, no scrapped boards — the preparation worked. Judge the run by how little happened, not by how fast it finished.
One closing thought for anyone preparing a first production run: the run itself is short, and the preparation is where the work lives. A well-prepared run looks uneventful, and that is exactly the outcome to aim for. Treat the checklist as the deliverable, not the paperwork around it.
If you track a single figure across a first production run, track first-pass yield — the fraction of boards that pass test without rework. It is the clearest signal of whether the design and the process are aligned. A high first-pass yield means the stencil, the profile, and the design are working together; a low one points at a specific stage, and the assembler's defect categories tell you which.
Watching that number, rather than just the final ship count, is what turns each run into a lesson for the next.
We design and lay out ESP32 boards with assembly in mind — test points, panelization, and DFM considered before the files are released: pcb-design for the full path, pcb-layout for layout. When the design is ready, assembly runs through PCB PCBA order online.
Send us your design and volume, and we will help you plan the assembly path.
ESP32 assembly changes as you scale. At prototype volumes almost anything works; at production volumes, stencils, panelization, testing, and component availability take over. Decide turnkey versus consigned deliberately. Favor common, multi-sourced packages. Get the stencil and reflow profile right — most defects start there. Test in proportion to volume, and design test points in from the start.
The bottleneck moves from design correctness to supply chain as you grow, so plan each stage and verify the module on a first article before the full run.
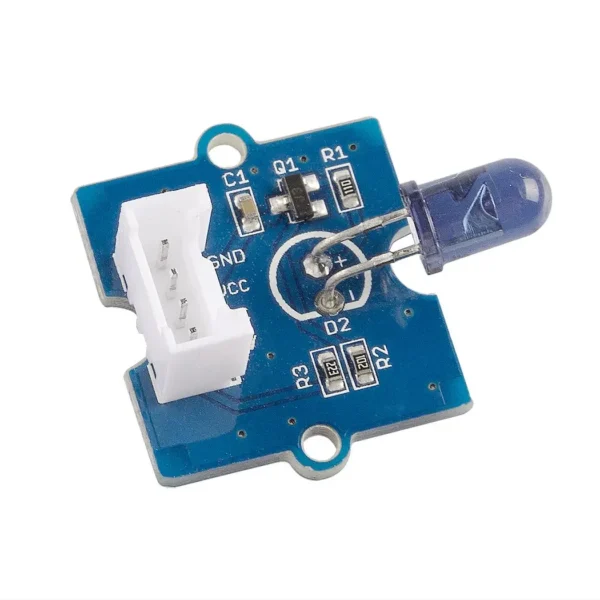 Grove Infrared Emitter used to transmit infrared signals through an infrared LED
$8.50
Grove Infrared Emitter used to transmit infrared signals through an infrared LED
$8.50
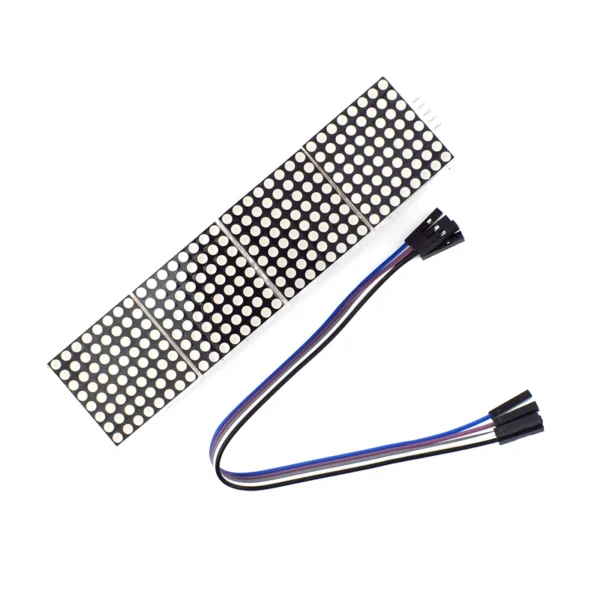 MAX7219 Dot Matrix Module 32x8 4 in 1 LED Display Modules Drive with 5Pin Wires for Arduino Raspberry Pi
$4.90
MAX7219 Dot Matrix Module 32x8 4 in 1 LED Display Modules Drive with 5Pin Wires for Arduino Raspberry Pi
$4.90
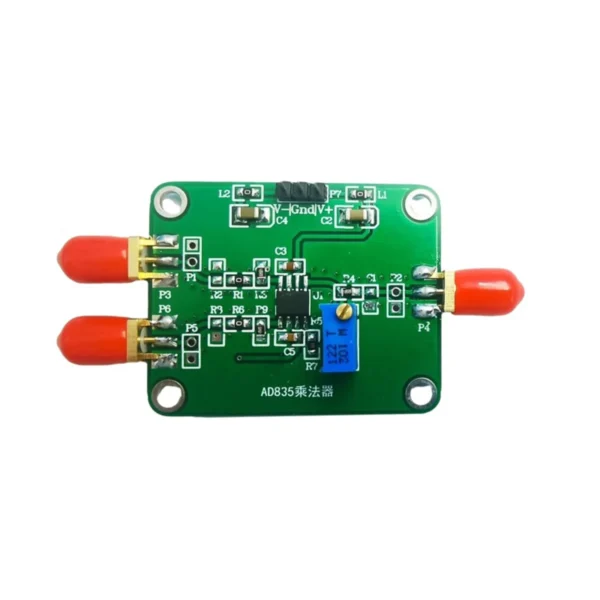 AD835 Analog Multiplier Module – High-Precision Phase Detector, RF Signal Conditioning & Mixer
$18.90
AD835 Analog Multiplier Module – High-Precision Phase Detector, RF Signal Conditioning & Mixer
$18.90
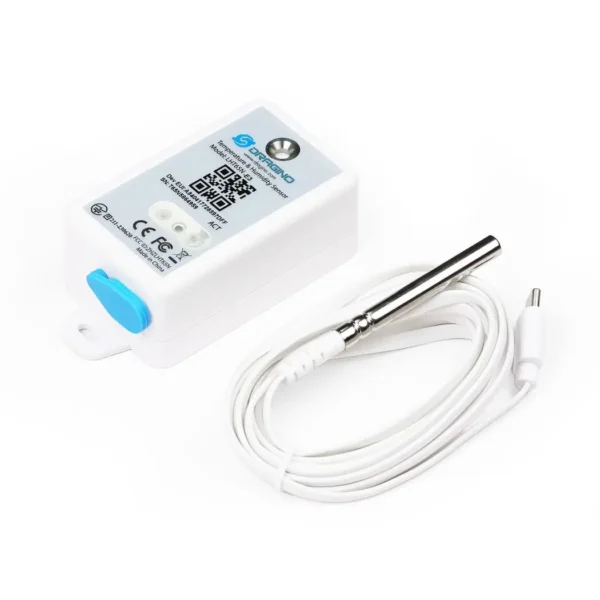 LHT65N LoRaWAN Temperature & Humidity Sensor - 868MHz
$57.90
LHT65N LoRaWAN Temperature & Humidity Sensor - 868MHz
$57.90
 3.1 Inch Black White ePaper Display
$9.60
3.1 Inch Black White ePaper Display
$9.60
The ESP32-WROOM is probably the most common ESP32 module in the world. It is cheap, well-documented, and appears in thousands
The ESP32-S3 is the part people reach for when their product needs more than the classic ESP32 can give: native
Once your ESP32 design is done, the next decision is who builds it. This is where a lot of teams
If you want to sell a connected product but do not want to build a hardware team, the words "OEM"
EMC testing is expensive, and failing it is worse than the test fee — it costs you a respin, a
We review a lot of boards — some designed in-house, some by other contractors, some by founders doing their own
No account yet?
Create an Account