ESP32 CYD Weather Station: Setup, APIs & LVGL Workflow
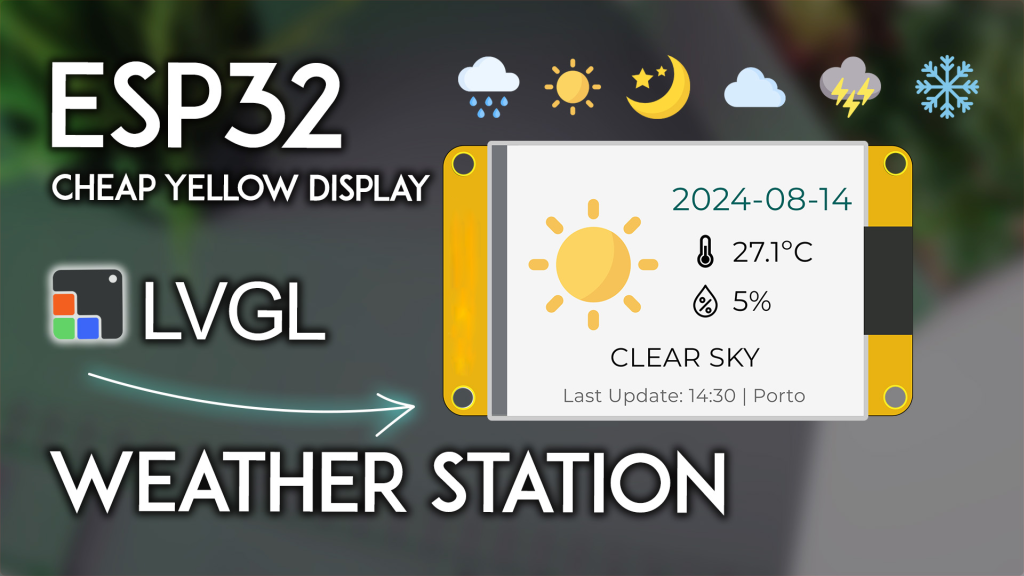
An ESP32 CYD weather station combines a display project with a weather-data source. Get the board and screen working before adding networking. This guide describes an LVGL workflow and points to a complete upstream project; it does not present placeholder code as a tested firmware download.
Choose the board and data source
Read the rear PCB marking, LCD driver and touch type. Use 2.8-inch CYD: ESP32-2432S028R for the 2.8-inch ESP32-2432S028R reference and the LCD-driver guide when the controller is uncertain. Wi-Fi forecast data describes the selected location; it is not a measurement of the temperature beside the display. A local indoor reading needs a separate compatible sensor.
Use a complete LVGL weather project
The nicholaswilde/cyd-weather-station project includes its source, board environments, UI assets and configuration files. It is an independently maintained project, not ESP32S firmware. The reviewed repository is in development; keep its dependencies and file tree together.
For an identified, compatible 2.8-inch resistive board, the reviewed configuration provides cyd_28r. Do not use the repository’s default environment without checking it: the reviewed default targets a different display variant. To reproduce the reviewed source snapshot:
git clone https://github.com/nicholaswilde/cyd-weather-station.git
cd cyd-weather-station
git checkout 3558e893cdb8cbe7a43518d73913e52004c81ce8
pio run -e cyd_28r
The command above builds firmware. Upload only after confirming that the environment matches the physical LCD, touch and host board:
pio run -e cyd_28r -t upload
pio device monitor -b 115200
A successful build is not a hardware test. If you use a newer revision, review its README and configuration changes rather than mixing files from different revisions.
Configure location, units and connectivity
- Follow the pinned project’s network-configuration instructions. Its source includes
config/secrets.h.example; if using compile-time credentials, copy it toconfig/secrets.hand keep the resulting file private. - Set the location using the project’s supported configuration path. Use explicit coordinates or a checked location rather than assuming IP geolocation is correct.
- Confirm temperature units, timezone and the last-successful-update time. Choose an update interval that follows the API provider’s current terms.
- Test the display without optional sensors or storage before enabling extra services.
The reviewed project uses LVGL v8; retain the project’s declared dependency set. Replacing LVGL with v9 or ArduinoJson with another major version can require code changes.
Weather API choices
Check the Open-Meteo API documentation for variables, location and units. Its current service terms distinguish non-commercial free-service use and commercial use. Do not assume a service that needs no API key for a personal project is free for a commercial product. Follow attribution requirements and the selected project’s provider settings.
Troubleshooting in the right order
| Symptom | Next check |
|---|---|
| White LCD before networking | Board environment, controller, backlight and compiled pin setup |
| Build fails after a library update | Restore the pinned project and declared dependency versions |
| No forecast data | Wi-Fi, location, provider response, limits and configuration |
| Wrong time or units | Timezone, requested units and returned timestamps |
| Old values stay visible | Show last-successful-update time and an offline/stale indicator |
| Local sensor reads warmer than expected | Check placement near the processor/backlight and compare with a reference |
Continue with the matching tutorial
Use the CYD PlatformIO setup guide for project structure, touchscreen troubleshooting for input issues, and the CYD model comparison before choosing hardware. Hardware-specific screenshots and measured behavior should be recorded for the exact board you build.
Article illustrations