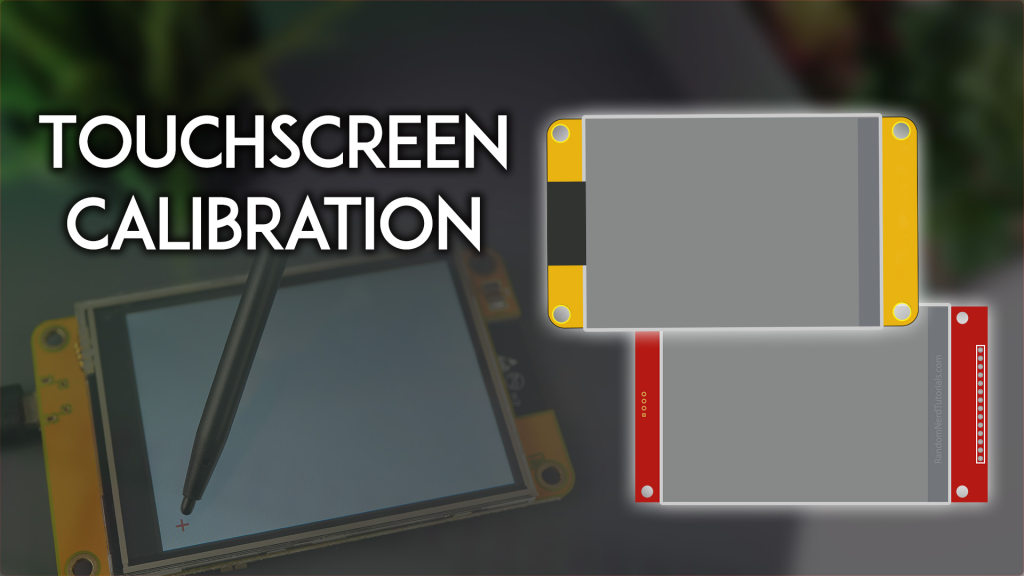
Is your ESP32 Cheap Yellow Display (CYD) touchscreen registering taps slightly off? Are you struggling to type on a keyboard or select small buttons in your latest IoT project? An uncalibrated touchscreen is a common hurdle, but it's one you can permanently overcome. This guide provides a complete, project-ready solution for calibrating the resistive touchscreen on your ESP32-2432S028R (CYD) and compatible displays.
We’ll go beyond a simple sketch. You’ll learn exactly why calibration matters, how to perform a professional six-point calibration using LVGL, and—most importantly—how to implement the resulting coefficients in your own projects to achieve pixel-perfect touch accuracy every time.
Why Precision Calibration is Critical for Your CYD Projects
The resistive touchscreen on the popular ESP32 Cheap Yellow Display is incredibly useful, but it rarely comes perfectly calibrated from the factory. While a slight offset of a few pixels might go unnoticed with large buttons, it becomes a major usability issue in precision applications:
-
On-Screen Keyboards: Entering Wi-Fi passwords or data is frustrating when you constantly hit the wrong key.
-
Drawing or Note-Taking Apps: A misaligned stylus ruins the creative experience.
-
Complex GUIs with Small Widgets: Selecting options in a densely packed menu requires exact finger or stylus placement.
-
Industrial Controls: Accurate touch feedback is essential for reliable machine interfaces.
By performing a proper calibration, you transform your CYD from a fun experiment into a robust, user-friendly device suitable for real-world deployment.
The Professional Calibration Method: A Six-Point Approach
The most reliable method, derived from industry practices, involves sampling multiple points across the screen and calculating transformation coefficients. This guide uses a six-point calibration algorithm, which corrects for:
-
Scaling Errors: Differences in the touchscreen's and display's coordinate systems.
-
Rotation and Skew: Physical misalignment between the touch layer and the LCD.
-
Offset Errors: A consistent shift in the X or Y axis.
The result is a set of six coefficients (alphaX, betaX, deltaX, alphaY, betaY, deltaY) that mathematically map any raw touch point to its correct screen location.
Your Complete Step-by-Step Calibration Project
Let's get your CYD calibrated. We'll use the Arduino IDE and the LVGL library for a visual, guided process.
1. Project Prerequisites: What You'll Need
-
Your CYD Board: The ESP32-2432S028R (Cheap Yellow Display). This guide also works for other ESP32 boards with a separate 2.8-inch ILI9341 TFT touchscreen, with minor pin adjustments.
-
Arduino IDE: Installed and configured for ESP32 boards.
-
Required Libraries: You need to install these three libraries via the Arduino Library Manager (Sketch > Include Library > Manage Libraries...):
-
lvgl by kisvegabor (version 9.2 recommended): The graphics library. Crucial: You must use the specific configuration file (lv_conf.h) provided in the setup guide linked below for these examples to work.
-
TFT_eSPI by Bodmer: The display driver. Crucial: You must use the specific User_Setup.h file for the CYD, as detailed in the setup guide.
-
XPT2046_Touchscreen by Paul Stoffregen: The touchscreen driver. This one requires no special configuration.
-
BasicLinearAlgebra by Tom Stewart: Used for the mathematical calculations. Install version 5.1 or later.
New to the CYD? If you haven't set up your board for LVGL and TFT_eSPI yet, you must first complete the setup guide here: ESP32 CYD with LVGL: Getting Started. The custom configuration files are essential for the calibration sketch to compile and run correctly.
2. Uploading the Calibration Sketch
Once your libraries are ready, follow these steps:
-
Copy the Full Sketch: The complete Arduino sketch is provided in the article content below. Copy it into a new Arduino IDE sketch window.
-
Verify Pin Definitions: The sketch is pre-configured for the standard CYD pinout:
-
XPT2046_IRQ = 36
-
XPT2046_MOSI = 32
-
XPT2046_MISO = 39
-
XPT2046_CLK = 25
-
XPT2046_CS = 33
-
Select Your Board and Port: Choose your ESP32 board from the Tools menu and the correct COM port.
-
Upload and Run: Upload the sketch to your CYD. Open the Serial Monitor (set to 115200 baud) to see the output.
3. The Calibration Process: What Happens on Screen
After uploading, the process is interactive:
-
Step 1: Read Instructions: The screen will display instructions for a few seconds.
-
Step 2: Tap the Crosshairs: A series of six crosshairs will appear at different locations on the screen. Using a stylus (or your fingertip carefully), tap and hold briefly at the center of each crosshair when it appears. The sketch samples multiple touches at each point to average out noise.
-
Step 3: Calculation: After the sixth point, the ESP32 crunches the numbers using the BasicLinearAlgebra library to compute the six calibration coefficients.
-
Step 4: Verification: The sketch then displays 'X' marks at the calculated screen positions for your touches, next to the original crosshairs. The Serial Monitor will show the error distance in pixels for each point, proving the calibration's accuracy.
-
Step 5: Get Your Coefficients: Finally, the Serial Monitor outputs the precise coefficient values you need.
******************************************************************
******************************************************************
USE THE FOLLOWING COEFFICIENT VALUES TO CALIBRATE YOUR TOUCHSCREEN
Computed X:  alpha_x = 0.123, beta_x = -0.001, delta_x = -15.456
Computed Y:  alpha_y = 0.002, beta_y = 0.118, delta_y = 10.123
******************************************************************
******************************************************************
How to Use Your New Calibration Coefficients
This is the most critical part. You can't just run the calibration once and forget it. You must integrate these coefficients into every project sketch that needs accurate touch input.
In your own code (using the TFT_eSPI and XPT2046_Touchscreen libraries), you will typically get raw touch coordinates (x_touch, y_touch). Apply the transformation like this:
float alphaX = 0.123;
float betaX = -0.001;
float deltaX = -15.456;
float alphaY = 0.002;
float betaY = 0.118;
float deltaY = 10.123;
int calibrated_x = alphaX * raw_x + betaX * raw_y + deltaX;
int calibrated_y = alphaY * raw_x + betaY * raw_y + deltaY;
Important: The exact equation signs and the need to subtract from SCREEN_WIDTH might vary slightly based on your board's rotation. The Serial Monitor output in the calibration sketch provides the final, ready-to-use formula for your specific setup.
From Calibration to Creation
With your CYD's touchscreen now perfectly aligned, you're ready to build professional-grade projects. Imagine:
-
A secure smart home keypad with tactile feedback on every press.
-
A portable data logger with an on-screen keyboard for naming files.
-
An industrial machine controller with reliable, precise buttons.
The ESP32 Cheap Yellow Display is an incredible platform. By mastering this calibration process, you unlock its full potential, ensuring your user interfaces are as accurate and responsive as they are colorful and connected.
Ready to build your precision project?
Get your ESP32 Cheap Yellow Display today and start creating with confidence.
Check the latest price and buy your CYD board here to begin your next calibrated masterpiece.
Contact Us