Looking for an all-in-one ESP32 development board with a built-in touchscreen to build graphical user interfaces (GUIs) for your IoT projects? The ESP32 Cheap Yellow Display (CYD), officially known as the ESP32-2432S028R, is the most popular and cost-effective choice among makers. This guide will walk you through everything you need to know—from hardware specs and where to buy, to installing libraries and running your first touchscreen test.
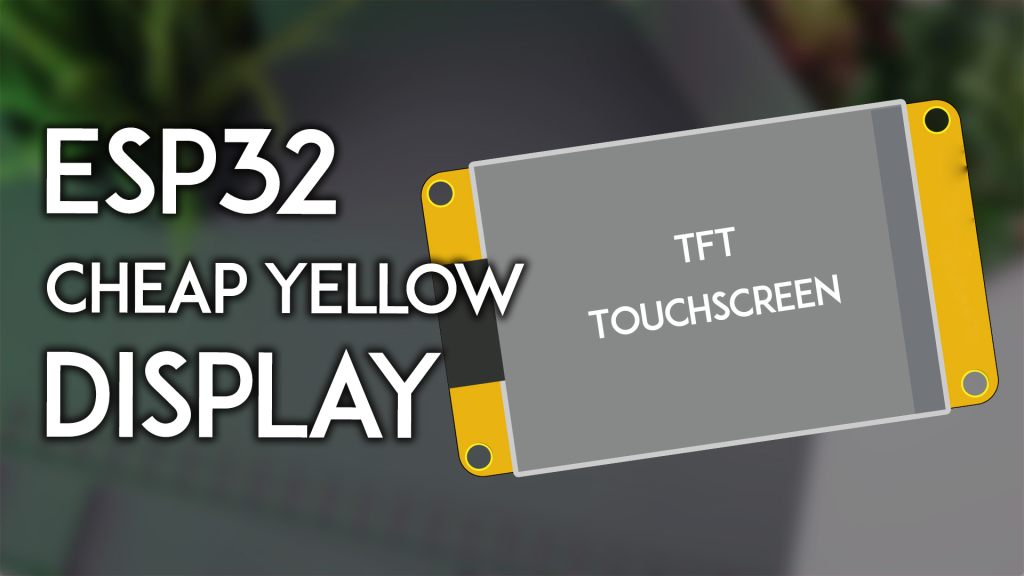
The ESP32-2432S028R has earned its nickname "Cheap Yellow Display" for good reason. It integrates a powerful ESP32-WROOM-32 module with a 2.8-inch TFT touchscreen on a single board, eliminating the hassle of wiring separate displays. This makes it ideal for:
Compared to using a separate ESP32 board and TFT screen, the CYD is more convenient, compact, and reliable—with all components pre-integrated and tested.
ESP32 CYD Specifications at a Glance
Here are the detailed specifications of this versatile development board:
The RGB LED pins are:
-
Red: GPIO 4
-
Green: GPIO 16
-
Blue: GPIO 17
For a complete pinout diagram, check our ESP32 Cheap Yellow Display (CYD) Pinout Guide.
Where to Buy Your ESP32 CYD
Ready to get started? The ESP32 Cheap Yellow Display is widely available from various online stores. Prices and shipping times vary, so it's worth comparing:
👉 Click here to check current prices and buy ESP32 CYD
*Popular sellers include AliExpress, Amazon, and eBay—look for listings with good ratings and "ESP32-2432S028R" in the title.*
Getting Started: Arduino IDE Setup
The ESP32 communicates with the display and touchscreen using the SPI protocol. We'll use two reliable libraries:
Step 1: Install Required Libraries
Open your Arduino IDE and go to Sketch > Include Library > Manage Libraries.
Step 2: Configure the TFT_eSPI Library (Crucial Step!)
The TFT_eSPI library requires a special configuration file (User_Setup.h) to work correctly with the CYD. The default file will not work. You must replace it with our custom version.
⚠️ IMPORTANT: Using any other User_Setup.h file from the internet will likely cause compilation errors. Always use the exact file provided below.
Download the Custom User_Setup.h
⬇️ Download CYD-specific User_Setup.h (by Rui Santos/Random Nerd Tutorials)
Installation Instructions
For Windows:
-
In Arduino IDE, go to File > Preferences and copy the "Sketchbook location" path (e.g., C:\Users\YourName\Documents\Arduino).
-
Open File Explorer and navigate to that folder, then open the libraries folder.
-
Open the TFT_eSPI folder.
-
Replace the existing User_Setup.h with the file extracted from the zip.
For Mac:
-
In Arduino IDE, go to Settings and copy the "Sketchbook location" path (e.g., /Users/YourName/Documents/Arduino).
-
In Finder, navigate to that folder, then open the libraries folder.
-
Open the TFT_eSPI folder.
-
Replace the existing User_Setup.h with the file extracted from the zip.
Note: If you ever update the TFT_eSPI library, you'll need to repeat this configuration step.
Test Your Setup: Display Text & Read Touch
Once the libraries are installed and configured, upload this test sketch to verify everything works.
Complete Test Code
Displays text and prints touch coordinates to screen and Serial Monitor
Full tutorial: https://RandomNerdTutorials.com/cyd/
*/
#include <SPI.h>
#include <TFT_eSPI.h>
#include <XPT2046_Touchscreen.h>
TFT_eSPI tft = TFT_eSPI();
#define XPT2046_IRQ 36
#define XPT2046_MOSI 32
#define XPT2046_MISO 39
#define XPT2046_CLK 25
#define XPT2046_CS 33
SPIClass touchscreenSPI = SPIClass(VSPI);
XPT2046_Touchscreen touchscreen(XPT2046_CS, XPT2046_IRQ);
#define SCREEN_WIDTH 320
#define SCREEN_HEIGHT 240
#define FONT_SIZE 2
int touchX, touchY, touchZ;
void printTouchToSerial(int x, int y, int z) {
Serial.print("X = "); Serial.print(x);
Serial.print(" | Y = "); Serial.print(y);
Serial.print(" | Pressure = "); Serial.println(z);
}
void printTouchToDisplay(int x, int y, int z) {
tft.fillScreen(TFT_WHITE);
tft.setTextColor(TFT_BLACK, TFT_WHITE);
int centerX = SCREEN_WIDTH / 2;
int textY = 80;
tft.drawCentreString("X = " + String(x), centerX, textY, FONT_SIZE);
textY += 20;
tft.drawCentreString("Y = " + String(y), centerX, textY, FONT_SIZE);
textY += 20;
tft.drawCentreString("Pressure = " + String(z), centerX, textY, FONT_SIZE);
}
void setup() {
Serial.begin(115200);
Serial.println("ESP32 CYD Starting...");
touchscreenSPI.begin(XPT2046_CLK, XPT2046_MISO, XPT2046_MOSI, XPT2046_CS);
touchscreen.begin(touchscreenSPI);
touchscreen.setRotation(1);
tft.init();
tft.setRotation(1);
tft.fillScreen(TFT_WHITE);
tft.setTextColor(TFT_BLACK, TFT_WHITE);
int centerX = SCREEN_WIDTH / 2;
int centerY = SCREEN_HEIGHT / 2;
tft.drawCentreString("Hello, CYD!", centerX, 30, FONT_SIZE);
tft.drawCentreString("Touch to test", centerX, centerY, FONT_SIZE);
}
void loop() {
if (touchscreen.tirqTouched() && touchscreen.touched()) {
TS_Point p = touchscreen.getPoint();
touchX = map(p.x, 200, 3700, 1, SCREEN_WIDTH);
touchY = map(p.y, 240, 3800, 1, SCREEN_HEIGHT);
touchZ = p.z;
printTouchToSerial(touchX, touchY, touchZ);
printTouchToDisplay(touchX, touchY, touchZ);
delay(100);
}
}
What to Expect
-
After uploading, the display shows "Hello, CYD!" and "Touch to test".
-
Open the Serial Monitor (set to 115200 baud).
-
Touch anywhere on the screen—the display will update with the X, Y coordinates and pressure value.
-
The same data appears in the Serial Monitor.
If touches seem misaligned:
Next Steps: What Can You Build?
Now that your CYD is working, the possibilities are endless:
Conclusion
The ESP32 Cheap Yellow Display (CYD) offers an unbeatable combination of features, performance, and price for any project requiring a touchscreen interface. With this guide, you've successfully set up your board and verified its operation—now it's time to start creating!
👉 Buy your ESP32 CYD today and join thousands of makers building amazing projects!
Contact Us