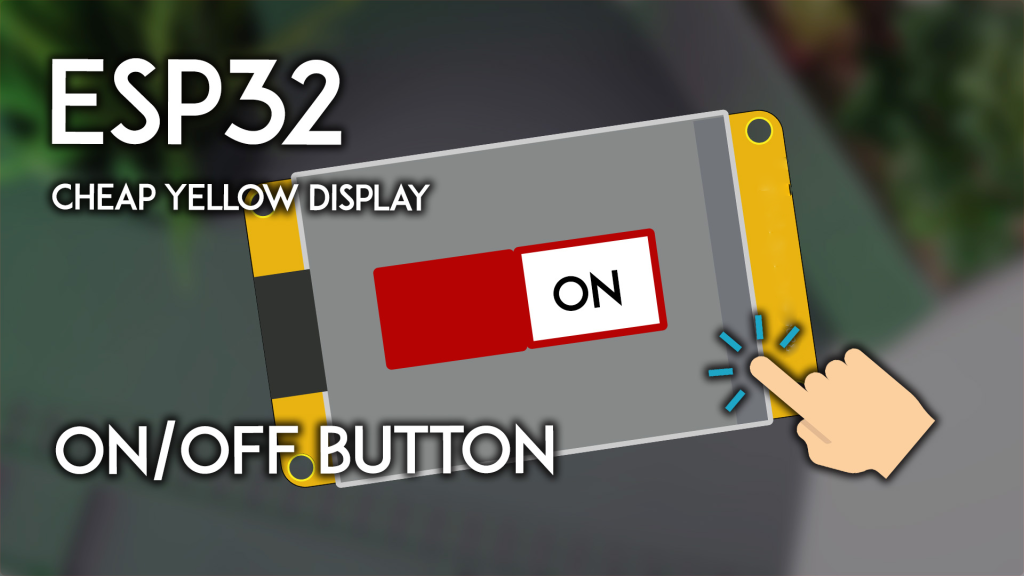
Want to add a simple, tactile touch control to your next IoT project without complex wiring? The ESP32 Cheap Yellow Display (CYD) makes it incredibly easy. In this project, you'll build a working touchscreen on/off button that controls the board's built-in RGB LED—a perfect foundation for controlling lights, motors, or any other output in your smart home or automation projects.
Why Build a Touchscreen Button on the ESP32 CYD?
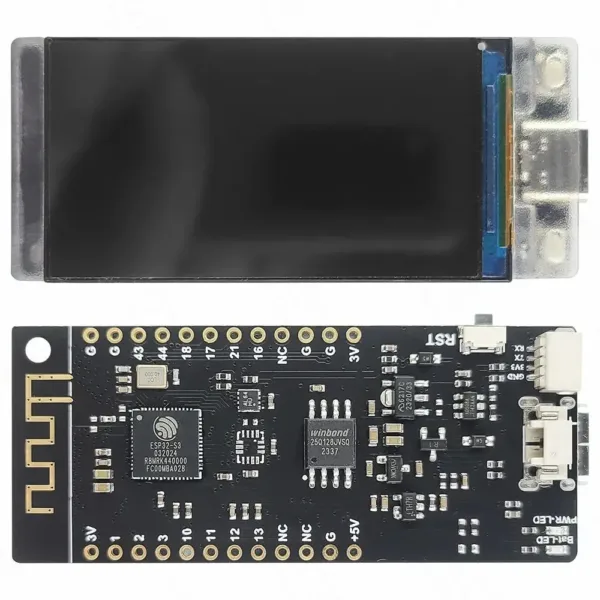
The ESP32-2432S028R (Cheap Yellow Display) combines a powerful ESP32 chip with a 2.8-inch TFT touchscreen, all on one board. Creating a touchscreen button teaches you core concepts you can reuse in any GUI project:
-
Direct hardware control – Turn outputs on/off with a finger tap
-
Visual feedback – Buttons change color to show state
-
Touch coordinate mapping – Understand how screen touches translate to actions
-
Modular code – Easy to adapt for multiple buttons or different outputs
This project is your first step toward building smart home dashboards, industrial controls, or interactive displays.
What You'll Need
Hardware
Software & Libraries
You'll need these Arduino libraries:
New to the CYD? First follow our ESP32 CYD Getting Started Guide to set up your board and configure the required User_Setup.h file. The code below won't compile without the proper configuration.
Project Overview: How the On/Off Button Works
The finished project displays a single button that toggles between ON (green) and OFF (red) states. Tapping the green area turns the LED on; tapping the red area turns it off. The button provides clear visual feedback by changing color and the text label.
What you'll learn:
-
Drawing interactive touch zones on the screen
-
Reading and calibrating touchscreen coordinates
-
Using touch input to control GPIO pins
-
Creating responsive visual feedback
Complete Code: Touchscreen On/Off Button
Copy this code into your Arduino IDE and upload it to your ESP32 CYD.
Controls the built-in green RGB LED with a graphical button
Complete details: https://RandomNerdTutorials.com/touchscreen-on-off-button-cheap-yellow-display-esp32-2432s028r/
*/
#include <SPI.h>
#include <TFT_eSPI.h>
#include <XPT2046_Touchscreen.h>
TFT_eSPI tft = TFT_eSPI();
#define XPT2046_IRQ 36
#define XPT2046_MOSI 32
#define XPT2046_MISO 39
#define XPT2046_CLK 25
#define XPT2046_CS 33
SPIClass touchscreenSPI = SPIClass(VSPI);
XPT2046_Touchscreen touchscreen(XPT2046_CS, XPT2046_IRQ);
#define SCREEN_WIDTH 320
#define SCREEN_HEIGHT 240
#define FONT_SIZE 3
#define FRAME_X 60
#define FRAME_Y 60
#define FRAME_W 200
#define FRAME_H 120
#define REDBUTTON_X FRAME_X
#define REDBUTTON_Y FRAME_Y
#define REDBUTTON_W (FRAME_W / 2)
#define REDBUTTON_H FRAME_H
#define GREENBUTTON_X (REDBUTTON_X + REDBUTTON_W)
#define GREENBUTTON_Y FRAME_Y
#define GREENBUTTON_W (FRAME_W / 2)
#define GREENBUTTON_H FRAME_H
#define CYD_LED_GREEN 16
#define CYD_LED_RED 4
#define CYD_LED_BLUE 17
int touchX, touchY, touchZ;
bool buttonState = false;
void printTouchToSerial(int x, int y, int z) {
Serial.print("X = "); Serial.print(x);
Serial.print(" | Y = "); Serial.print(y);
Serial.print(" | Pressure = "); Serial.println(z);
}
void drawFrame() {
tft.drawRect(FRAME_X, FRAME_Y, FRAME_W, FRAME_H, TFT_BLACK);
}
void drawRedButton() {
tft.fillRect(REDBUTTON_X, REDBUTTON_Y, REDBUTTON_W, REDBUTTON_H, TFT_RED);
tft.fillRect(GREENBUTTON_X, GREENBUTTON_Y, GREENBUTTON_W, GREENBUTTON_H, TFT_WHITE);
drawFrame();
tft.setTextColor(TFT_BLACK);
tft.setTextSize(FONT_SIZE);
tft.setTextDatum(MC_DATUM);
tft.drawString("OFF", REDBUTTON_X + (REDBUTTON_W / 2), REDBUTTON_Y + (REDBUTTON_H / 2));
buttonState = true;
}
void drawGreenButton() {
tft.fillRect(GREENBUTTON_X, GREENBUTTON_Y, GREENBUTTON_W, GREENBUTTON_H, TFT_GREEN);
tft.fillRect(REDBUTTON_X, REDBUTTON_Y, REDBUTTON_W, REDBUTTON_H, TFT_WHITE);
drawFrame();
tft.setTextColor(TFT_BLACK);
tft.setTextSize(FONT_SIZE);
tft.setTextDatum(MC_DATUM);
tft.drawString("ON", GREENBUTTON_X + (GREENBUTTON_W / 2), GREENBUTTON_Y + (GREENBUTTON_H / 2));
buttonState = false;
}
void setup() {
Serial.begin(115200);
Serial.println("ESP32 CYD Touchscreen Button Starting...");
touchscreenSPI.begin(XPT2046_CLK, XPT2046_MISO, XPT2046_MOSI, XPT2046_CS);
touchscreen.begin(touchscreenSPI);
touchscreen.setRotation(1);
tft.init();
tft.setRotation(1);
tft.fillScreen(TFT_BLACK);
drawGreenButton();
pinMode(CYD_LED_GREEN, OUTPUT);
digitalWrite(CYD_LED_GREEN, LOW);
}
void loop() {
if (touchscreen.tirqTouched() && touchscreen.touched()) {
TS_Point p = touchscreen.getPoint();
touchX = map(p.x, 200, 3700, 1, SCREEN_WIDTH);
touchY = map(p.y, 240, 3800, 1, SCREEN_HEIGHT);
touchZ = p.z;
printTouchToSerial(touchX, touchY, touchZ);
if (buttonState) {
Serial.println("State: OFF button visible");
if ((touchX > GREENBUTTON_X) && (touchX < (GREENBUTTON_X + GREENBUTTON_W)) &&
(touchY > GREENBUTTON_Y) && (touchY <= (GREENBUTTON_Y + GREENBUTTON_H))) {
Serial.println(">> Green (ON) area tapped - Turning LED ON");
drawGreenButton();
digitalWrite(CYD_LED_GREEN, HIGH);
}
} else {
Serial.println("State: ON button visible");
if ((touchX > REDBUTTON_X) && (touchX < (REDBUTTON_X + REDBUTTON_W)) &&
(touchY > REDBUTTON_Y) && (touchY <= (REDBUTTON_Y + REDBUTTON_H))) {
Serial.println(">> Red (OFF) area tapped - Turning LED OFF");
drawRedButton();
digitalWrite(CYD_LED_GREEN, LOW);
}
}
delay(200);
}
}
Understanding the Key Parts
1. Touch Detection and Mapping
The touchscreen returns raw analog values (typically 200–3800). The map() function converts these to screen pixel coordinates:
touchX = map(p.x, 200, 3700, 1, SCREEN_WIDTH);
touchY = map(p.y, 240, 3800, 1, SCREEN_HEIGHT);
Note: These values work for most CYD boards. If touches are misaligned, you may need to calibrate your screen (see our touch calibration guide).
2. Button Areas
The screen is divided into two touch zones:
The code checks if a touch falls within these rectangular regions.
3. Visual State Feedback
The button appearance changes instantly:
-
ON state: Green button visible, red area blank
-
OFF state: Red button visible, green area blank
This gives clear, intuitive feedback that the system registered your touch.
4. Output Control
The built-in green LED (GPIO 16) turns on/off with the button. You can easily modify the code to control:
-
External relays via GPIO pins
-
Other LEDs (red/blue channels for RGB)
-
Virtual outputs in a connected IoT dashboard
Testing Your Project
-
Upload the code to your ESP32 CYD
-
Open Serial Monitor (115200 baud) to see touch coordinates
-
Tap the green area – The button should change to "OFF" and the green LED on the back of the board should light up
-
Tap the red area – The button changes back to "ON" and the LED turns off
If touches don't align with buttons:
Taking It Further: Project Ideas
This simple button is the foundation for countless real-world projects:
Smart Home Light Switch
Replace the LED control with a relay module connected to GPIO pins. Build a sleek wall-mounted touch panel to control room lights.
Motor Control Panel
Add more buttons to create a machine control interface. Use sliders for speed control (see our LVGL guide for advanced widgets).
Security System Keypad
Create a touch-based code entry system. Use multiple buttons and check combinations to trigger an output.
IoT Dashboard
Combine with Wi-Fi to control devices over the internet. The button could send MQTT messages to smart home hubs.
Build your first touchscreen control today—order your ESP32 CYD and start creating!
Contact Us