Are you looking to create sleek, responsive touchscreen interfaces for your IoT projects without complex display wiring? The ESP32 Cheap Yellow Display (CYD) combined with the LVGL graphics library offers the most cost-effective and powerful way to build graphical user interfaces (GUIs). This guide walks you through everything from hardware selection to running your first interactive LVGL project.
Why LVGL + ESP32 CYD is the Perfect GUI Combo
The ESP32-2432S028R (Cheap Yellow Display) integrates an ESP32 module with a 2.8-inch TFT touchscreen, eliminating the hassle of connecting separate displays. When paired with LVGL (Light and Versatile Graphics Library) , you can create professional interfaces with:
-
Rich UI Elements: Buttons, sliders, charts, keyboards, and animations
-
Touch Interaction: Full resistive touch support out-of-the-box
-
Low Resource Usage: Runs efficiently on ESP32 with only 64KB Flash and 16KB RAM
-
Open-Source & Free: No licensing costs for commercial projects
This combination is ideal for smart home controllers, industrial panels, wearable devices, and interactive art projects.
What You'll Need
Hardware Requirements
Software Requirements
New to the CYD? If you haven't used this board before, we recommend first reading our ESP32 CYD Getting Started Guide to understand the basics.
Step-by-Step LVGL Setup for CYD
1. Install Required Libraries
Open your Arduino IDE and install these libraries via the Library Manager (Sketch > Include Library > Manage Libraries):
-
Search for TFT_eSPI by Bodmer → Install
-
Search for XPT2046_Touchscreen by Paul Stoffregen → Install
-
Search for LVGL by kisvegabor → Install version 9.2
2. Configure Library Files (Crucial Step!)
The default library configurations won't work with the CYD. You must replace two critical configuration files with our custom versions.
Download Custom Config Files
For Windows Users:
-
Locate your Arduino sketchbook folder (File > Preferences > Sketchbook location)
-
Navigate to: [Sketchbook]\libraries\TFT_eSPI\
-
Replace the existing User_Setup.h with the downloaded file
-
Place lv_conf.h directly in the [Sketchbook]\libraries\ folder (not inside lvgl folder)
For Mac Users:
-
Find your sketchbook location (Arduino IDE > Settings > Sketchbook location)
-
Navigate to: [Sketchbook]/libraries/TFT_eSPI/
-
Replace User_Setup.h with the downloaded version
-
Place lv_conf.h in [Sketchbook]/libraries/ (not inside lvgl folder)
⚠️ IMPORTANT: Using any other User_Setup.h or lv_conf.h files from the internet will likely cause compilation errors. Always use the exact files provided above.
3. Upload Your First LVGL Project
Here's a complete example that creates an interactive GUI with buttons and a slider. Copy this code to your Arduino IDE and upload it to your CYD.
Complete LVGL example for ESP32 Cheap Yellow Display (CYD)
Hardware: ESP32-2432S028R
Libraries: LVGL 9.2, TFT_eSPI, XPT2046_Touchscreen
*/
#include <lvgl.h>
#include <TFT_eSPI.h>
#include <XPT2046_Touchscreen.h>
#define XPT2046_IRQ 36
#define XPT2046_MOSI 32
#define XPT2046_MISO 39
#define XPT2046_CLK 25
#define XPT2046_CS 33
SPIClass touchscreenSPI = SPIClass(VSPI);
XPT2046_Touchscreen touchscreen(XPT2046_CS, XPT2046_IRQ);
#define SCREEN_WIDTH 240
#define SCREEN_HEIGHT 320
int touchX, touchY, touchZ;
#define DRAW_BUF_SIZE (SCREEN_WIDTH * SCREEN_HEIGHT / 10 * (LV_COLOR_DEPTH / 8))
uint32_t draw_buf[DRAW_BUF_SIZE / 4];
void log_print(lv_log_level_t level, const char * buf) {
LV_UNUSED(level);
Serial.println(buf);
Serial.flush();
}
void touchscreen_read(lv_indev_t * indev, lv_indev_data_t * data) {
if(touchscreen.tirqTouched() && touchscreen.touched()) {
TS_Point p = touchscreen.getPoint();
touchX = map(p.x, 200, 3700, 1, SCREEN_WIDTH);
touchY = map(p.y, 240, 3800, 1, SCREEN_HEIGHT);
touchZ = p.z;
data->state = LV_INDEV_STATE_PRESSED;
data->point.x = touchX;
data->point.y = touchY;
} else {
data->state = LV_INDEV_STATE_RELEASED;
}
}
static void event_handler_btn1(lv_event_t * e) {
static int count = 0;
if(lv_event_get_code(e) == LV_EVENT_CLICKED) {
count++;
LV_LOG_USER("Button 1 clicked %d times", count);
}
}
static void event_handler_btn2(lv_event_t * e) {
lv_obj_t * btn = (lv_obj_t*) lv_event_get_target(e);
if(lv_event_get_code(e) == LV_EVENT_VALUE_CHANGED) {
LV_LOG_USER("Toggle: %s", lv_obj_has_state(btn, LV_STATE_CHECKED) ? "ON" : "OFF");
}
}
static lv_obj_t * slider_label;
static void slider_event_callback(lv_event_t * e) {
lv_obj_t * slider = (lv_obj_t*) lv_event_get_target(e);
char buf[8];
lv_snprintf(buf, sizeof(buf), "%d%%", (int)lv_slider_get_value(slider));
lv_label_set_text(slider_label, buf);
lv_obj_align_to(slider_label, slider, LV_ALIGN_OUT_BOTTOM_MID, 0, 10);
LV_LOG_USER("Slider value: %d%%", (int)lv_slider_get_value(slider));
}
void lv_create_main_gui(void) {
lv_obj_t * title = lv_label_create(lv_scr_act());
lv_label_set_text(title, "ESP32 CYD + LVGL");
lv_obj_align(title, LV_ALIGN_TOP_MID, 0, 10);
lv_obj_t * btn1 = lv_btn_create(lv_scr_act());
lv_obj_align(btn1, LV_ALIGN_CENTER, 0, -50);
lv_obj_add_event_cb(btn1, event_handler_btn1, LV_EVENT_ALL, NULL);
lv_obj_t * btn1_label = lv_label_create(btn1);
lv_label_set_text(btn1_label, "Click Me");
lv_obj_t * btn2 = lv_btn_create(lv_scr_act());
lv_obj_align(btn2, LV_ALIGN_CENTER, 0, 10);
lv_obj_add_flag(btn2, LV_OBJ_FLAG_CHECKABLE);
lv_obj_add_event_cb(btn2, event_handler_btn2, LV_EVENT_VALUE_CHANGED, NULL);
lv_obj_t * btn2_label = lv_label_create(btn2);
lv_label_set_text(btn2_label, "Toggle");
lv_obj_t * slider = lv_slider_create(lv_scr_act());
lv_obj_align(slider, LV_ALIGN_CENTER, 0, 70);
lv_obj_set_width(slider, 150);
lv_obj_add_event_cb(slider, slider_event_callback, LV_EVENT_VALUE_CHANGED, NULL);
slider_label = lv_label_create(lv_scr_act());
lv_label_set_text(slider_label, "0%");
lv_obj_align_to(slider_label, slider, LV_ALIGN_OUT_BOTTOM_MID, 0, 10);
}
void setup() {
Serial.begin(115200);
Serial.println("Starting LVGL on ESP32 CYD...");
touchscreenSPI.begin(XPT2046_CLK, XPT2046_MISO, XPT2046_MOSI, XPT2046_CS);
touchscreen.begin(touchscreenSPI);
touchscreen.setRotation(1);
lv_init();
lv_log_register_print_cb(log_print);
lv_display_t * disp;
disp = lv_tft_espi_create(SCREEN_WIDTH, SCREEN_HEIGHT, draw_buf, sizeof(draw_buf));
lv_display_set_rotation(disp, LV_DISPLAY_ROTATION_270);
lv_indev_t * indev = lv_indev_create();
lv_indev_set_type(indev, LV_INDEV_TYPE_POINTER);
lv_indev_set_read_cb(indev, touchscreen_read);
lv_create_main_gui();
Serial.println("Setup complete!");
}
void loop() {
lv_task_handler();
lv_tick_inc(5);
delay(5);
}
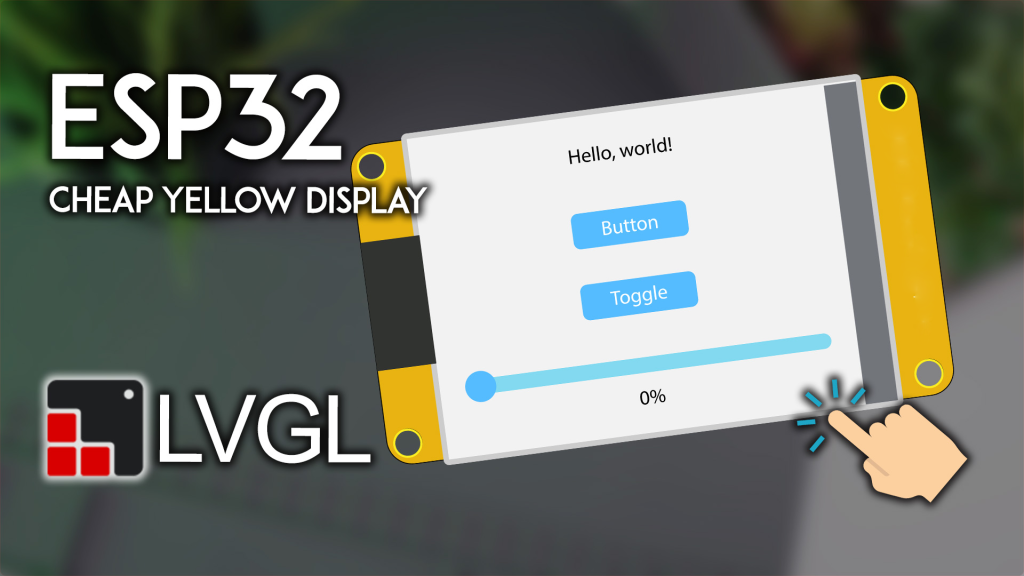
What This Example Does
After uploading, you'll see:
-
A title at the top of the screen
-
A "Click Me" button that increments a counter (viewable in Serial Monitor)
-
A toggle button that switches between ON/OFF states
-
A slider that displays its current percentage value below it
The touchscreen is fully functional—tapping any element triggers the corresponding event.
Testing and Troubleshooting
Verify Your Setup
-
After uploading, the display should show the GUI elements
-
Open Serial Monitor (115200 baud) to see event logs
-
Touch each element to verify interaction
Common Issues
-
Blank display: Check that you replaced User_Setup.h correctly
-
Touch not working: Verify XPT2046_Touchscreen library is installed and pins match your board
-
Compilation errors: Ensure you're using LVGL version 9.2 and the custom lv_conf.h is in the correct location
Note: If you update your libraries later, you'll need to reapply both configuration files.
Next Steps: Building Real Projects
With LVGL working on your CYD, you can now build:
-
Smart home dashboard with Wi-Fi controls
-
Weather station displaying forecasts and graphs
-
Data logger with SD card storage and touch controls
-
Game console with custom UI
Where to Buy Your ESP32 CYD
👉 Click here to check prices and buy ESP32 CYD
Get your ESP32 CYD today and start creating professional touchscreen interfaces with LVGL!
======================================
Since 2016,
ESP32S.com has grown to become a complete ecosystem partner for your IoT journey. Based in Shenzhen, a global hub for electronics innovation, we have helped hundreds of developers and businesses bring their
ESP32-based ideas to life. Our team is dedicated to providing exceptional support and innovative solutions to help you achieve your IoT goals.
At
ESP32S.com, we master the intricacies of developing an
ESP32-based product, which involves multiple stages, from concept to market launch. That’s why we now offer comprehensive solutions covering the entire product lifecycle for
ESP32-based devices. Whether you need help with PCB design, prototyping, production, or even marketing and fulfillment, we have you covered.