Launching a hardware product on Kickstarter or Indiegogo is a thrilling milestone. You have a compelling vision, a sleek 3D render, and a community eager to back your innovation. But as the industry adage goes: "Hardware is hard."
The most common reason crowdfunded hardware projects fail to deliver—or drive their founders into bankruptcy—is not a lack of demand. It is a severe underestimation of the true cost of hardware development.
Many creators build their Kickstarter budget based on a simplistic equation: Estimated Unit Cost × Number of Backers = Total Manufacturing Cost. This is a dangerous oversimplification. As an experienced hardware ODM (Original Design Manufacturer) that has guided dozens of projects from napkin sketches to global shipping, we see the same financial blind spots repeatedly.
This is not a generic list of tips. This is a deep, technical, and financial breakdown of the hidden costs of hardware development and exactly how you can protect your budget by partnering with the right engineering team from day one.
1. The Illusion of the "Unit Cost" (BOM vs. Landed Cost)
The Expectation: "The factory quoted me $15 per unit for the electronics and plastic. I’m selling it for $50, so my margins are great."
The Reality: The Bill of Materials (BOM) is only the starting point. The Landed Cost—the actual cost to get a finished, boxed product into your backer’s hands—is typically 2.5x to 3x the raw BOM cost.
Creations often forget to budget for:
- Custom Packaging & Inserts: Foam molding, eco-friendly pulp trays, and high-quality printed boxes can add $2–$5 per unit.
- Documentation: User manuals, warranty cards, and regulatory labels (which must be printed in multiple languages for global backers).
- Yield Loss & Spare Parts: No manufacturing line has a 100% yield rate. You must budget for a 3–5% buffer of spare units to replace DOA (Dead on Arrival) products or cover assembly line defects.
- Logistics & Tariffs: Ocean freight, customs duties, import taxes, and last-mile delivery to backers.
- Platform Fees: Kickstarter/Indiegogo and payment processors collectively take 8% to 10% of your total raised funds.
How to Avoid It: Demand a Landed Cost Analysis from your ODM partner before setting your Kickstarter reward tiers. A professional manufacturer will help you calculate the fully burdened cost, ensuring your campaign is actually profitable.
2. The NRE (Non-Recurring Engineering) Black Hole
The Expectation: "I have a working prototype made from an Arduino and a 3D-printed case. The engineering part is mostly done."
The Reality: A "franken-prototype" is not a manufacturable product. Transitioning from a proof-of-concept to a mass-producible design requires significant Non-Recurring Engineering (NRE) investment.
NRE costs cover the specialized labor required to design your product for scale. This includes:
- Industrial Design (ID) & Mechanical Design (MD): Refining the aesthetics and ensuring the internal components fit perfectly within the enclosure, accounting for plastic shrinkage and snap-fit tolerances.
- Electronic Engineering (EE): Designing a custom, compact, 4-to-6 layer PCB that meets electromagnetic compatibility (EMC) standards, rather than relying on bulky development boards.
- Firmware Development: Writing optimized, bug-free code that manages power consumption, Bluetooth/Wi-Fi connectivity, and user interfaces reliably.
If you skip professional NRE and try to force a prototype into production, you will face catastrophic failure rates. Investing in early-stage, turnkey PCBA (Printed Circuit Board Assembly) prototyping ensures that your firmware, hardware, and mechanical design are validated together before you commit to expensive steel molds. 👉 Mitigate redesign risks early: Explore our PCB Prototype & Turnkey PCBA Assembly Manufacturing services to validate your architecture before scaling.
3. The Certification and Compliance Tax
The Expectation: "We’ll just figure out the certifications after the campaign ends when we have the money."
The Reality: You cannot legally sell or ship electronic devices in most global markets without rigorous safety and emissions certifications. If you wait until post-campaign to address this, you will face massive delays and expedited fees.
Common mandatory certifications include:
- FCC (USA) & CE (Europe): Required for any device that emits radio frequencies (Wi-Fi, Bluetooth). Costs typically range from $3,000 to $10,000+, depending on the complexity of the RF design.
- RoHS / REACH: Mandatory environmental compliance for materials used in the EU and other regions.
- UL / IEC 62133: Absolutely critical (and expensive) if your product contains a lithium-ion battery. Battery certification alone can cost $5,000 to $15,000 and take months.
How to Avoid It: Work with an ODM that prioritizes Design for Compliance. For example, if you are building an IoT device, leveraging pre-certified wireless modules (like the ESP32 series) can drastically reduce your RF testing time and certification costs, as the module’s core radio has already been validated.
4. Tooling and DFM (Design for Manufacturability) Revisions
The Expectation: "The mold costs $10,000, we pay it once, and we’re good to go."
The Reality: Injection molding is an iterative process. The initial samples that come out of a new mold are called T0 (Trial 0). It is exceedingly rare for a T0 sample to be perfect.
You will likely encounter:
- Sink marks or warping due to uneven wall thickness.
- Interference issues where the PCB doesn’t quite fit the plastic housing.
- Poor surface finish requiring mold polishing or texturing adjustments.
Each iteration (T1, T2, T3) requires the factory to modify the steel mold. While minor tweaks are sometimes included in the initial tooling quote, major design changes requested by the client after the mold has been cut will incur tooling modification fees and delay your schedule by weeks.
How to Avoid It: Insist on a rigorous DFM (Design for Manufacturability) report before any steel is cut. A competent ODM will simulate mold flow, identify potential cosmetic or structural flaws in your 3D files, and resolve them digitally, saving you thousands in physical mold revisions.
5. The "Scope Creep" and Delay Penalties
The Expectation: "While we’re building it, can we just add a color e-ink display and make it waterproof?"
The Reality: In hardware, a simple-sounding feature addition mid-development is exponentially expensive. Adding waterproofing (e.g., moving from IP54 to IP67) requires redesigning the enclosure, adding ultrasonic welding or new gaskets, changing the PCB conformal coating, and re-running all certification tests.
This "scope creep" not only drains your NRE budget but also pushes back your timeline. If you miss your promised shipping date, you may be forced to use air freight instead of ocean freight to appease backers. Air freighting 5,000 units can easily cost $15,000 to $30,000+, instantly wiping out your profit margin.
How to Avoid It: Freeze your product specifications before the campaign launches. Any post-campaign feature additions should be treated as "Version 2.0" or offered as optional, later-stage add-ons, not as changes to the core manufacturing run.
How to Build a Bulletproof Hardware Budget: A Realistic Framework
To protect your campaign, your budget should be allocated roughly as follows for a typical consumer electronics project:
- Prototyping & NRE (20%): ID/MD design, custom PCB layout, firmware development, and functional MVP builds.
- Certifications & Testing (15%): FCC, CE, RoHS, battery testing, and reliability testing (drop, thermal, lifecycle).
- Tooling & DFM (15%): Injection molds, jigs, fixtures, and assembly line setup.
- Initial Production Run & Logistics (40%): BOM, assembly labor, packaging, ocean freight, and customs.
- Contingency Fund (10%): Non-negotiable. This is your buffer for unexpected component price hikes, minor tooling tweaks, or slight yield losses.
Frequently Asked Questions (FAQ)
Q: How much does it realistically cost to take a hardware idea from concept to a Kickstarter-ready prototype?
A: For a moderately complex IoT or consumer electronic device, expect to invest between $3,000 and $15,000 to achieve a functional, "looks-like and works-like" MVP. This includes custom PCBA, basic enclosure prototyping (CNC/3D printing), and foundational firmware. Complex products (e.g., robotics, medical devices) will require significantly more.
Q: Can I reduce NRE costs by doing the mechanical or electronic design myself?
A: Yes, but with caution. If you provide complete, production-ready CAD files and Gerber files, you can save on design fees. However, if your files are not optimized for manufacturing, the factory will still charge you for "engineering support" to fix them, often at a higher hourly rate. It is usually more cost-effective to have your ODM handle the DFM optimization from the start.
Q: What is the single most common hidden cost that destroys Kickstarter budgets?
A: Underestimating the cost and time of compliance certifications and the subsequent need for air freight. When a product fails an unexpected EMC test, the 4-week delay to redesign and re-test often forces creators to abandon cheap ocean shipping in favor of emergency air freight to avoid backer revolt.
Transparency is Your Best Investment
Hardware development is not a place to cut corners, but it is a place where smart planning saves fortunes. The difference between a cautionary tale and a massively successful, delivered product lies in anticipating these hidden costs before they materialize.
You don’t just need a factory that can assemble parts; you need a strategic ODM partner who will proactively identify financial risks, optimize your BOM, and guide you through the EVT/DVT/PVT phases with complete transparency.
Don’t let budget surprises derail your innovation. If you have a hardware concept and want a realistic, no-obligation breakdown of what it will truly cost to bring it to life, our engineering team is ready to help.

 FireBeetle 2 ESP32 C6 IoT Development Board Supports Wi-Fi 6, Bluetooth 5, Solar-Powered
$9.50
FireBeetle 2 ESP32 C6 IoT Development Board Supports Wi-Fi 6, Bluetooth 5, Solar-Powered
$9.50
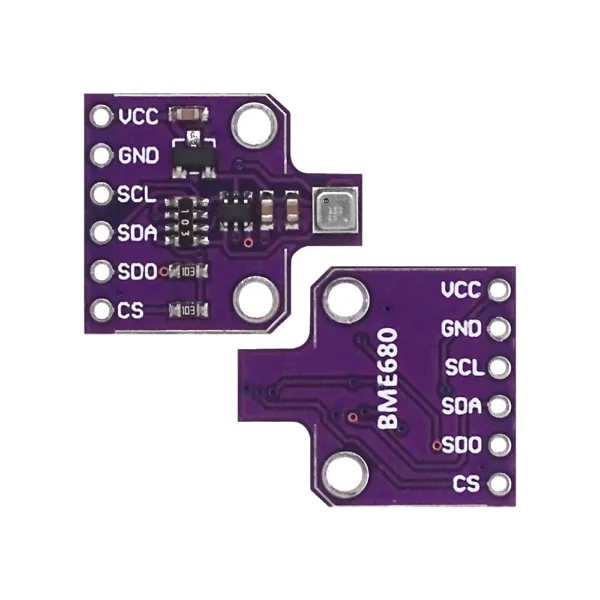 BME680 Digital Temperature Humidity Pressure Sensor High Altitude Module Development Board
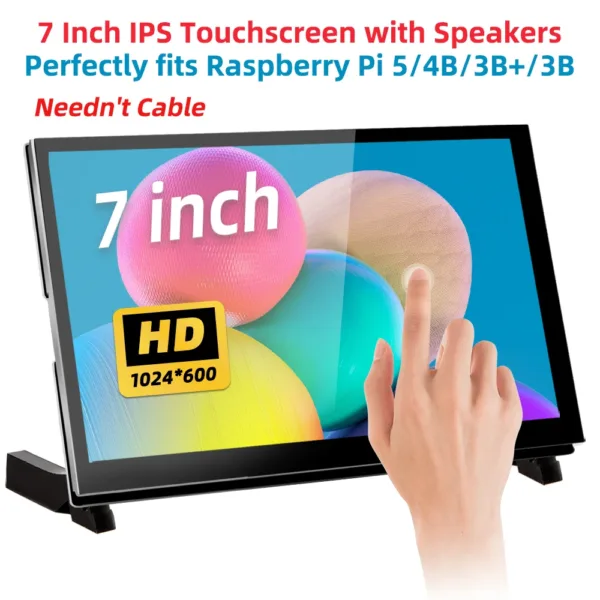 7 inch IPS LCD TFT Display HDMI Touch Screen 1024x600 Resolution Capacitive Touch Screen for Raspberry Pi 5 4 3 3B+ 2
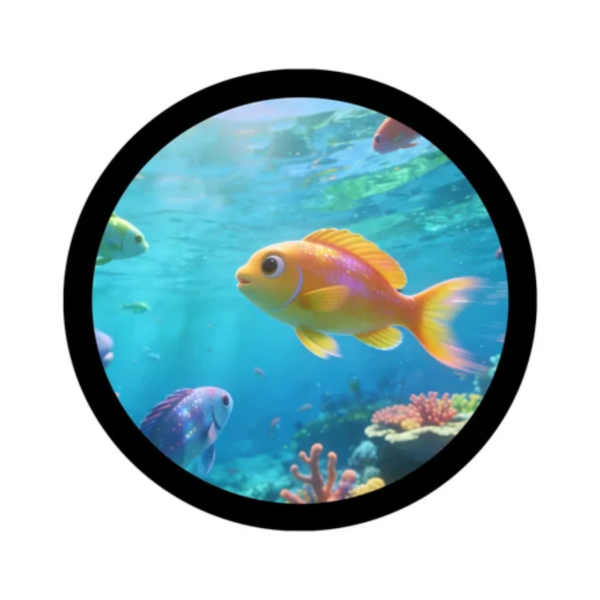 7inch HDMI Round Capacitive Touch Display for Raspberry Pi/Jetson Nano/PC, 160° Viewing Angle 1080×1080 IPS Display 1 sold
$168.90
7inch HDMI Round Capacitive Touch Display for Raspberry Pi/Jetson Nano/PC, 160° Viewing Angle 1080×1080 IPS Display 1 sold
$168.90
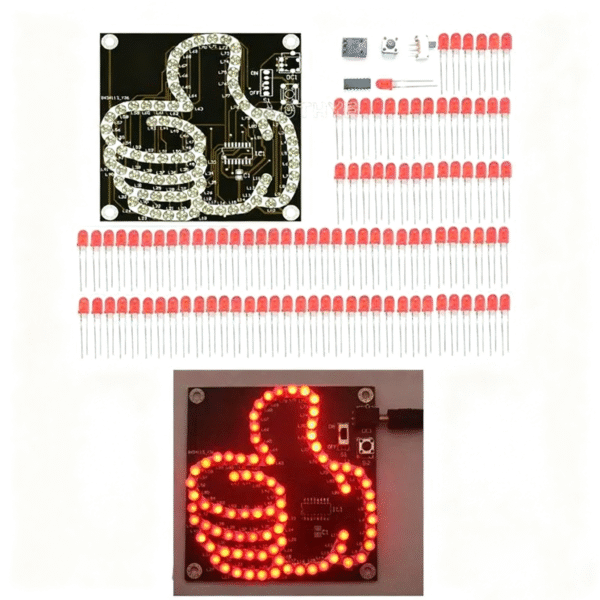 DIY Electronic Kit LED Thumb Flowing Light Production Kit Light-emitting Diode Fun Welding Microcontroller Soldering Practice
$3.90
DIY Electronic Kit LED Thumb Flowing Light Production Kit Light-emitting Diode Fun Welding Microcontroller Soldering Practice
$3.90