
EMC/EMI Checklist Before Your Board Goes to Certification
EMC testing is expensive, and failing it is worse than the test fee — it costs you a respin, a
FreeRTOS ESP32 tutorial is your entry point into mastering task management on the ESP32 platform. With its dual-core capabilities and abundant features, the ESP32 is ideal for IoT applications. Leveraging FreeRTOS on this powerful microcontroller enables you to execute multiple tasks efficiently without the daunting complexity often associated with real-time operating systems. In this guide, we will explore the fundamentals of FreeRTOS on the ESP32, highlighting how to create, manage, and optimize tasks for your projects.
Before delving into the intricacies of task management, it’s important to understand what FreeRTOS and ESP32 bring to the table. FreeRTOS is an open-source real-time operating system kernel designed for embedded devices. It allows developers to create software that responds instantly to external events, making it ideal for robotics, sensor networks, and various IoT applications.
The ESP32, a versatile and powerful microcontroller developed by Espressif Systems, comes equipped with Wi-Fi and Bluetooth capabilities. Its combination of low power consumption and robust processing power makes it an attractive choice for both hobbyists and industrial applications.
Using FreeRTOS on the ESP32 allows for better resource management and a highly responsive program structure:
- Multitasking: FreeRTOS allows you to run multiple tasks in parallel, making it easier to design complex applications without hindering performance.
- Dynamic Resource Management: The FreeRTOS scheduler manages task priorities and memory efficiently, ensuring responsive performance even under heavy load.
- Ease of Integration: FreeRTOS integrates seamlessly with ESP32, making it easier to access hardware features and peripheral APIs.
Before embarking on your FreeRTOS journey with the ESP32, you must set up the development environment.
1. Install the Arduino IDE: If you haven’t already, download and install the Arduino IDE. This popular platform supports ESP32 development and provides an intuitive interface.
2. Add the ESP32 Board Package: Open the Arduino IDE, navigate to Preferences, and add the ESP32 board URL in the Additional Board Manager URLs field. Then access the Board Manager to install the ESP32 board package.
3. Include Libraries: Ensure you have the necessary libraries installed. FreeRTOS comes pre-installed with the ESP32 board package, saving you the hassle of separate installation.
Now that your environment is ready, let’s create a basic task to familiarize ourselves with the FreeRTOS structure.
Begin with defining your task function. In this example, we will create a simple task that blinks an LED.
```cpp
#include
void TaskBlink(void pvParameters) {
pinMode(LED_BUILTIN, OUTPUT);
while (true) {
digitalWrite(LED_BUILTIN, HIGH);
vTaskDelay(1000 / portTICK_PERIOD_MS);
digitalWrite(LED_BUILTIN, LOW);
vTaskDelay(1000 / portTICK_PERIOD_MS);
}
}
```
Next, initialize your FreeRTOS tasks in the `setup()` function:
```cpp
void setup() {
xTaskCreate(TaskBlink, "Blink Task", 1000, NULL, 1, NULL);
}
```
Finally, implement the `loop()` function. With FreeRTOS managing tasks, the loop can remain empty or perform other operations.
```cpp
void loop() {
// Your main code can be executed here or left empty
}
```
Here’s how everything fits together:
```cpp
#include
void TaskBlink(void pvParameters) {
pinMode(LED_BUILTIN, OUTPUT);
while (true) {
digitalWrite(LED_BUILTIN, HIGH);
vTaskDelay(1000 / portTICK_PERIOD_MS);
digitalWrite(LED_BUILTIN, LOW);
vTaskDelay(1000 / portTICK_PERIOD_MS);
}
}
void setup() {
xTaskCreate(TaskBlink, "Blink Task", 1000, NULL, 1, NULL);
}
void loop() {}
```
As you become more comfortable with the simple task structure, consider expanding the complexity by:
- Creating Multiple Tasks: Define various tasks that can run simultaneously, such as reading sensor data while controlling actuators.
- Managing Task Priorities: Adjust task priorities based on operational requirements, such as giving higher priority to time-sensitive tasks.
- Inter-task Communication: Implement mechanisms like queues and semaphores to facilitate communication between tasks.
By following this FreeRTOS ESP32 tutorial, you've taken your first steps toward mastering task management in embedded programming. The versatility of the ESP32 combined with the real-time capabilities of FreeRTOS makes for a powerful tool in your IoT development arsenal. As you gain experience, explore more sophisticated examples and use cases to further enhance your skills. Happy coding!
======================================
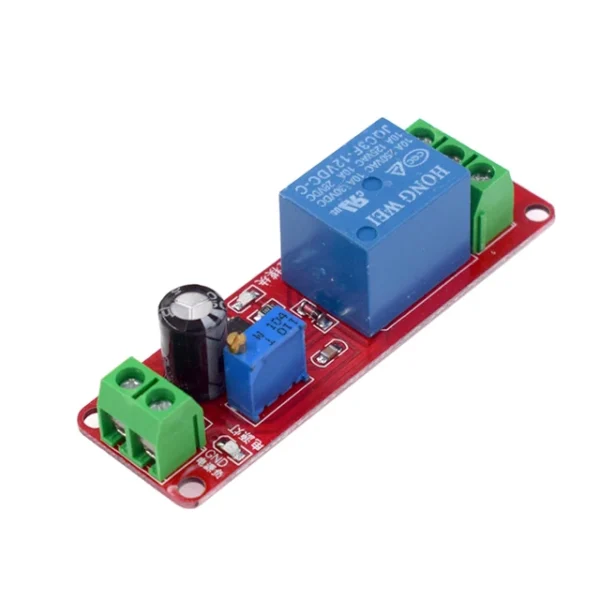 DC 5V 12V Time Delay Relay NE555 Time Relay Shield Timing Relay Timer Control Switch Car Relays Pulse Generation Duty Cycle
$2.30
DC 5V 12V Time Delay Relay NE555 Time Relay Shield Timing Relay Timer Control Switch Car Relays Pulse Generation Duty Cycle
$2.30
 Digital LCD Display PC Computer 20/24 Pin LCD Power Supply Tester Check Atx Source Tester Power Measuring Diagnostic Tester Tool
$7.90
Digital LCD Display PC Computer 20/24 Pin LCD Power Supply Tester Check Atx Source Tester Power Measuring Diagnostic Tester Tool
$7.90
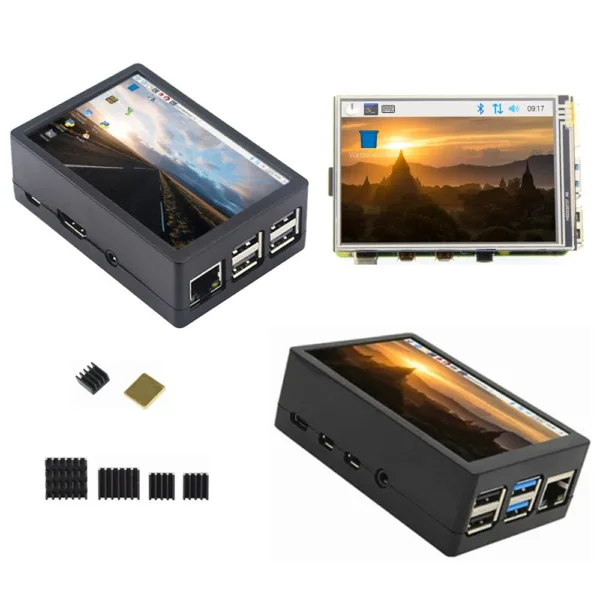 3.5 inch TFT LCD Display Touch Screen + ABS Case + Heat sink For Raspberry Pi 5 4B 3B+ 3B
 0.6" Inch Small Size IPS TFT Color Screen 128x150 SPI Interface with ST7735P3 Full View Display Module 12P Pins
$3.20
0.6" Inch Small Size IPS TFT Color Screen 128x150 SPI Interface with ST7735P3 Full View Display Module 12P Pins
$3.20
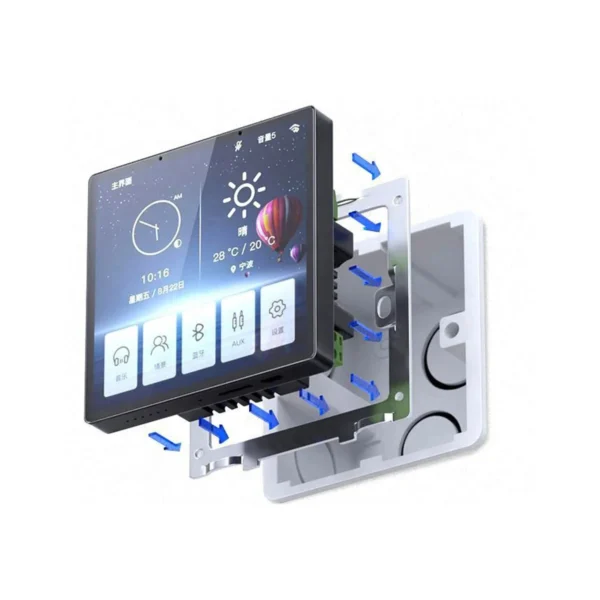 ESP32-S3 3.92 inch IPS LCD touch display 3.92'' Smart screen displaywall switch tablet square panel
$68.90
ESP32-S3 3.92 inch IPS LCD touch display 3.92'' Smart screen displaywall switch tablet square panel
$68.90
EMC testing is expensive, and failing it is worse than the test fee — it costs you a respin, a
We review a lot of boards — some designed in-house, some by other contractors, some by founders doing their own
When a battery-powered product dies too soon, the instinct is to blame the firmware. Surely there is a sleep mode
A wearable PCB is not just a small PCB. It is a board where every constraint that normally has some
The STM32 family is the workhorse of embedded hardware, and almost every project that uses one starts the same way:
The nRF52840 is one of the most popular BLE and multiprotocol chips in the world, and for good reason: it
No account yet?
Create an Account