
EMC/EMI Checklist Before Your Board Goes to Certification
EMC testing is expensive, and failing it is worse than the test fee — it costs you a respin, a
The esp32 ota update process can revolutionize how you manage firmware for your IoT devices. Over-the-Air (OTA) updates allow you to wirelessly update your firmware directly on an ESP32 microcontroller, eliminating the need for physical access to the device. This feature is crucial for developers and makers looking to modify or enhance their applications seamlessly.
The ESP32 is a versatile and highly popular microcontroller with built-in Wi-Fi and Bluetooth capabilities. OTA updates enable you to send new firmware versions to the ESP32 without requiring a physical connection. In simpler terms, once your device is connected to the internet, you can wirelessly push updates, ensuring that your IoT application is always up-to-date with the latest features and security patches.
Implementing ESP32 OTA updates can save you time and effort, particularly when deploying applications across multiple devices. Instead of manually updating each unit, you can streamline the process from a centralized location.
1. Convenience: One of the most significant advantages of OTA updates is convenience. You can update devices even if they are installed in hard-to-reach locations.
2. Efficiency: Firmware updates are quicker, and there’s no risk of disrupting user experience or downtimes associated with manual updates.
3. Cost-Effective: Reducing the need for physical access to devices can significantly lower maintenance costs, especially in large-scale deployments.
4. Enhanced Security: Regular updates help you close security vulnerabilities, ensuring that your applications remain protected against potential threats.
5. Scalability: As your applications grow, OTA updates make it easier to deploy new features or fixes across multiple devices simultaneously.
Implementing an esp32 ota update is a straightforward process, but it requires specific steps to ensure a smooth operation. Below, we'll walk you through the process:
Before implementing OTA updates, make sure you have the necessary tools:
- Arduino IDE: Download and install the Arduino Integrated Development Environment (IDE).
- ESP32 Board Support: Ensure you have installed the ESP32 board support package through the Arduino Boards Manager.
Develop your custom ESP32 firmware as you usually would. Make sure to include the necessary libraries and functions that handle OTA updates. It's crucial to initialize the OTA functionality within your code.
```cpp
#include
#include
void setup() {
// Setup WiFi
WiFi.begin("yourSSID", "yourPASSWORD");
// Initialize OTA updates
ArduinoOTA.begin();
}
```
While setting up, monitor the OTA progress in your code. This will allow you to handle various events such as start, end, and progress during the OTA update process.
```cpp
ArduinoOTA.onStart([]() {
String type;
if (ArduinoOTA.getCommand() == U_FLASH) {
type = "sketch";
} else { // U_SPIFFS
type = "filesystem";
}
// NOTE: if updating SPIFFS this would be the place to erase it
Serial.println("Start updating " + type);
});
ArduinoOTA.onEnd([]() {
Serial.println("nEnd");
});
ArduinoOTA.onProgress([](unsigned int progress, unsigned int total) {
Serial.printf("Progress: %u%%r", (progress / (total / 100)));
});
ArduinoOTA.onError([](ota_error_t error) {
Serial.printf("Error[%u]: ", error);
if (error == OTA_AUTH_ERROR) {
Serial.println("Auth Failed");
} else if (error == OTA_BEGIN_ERROR) {
Serial.println("Begin Failed");
} else if (error == OTA_CONNECT_ERROR) {
Serial.println("Connect Failed");
} else if (error == OTA_WRITE_ERROR) {
Serial.println("Write Failed");
} else if (error == OTA_END_ERROR) {
Serial.println("End Failed");
}
});
```
Once your code is ready and the OTA functionality is implemented, you can upload the firmware to your ESP32 over the air. First, upload the initial firmware via USB. After that, you will be able to send updates wirelessly, significantly improving your device management.
Before deploying the firmware update broadly, test the OTA functionality on a single device. Make sure that the upload process works and that the device operates as expected after the update.
The esp32 ota feature is a powerful tool for developers and hobbyists alike. With the ability to perform custom ESP32 firmware updates wirelessly, you can enhance your projects with new features and security patches effortlessly. Whether you are managing a single device or hundreds, the OTA process can simplify firmware management, ultimately making your IoT applications more robust and user-friendly.
By following the steps outlined in this guide, you'll be well on your way to implementing efficient and effective OTA updates in your projects, setting the stage for a more streamlined and effective approach to firmware management.
======================================
 ESP32-S3-WROOM CAM Wireless Board, Dual-core 32-bit 240 MHz Microcontroller, Python C Code, Example Projects Tutorial
$23.90 – $24.90Price range: $23.90 through $24.90
ESP32-S3-WROOM CAM Wireless Board, Dual-core 32-bit 240 MHz Microcontroller, Python C Code, Example Projects Tutorial
$23.90 – $24.90Price range: $23.90 through $24.90
 3.1 Inch 4 Color ePaper Display
$10.20
3.1 Inch 4 Color ePaper Display
$10.20
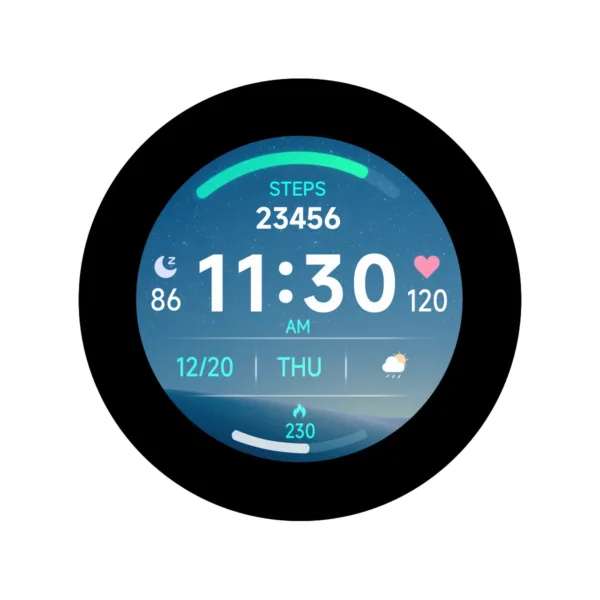 RP2350 2.8inch Round Display Development Board, 480×480, Based On The Raspberry Pi RP2350B Dual-core & Dual-architecture Microco
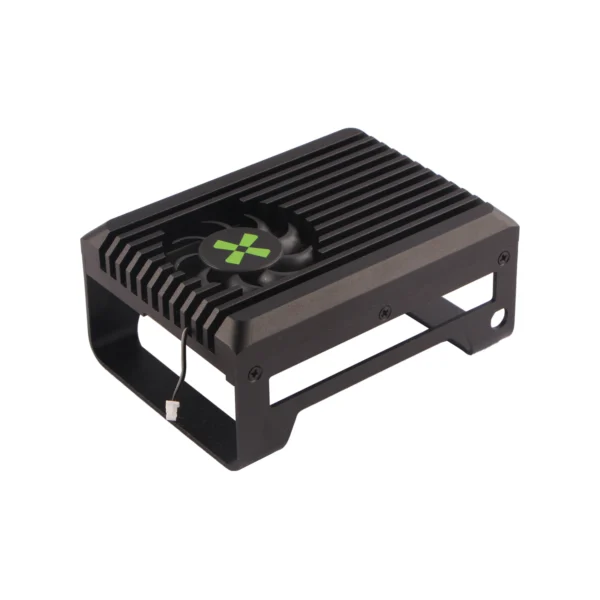 Radxa Heatsink for X4, Designed for Radxa X4, Easy to Install and Remove.
$26.90
Radxa Heatsink for X4, Designed for Radxa X4, Easy to Install and Remove.
$26.90
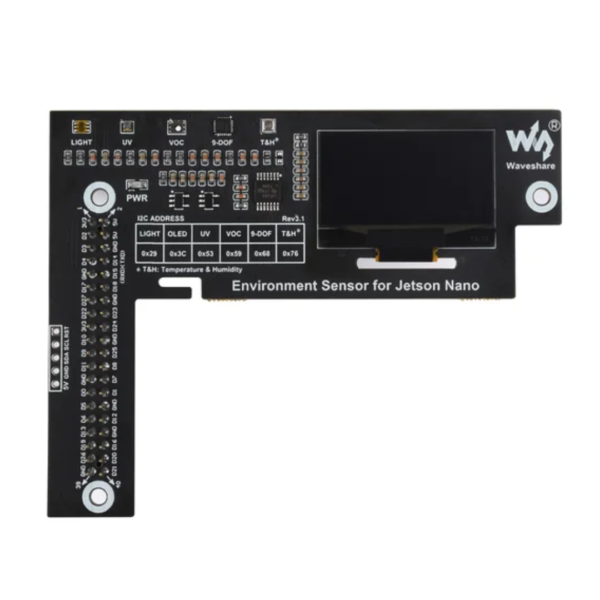 Environment Sensor Module Designed For Jetson Nano, I2C Bus, With 1.3inch OLED Display
$57.90
Environment Sensor Module Designed For Jetson Nano, I2C Bus, With 1.3inch OLED Display
$57.90
EMC testing is expensive, and failing it is worse than the test fee — it costs you a respin, a
We review a lot of boards — some designed in-house, some by other contractors, some by founders doing their own
When a battery-powered product dies too soon, the instinct is to blame the firmware. Surely there is a sleep mode
A wearable PCB is not just a small PCB. It is a board where every constraint that normally has some
The STM32 family is the workhorse of embedded hardware, and almost every project that uses one starts the same way:
The nRF52840 is one of the most popular BLE and multiprotocol chips in the world, and for good reason: it
No account yet?
Create an Account