
EMC/EMI Checklist Before Your Board Goes to Certification
EMC testing is expensive, and failing it is worse than the test fee — it costs you a respin, a
The ESP32 OTA update is revolutionizing how developers and hobbyists manage firmware updates for their IoT projects. Over-the-Air (OTA) updates allow you to push changes and enhancements without the need for physical access to the hardware. This capability is particularly beneficial for remotely deployed devices, offering a streamlined way to keep your ESP32-powered applications up to date. Let’s dive into the intricacies of implementing OTA updates and how they serve as an efficient solution for custom firmware needs.
The ESP32 microcontroller, known for its rich feature set and low power consumption, supports OTA updates. With the inherent challenges of deploying updates in the traditional manner—like having to connect the device physically or reprogram—OTA updates present a game-changing alternative. By using this method, developers can seamlessly deliver new features, patches, and bug fixes directly to the device, significantly enhancing user experience and operational efficiency.
Before you dive into the implementation of OTA updates, it's essential to set up your development environment. Here’s a step-by-step guide:
1. Install the Arduino IDE: Begin by downloading and installing the Arduino IDE, which serves as the environment for coding your ESP32 applications.
2. Add ESP32 Board Support: You need to include the ESP32 boards in the IDE. You can do this by navigating to the “Boards Manager” and searching for the ESP32 library. Once you find it, install the correct version.
3. Set Up Libraries: Ensure the necessary libraries for OTA functionality are included. The `WiFi.h` and `ArduinoOTA.h` libraries are particularly crucial for facilitating OTA updates.
Once your environment is set up, the next step is coding your custom firmware. Below is a basic outline of how to incorporate OTA functionality into your project:
```cpp
#include
#include
// Wi-Fi credentials
const char ssid = "YOUR_SSID";
const char password = "YOUR_PASSWORD";
void setup() {
Serial.begin(115200);
WiFi.begin(ssid, password);
while (WiFi.status() != WL_CONNECTED) {
delay(1000);
Serial.println("Connecting to WiFi...");
}
Serial.println("Connected to WiFi");
// Start OTA
ArduinoOTA.begin();
}
void loop() {
ArduinoOTA.handle(); // Handle OTA requests
// Your main code here
}
```
This basic setup connects your ESP32 to a Wi-Fi network and initializes the OTA functionality. During the main loop, the `ArduinoOTA.handle();` function continuously checks for incoming OTA requests.
With your ESP32 firmware prepared, the next step is to upload the initial version of your sketch through the regular USB connection. Once the program is running and connected to Wi-Fi, you can now push firmware updates OTA.
1. Select the Network: In the Arduino IDE, go to the ‘Tools’ menu. Here, you’ll find an option to upload your sketch over the air to your ESP32.
2. Upload the New Firmware: Select your device from the port options, and the IDE will recognize the connected ESP32. You can now upload the new version of your firmware directly over Wi-Fi by clicking “Upload.”
Implementing ESP32 OTA updates comes with several benefits that make it a preferred choice for many developers:
- Convenience: OTA updates eliminate the need for physical access to devices, making it easy to manage firmware for remotely deployed units.
- Faster Iteration: Developers can quickly patch bugs and deploy new features without extensive downtime or manual effort.
- Cost-Effective: Reducing manual labor related to firmware updates lowers operational costs, especially for large-scale deployments.
- Improved User Experience: OTA allows users to benefit from the latest features and improvements without the hassle of manual updates.
While the process is straightforward, keeping a few best practices in mind can streamline your OTA update process:
- Backups: Always ensure that you have the previous version of your firmware saved in case the new upload fails.
- Security: Implement authentication mechanisms to secure your OTA updates. This can prevent unauthorized users from pushing updates to your devices.
- Error Handling: Always include error-handling mechanisms in your code to manage potential OTA update failures gracefully.
The ESP32 OTA update offers an effortless solution for managing custom firmware, enabling developers to enhance their IoT applications efficiently. With straightforward implementation steps and numerous advantages, it's no wonder that OTA functionality is becoming essential for modern IoT development. Whether you’re a seasoned engineer or just starting, leveraging OTA for your ESP32 projects will undoubtedly simplify your firmware management endeavors.
======================================
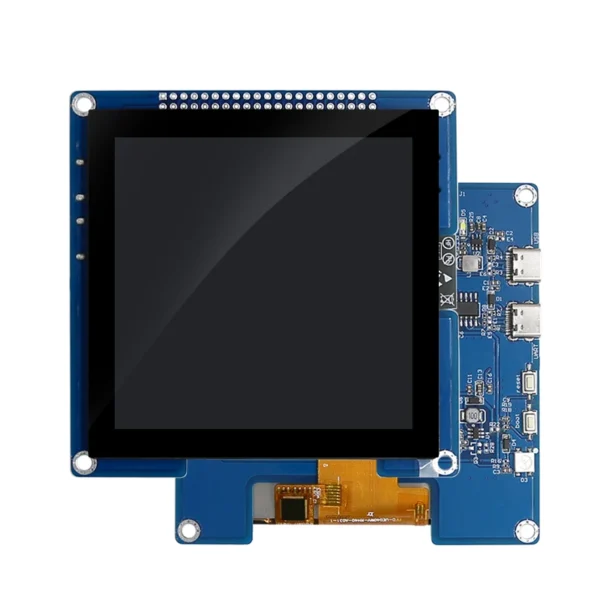 4 inch 480*480 ESP32 S3 LVGL WIFI&Bluetooth LCD Graphic Display TFT Smart Display Screen Module Development Board With Touch
$26.90
4 inch 480*480 ESP32 S3 LVGL WIFI&Bluetooth LCD Graphic Display TFT Smart Display Screen Module Development Board With Touch
$26.90
 Garden PH Meter Sunlight 3in1 Soil PH Tester Garden Flowers Soil Moisture Sensor Plants Acidity Humidity PH Monitor Detector
$3.90
Garden PH Meter Sunlight 3in1 Soil PH Tester Garden Flowers Soil Moisture Sensor Plants Acidity Humidity PH Monitor Detector
$3.90
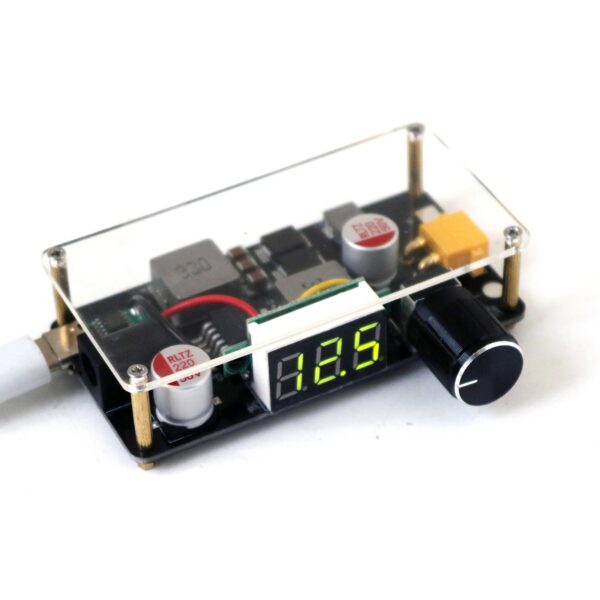 Desktop Adjustable Buck-Boost Power Supply Type-C USB PD DC 5-35V to 1.25-36V (3.3V/5V/12V/15V/24V) Voltage Converter with Di
$16.90
Desktop Adjustable Buck-Boost Power Supply Type-C USB PD DC 5-35V to 1.25-36V (3.3V/5V/12V/15V/24V) Voltage Converter with Di
$16.90
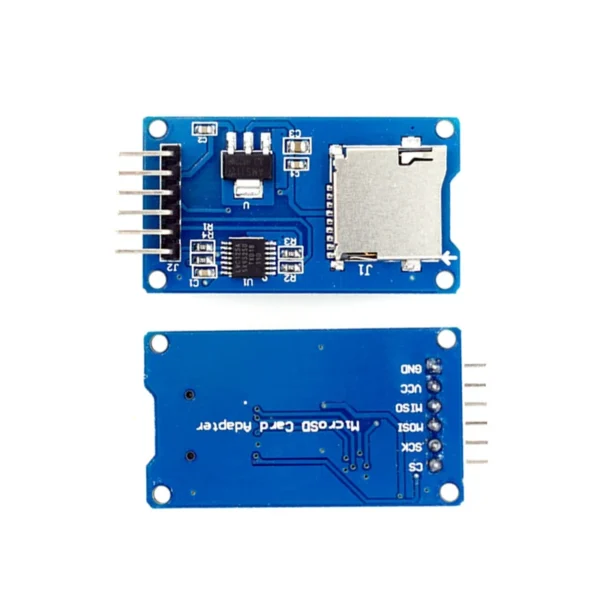 Micro SD Storage Expansion Board Micro SD TF Card Memory Shield Module SPI For Arduino Promotion
$2.90
Micro SD Storage Expansion Board Micro SD TF Card Memory Shield Module SPI For Arduino Promotion
$2.90
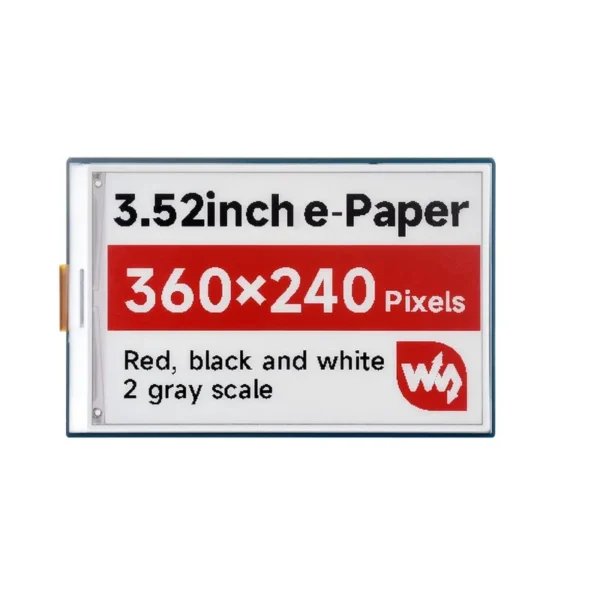 3.52 inch e-paper Display e-link red black and white support raspberry pi/STM32 paper screen 360x240 SPI Interface
$18.90 – $27.90Price range: $18.90 through $27.90
3.52 inch e-paper Display e-link red black and white support raspberry pi/STM32 paper screen 360x240 SPI Interface
$18.90 – $27.90Price range: $18.90 through $27.90
EMC testing is expensive, and failing it is worse than the test fee — it costs you a respin, a
We review a lot of boards — some designed in-house, some by other contractors, some by founders doing their own
When a battery-powered product dies too soon, the instinct is to blame the firmware. Surely there is a sleep mode
A wearable PCB is not just a small PCB. It is a board where every constraint that normally has some
The STM32 family is the workhorse of embedded hardware, and almost every project that uses one starts the same way:
The nRF52840 is one of the most popular BLE and multiprotocol chips in the world, and for good reason: it
No account yet?
Create an Account