
EMC/EMI Checklist Before Your Board Goes to Certification
EMC testing is expensive, and failing it is worse than the test fee — it costs you a respin, a
The ESP32 MQTT client tutorial is your gateway to unlocking the vast potential of cloud communication with the ESP32 microcontroller. As an incredibly versatile device, the ESP32 can connect effortlessly to various cloud services, turning your small-scale projects into powerful IoT applications. This article walks you through the essentials of ESP32 MQTT communication, specifically targeting integration with platforms like AWS.
Before diving into the technical aspects, it’s essential to understand what MQTT is. MQTT, or Message Queuing Telemetry Transport, is a lightweight messaging protocol designed for low-bandwidth and high-latency networks. Due to its minimal overhead and support for various quality-of-service levels, it’s ideal for IoT devices. The ESP32, with its dual-core processor and integrated Wi-Fi/Bluetooth capabilities, is perfect for handling MQTT messages.
To begin the journey of effective ESP32 MQTT communication, you need to prepare your development environment. Here’s what you’ll require:
1. ESP32 Board: Make sure you have an ESP32 development board.
2. Arduino IDE: Download and install the latest version of the Arduino IDE.
3. ESP32 Board Manager: Add the ESP32 board to the Arduino IDE by including the appropriate URL in the preferences menu.
4. MQTT Library: Install the PubSubClient library, which will help manage MQTT communications.
Before you can send or receive messages through MQTT, your ESP32 needs an internet connection. Use the following code to connect your ESP32 to your Wi-Fi network.
```cpp
#include
const char ssid = "YOUR_SSID";
const char password = "YOUR_PASSWORD";
void setup() {
Serial.begin(115200);
WiFi.begin(ssid, password);
while (WiFi.status() != WL_CONNECTED) {
delay(1000);
Serial.println("Connecting to WiFi...");
}
Serial.println("Connected to WiFi");
}
void loop() {
// Your code here
}
```
To use the MQTT protocol, you require a broker that will manage message distribution. For this tutorial, we’ll focus on AWS IoT as a suitable broker, due to its robust features and security.
1. Set Up AWS IoT:
- Create an AWS account and navigate to IoT Core.
- Register your ESP32 as a “Thing” in the IoT Core and create the required certificates for secure communication.
- Make a note of the endpoint provided by AWS, as it will be needed in your code.
2. Include MQTT Library:
After setting up your AWS IoT Core, it’s important to include the MQTT library in your ESP32 sketch:
```cpp
#include
const char* mqttServer = "YOUR_AWS_ENDPOINT";
const int mqttPort = 8883; // For secure MQTT
```
With everything set up, you can create a client instance and connect to AWS IoT:
```cpp
WiFiClientSecure net;
PubSubClient client(net);
void setup() {
setupWiFi();
net.setCACert(AWS_ROOT_CA_CERT); // Replace with your Root CA
net.setCertificate(CLIENT_CERT_CERT); // Client certificate
net.setPrivateKey(PRIVATE_KEY); // Private key
client.setServer(mqttServer, mqttPort);
// Connect to the broker
while (!client.connected()) {
Serial.println("Connecting to MQTT broker...");
if (client.connect("ESP32Client")) {
Serial.println("Connected to MQTT broker");
} else {
Serial.print("Failed to connect, rc=");
Serial.print(client.state());
delay(2000);
}
}
}
```
You can now publish messages or subscribe to specific topics with ease. Here’s a basic example of how to publish a message:
```cpp
void publishMessage() {
String message = "Hello from ESP32!";
client.publish("test/topic", message.c_str());
}
void loop() {
client.loop();
publishMessage();
delay(5000); // Publish every 5 seconds
}
```
This ESP32 MQTT client tutorial has provided you with insights and hands-on guidance for integrating your microcontroller with AWS for seamless cloud communication. By understanding the basics of MQTT, setting up a secure connection, and handling messaging, you can efficiently utilize the ESP32 in various IoT applications. Whether you’re controlling sensors, home automation systems, or any other smart device, MQTT opens the door to a world of possibilities. Keep exploring, as the best is yet to come!
======================================
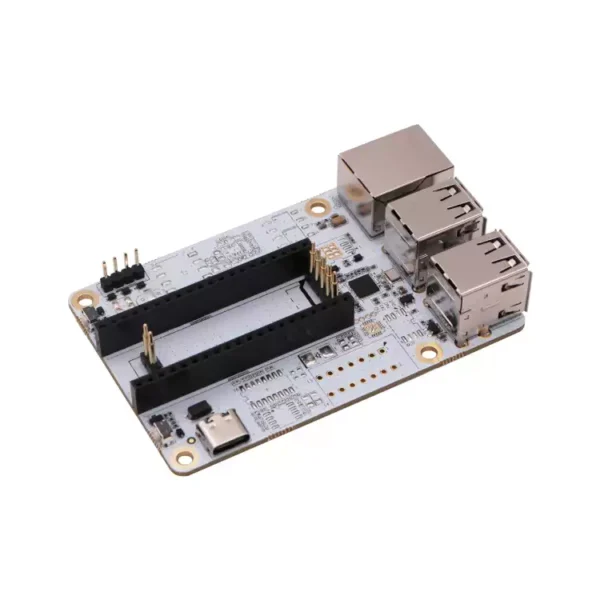 Duo USB Ethernet baseboard expansion board supports Duo256M
$10.60
Duo USB Ethernet baseboard expansion board supports Duo256M
$10.60
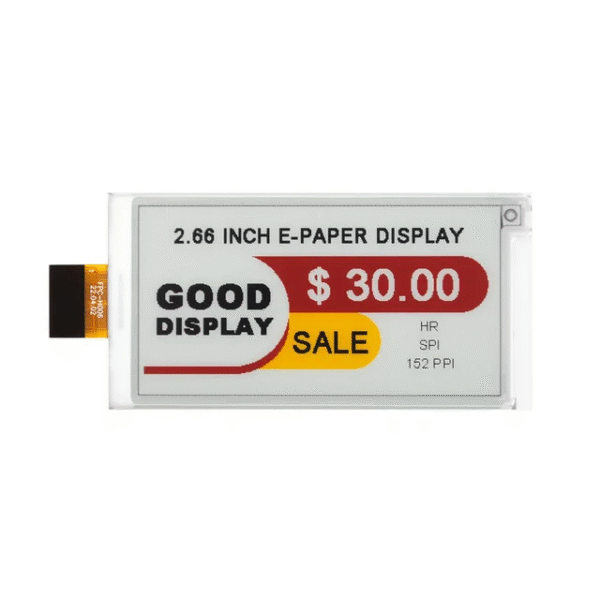 2.66 inch High-Res 4-Color E-Ink Industrial-Grade E-Paper Module 360x184 SPI Ultra-Thin Low Power 12s Refresh
$10.90 – $23.90Price range: $10.90 through $23.90
2.66 inch High-Res 4-Color E-Ink Industrial-Grade E-Paper Module 360x184 SPI Ultra-Thin Low Power 12s Refresh
$10.90 – $23.90Price range: $10.90 through $23.90
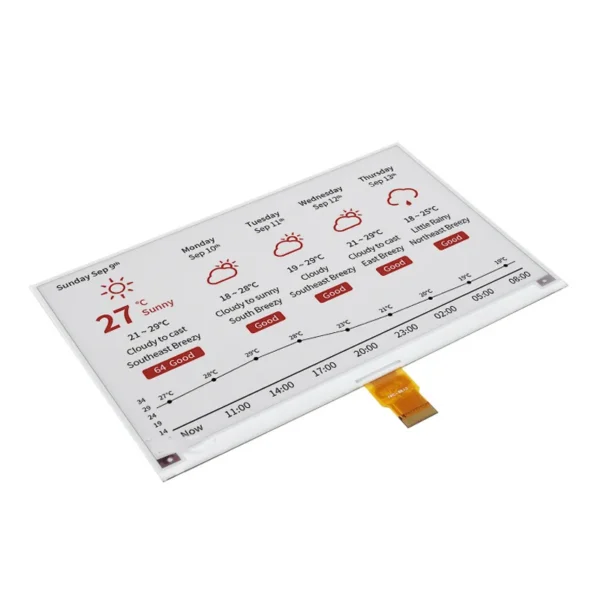 7.5inch E-Paper E-Ink Display HAT (B) 800×480 SPI Red/Black/White color for Raspberry Pi/Jetson Nano/RDK X3/Arduino/STM32
$52.90 – $60.90Price range: $52.90 through $60.90
7.5inch E-Paper E-Ink Display HAT (B) 800×480 SPI Red/Black/White color for Raspberry Pi/Jetson Nano/RDK X3/Arduino/STM32
$52.90 – $60.90Price range: $52.90 through $60.90
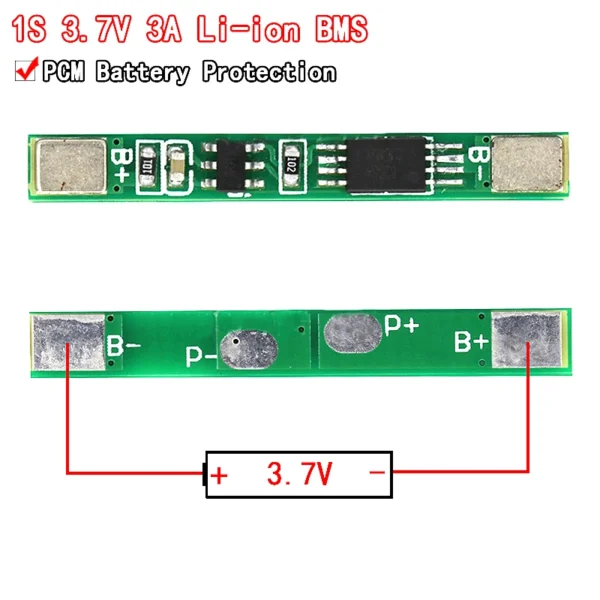 10PCS 1S 3.7V 3A li-ion BMS PCM battery protection board pcm for 18650 lithium ion li battery
$4.90
10PCS 1S 3.7V 3A li-ion BMS PCM battery protection board pcm for 18650 lithium ion li battery
$4.90
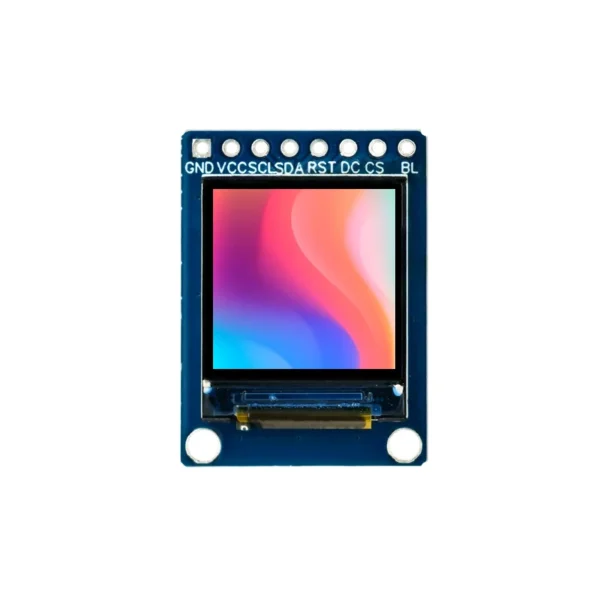 0.85 Inch 128x128 SPI TFT LCD Display Module - GC9107 Driver IC, Square Screen for Smart Wearables IoT Devices
$4.50 – $4.90Price range: $4.50 through $4.90
0.85 Inch 128x128 SPI TFT LCD Display Module - GC9107 Driver IC, Square Screen for Smart Wearables IoT Devices
$4.50 – $4.90Price range: $4.50 through $4.90
EMC testing is expensive, and failing it is worse than the test fee — it costs you a respin, a
We review a lot of boards — some designed in-house, some by other contractors, some by founders doing their own
When a battery-powered product dies too soon, the instinct is to blame the firmware. Surely there is a sleep mode
A wearable PCB is not just a small PCB. It is a board where every constraint that normally has some
The STM32 family is the workhorse of embedded hardware, and almost every project that uses one starts the same way:
The nRF52840 is one of the most popular BLE and multiprotocol chips in the world, and for good reason: it
No account yet?
Create an Account