
EMC/EMI Checklist Before Your Board Goes to Certification
EMC testing is expensive, and failing it is worse than the test fee — it costs you a respin, a
ESP32 I2S audio systems have revolutionized the way we work with sound input on microcontrollers, offering an efficient and high-quality solution for various audio applications. With its powerful processing capabilities and support for I2S (Inter-IC Sound) protocol, the ESP32 makes audio integration smoother than ever. This comprehensive guide will walk you through the nuances of using ESP32 I2S audio for stunning sound input, empowering hobbyists and developers alike.
Before we dive into the practical aspects, let's clarify what I2S is and why it’s a game changer for sound input. I2S is a serial bus interface standard that facilitates the connection of audio devices, transferring PCM (Pulse Code Modulation) audio data. It's commonly used to connect digital devices, such as microphones and digital-to-analog converters (DACs), making it ideal for the ESP32 platform.
1. Simplicity: I2S minimizes wiring complexity and allows for easier integration with various components.
2. High-Quality Audio: I2S supports high sample rates and bit depths, enabling clearer sound reproduction.
3. Low Latency: The direct connection between the audio source and ESP32 reduces delay, which is crucial for real-time audio applications.
To get started, you’ll need an ESP32 development board and a compatible I2S microphone or DAC. Here’s how to set it up:
- ESP32 Development Board
- I2S Microphone (like the INMP441)
- Breadboard and jumper wires (optional)
- Power supply (USB connection to your computer will suffice)
The following steps outline how to wire your components. If you’re using an INMP441 microphone, follow this configuration:
- Connect the VCC pin of the microphone to the ESP32 3V3.
- Connect the GND pin to one of the ESP32 GND pins.
- Connect the SDA (Serial Data Line) to one of the ESP32 GPIO pins (commonly GPIO 22).
- Connect the SCK (Serial Clock Line) to another GPIO pin (commonly GPIO 23).
- (Optional) Connect WS (Word Select) to a GPIO pin if your microphone supports it.
To work with ESP32 I2S audio, you will need the ESP32 Arduino core and other libraries. Ensure you install them through the Arduino IDE:
1. Open Arduino IDE and navigate to "Tools" > "Board" > "Board Manager."
2. Search for "ESP32" and install the package by Espressif Systems.
3. Also, install the Audio library (often used in conjunction with ESP32 for audio manipulation).
Now that you have everything wired and set up, it’s time to write some code. Below is a simple example to read audio input from your I2S microphone and print the data to the serial monitor.
```cpp
#include
#define I2S_NUM (0)
#define I2S_SAMPLE_RATE (16000)
#define I2S_BITS_PER_SAMPLE (I2S_BITS_PER_SAMPLE_16BIT)
extern "C" void app_main() {
// Configure I2S
i2s_config_t i2s_config = {
.mode = (i2s_mode_t)(I2S_MODE_MASTER | I2S_MODE_RX),
.sample_rate = I2S_SAMPLE_RATE,
.bits_per_sample = I2S_BITS_PER_SAMPLE,
.channel_format = I2S_CHANNEL_FMT_ONLY_RIGHT,
.comm_format = I2S_COMM_FORMAT_I2S_MSB,
.intr_alloc = 0,
.dma_buf_count = 8,
.dma_buf_len = 1024,
};
// Install I2S driver
i2s_driver_install(I2S_NUM, &i2s_config, 0, NULL);
// Create a buffer for data
int16_t buffer[1024];
while (true) {
// Read data from the microphone
size_t bytes_read;
i2s_read(I2S_NUM, buffer, sizeof(buffer), &bytes_read, portMAX_DELAY);
// Process the audio data (for now, just print the first few samples)
for (int i = 0; i < 10; i++) {
Serial.println(buffer[i]);
}
}
}
```
After writing the code, connect your ESP32 to your computer and upload the sketch. Ensure you select the correct board and port from the Arduino IDE before compiling.
With ESP32 I2S audio, you can create a myriad of applications, ranging from simple audio recorders to complex audio processing systems. Here are some ideas to get your creativity flowing:
- Voice Assistants: Implement voice recognition features using voice input.
- Sound Sensing: Build devices that respond to audio cues, enhancing user experience.
- IoT Sound Devices: Push boundaries by combining IoT with sound capabilities to create connected audio systems.
ESP32 I2S audio empowers developers with an efficient, versatile tool for integrating audio into their projects. This guide provides a solid foundation for those aiming to leverage sound input capabilities with the ESP32, opening doors to exciting possibilities in the world of audio technology. With the right components and code, you can embark on your journey of creating astonishing audio applications effortlessly.
======================================
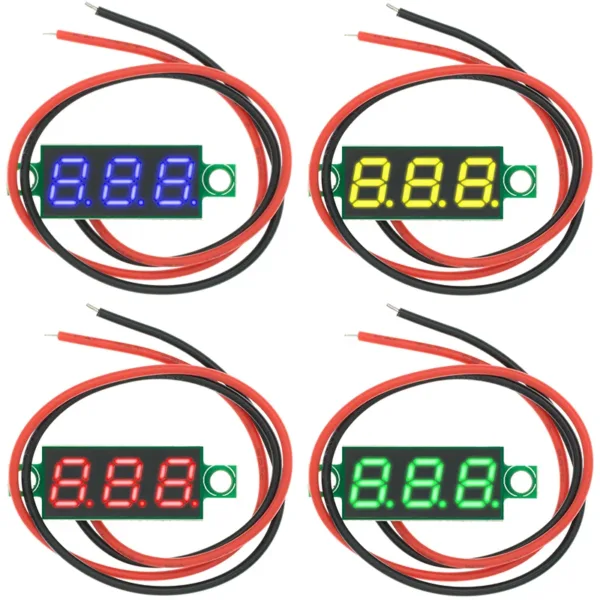 0.28 Inch 2.5V-40V Mini Digital Voltmeter Voltage Tester Meter Red/Blue/yellow/green LED Screen Electronic Parts Accessories
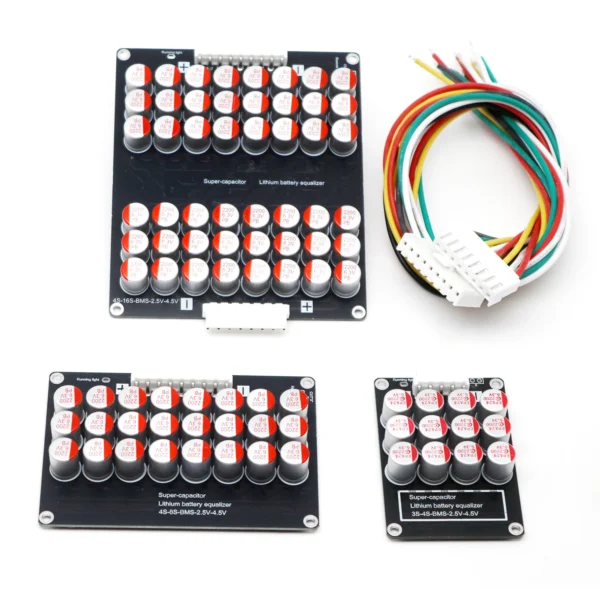 4S 8S 16S 6A Active Equalizer Lithium Battery Balancer Energy Transfer 10S 13S 14S Lifepo4 Li-ion 12V 24V 36V 48V BMS Protection
$12.90 – $25.90Price range: $12.90 through $25.90
4S 8S 16S 6A Active Equalizer Lithium Battery Balancer Energy Transfer 10S 13S 14S Lifepo4 Li-ion 12V 24V 36V 48V BMS Protection
$12.90 – $25.90Price range: $12.90 through $25.90
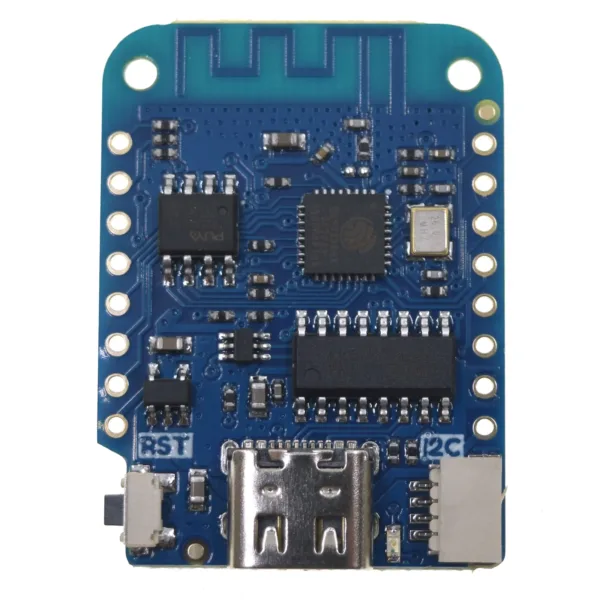 LOLIN D1 Mini V4.0.0 - WEMOS WIFI Internet of Things Board based ESP8266 4MB MicroPython Nodemcu Arduino Compatible
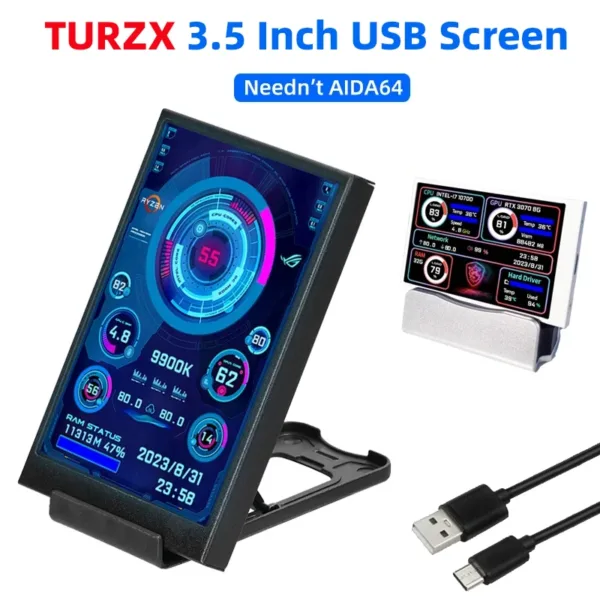 3.5 Inch IPS Type C Secondary Screen for Computer CPU GPU RAM HDD Display 320*480 USB LCD Monitor Freely AIDA64 Windows 10 11
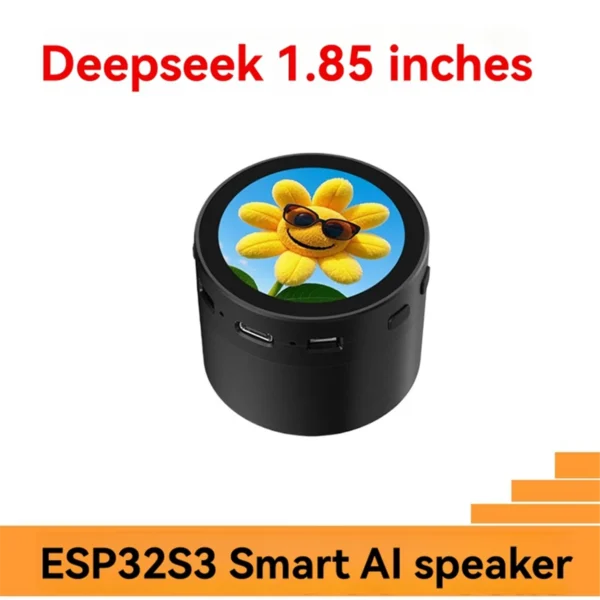 For DeepSeek XiaoZhi AI Voice Chat Speaker Box ESP32-S3 N16R8 Development Board with 1.85 Inch Round LCD Display
$39.90
For DeepSeek XiaoZhi AI Voice Chat Speaker Box ESP32-S3 N16R8 Development Board with 1.85 Inch Round LCD Display
$39.90
EMC testing is expensive, and failing it is worse than the test fee — it costs you a respin, a
We review a lot of boards — some designed in-house, some by other contractors, some by founders doing their own
When a battery-powered product dies too soon, the instinct is to blame the firmware. Surely there is a sleep mode
A wearable PCB is not just a small PCB. It is a board where every constraint that normally has some
The STM32 family is the workhorse of embedded hardware, and almost every project that uses one starts the same way:
The nRF52840 is one of the most popular BLE and multiprotocol chips in the world, and for good reason: it
No account yet?
Create an Account