
EMC/EMI Checklist Before Your Board Goes to Certification
EMC testing is expensive, and failing it is worse than the test fee — it costs you a respin, a
The ESP32 Hall Sensor is a powerful tool in the realm of electronics, capable of detecting magnetic fields effortlessly. This tiny yet efficient component is widely utilized in various applications such as robotics, automation, and even smart home devices. In this guide, we’ll dive deeper into its functionalities, applications, and how to integrate it into your projects effectively.
Before delving into the specifics of the ESP32 Hall Sensor, it’s essential to grasp the underlying principle behind it: the Hall effect. Named after Edwin Hall, the Hall effect describes the generation of voltage across a conductor when it is subjected to a magnetic field perpendicular to the direction of current flow. In simpler terms, when a magnetic field interacts with this sensor, it creates a voltage output that can be measured and processed by microcontrollers like the ESP32.
The ESP32, with its powerful dual-core processor and built-in WiFi and Bluetooth capabilities, is ideally suited for applications requiring real-time data processing and wireless communication. When paired with a Hall effect sensor, it can create robust systems for magnet detection and much more.
One of the standout features of the hall effect sensor ESP32 integration is its versatility. Whether you are working on a hobbyist project or a complex industrial application, the ESP32 Hall Sensor can serve multiple purposes:
- Position Sensing: Detect the position of rotating parts.
- Speed Monitoring: Monitor the speed of motors or wheels.
- Security Systems: Use in door or window sensors for security alerts.
- Robotics: Implement in robotic arms for feedback regarding their position.
By utilizing this sensor, developers can simplify designs while enhancing functionality.
Getting started with magnet detection using the ESP32 Hall Sensor involves a few straightforward steps:
1. Gather the Components:
- An ESP32 development board.
- Hall effect sensor (such as the A3144).
- Breadboard and jumper wires.
2. Wiring the Sensor:
- Connect the sensor’s VCC to the ESP32’s 3.3V pin.
- Connect the GND pin of the sensor to the ESP32 GND.
- Connect the output pin of the sensor to one of the digital GPIO pins of the ESP32.
3. Programming the ESP32:
To read the magnetic field, you can use the Arduino IDE with the following sample code:
```cpp
#define HALL_SENSOR_PIN 23 // Change GPIO pin as needed
void setup() {
Serial.begin(115200);
pinMode(HALL_SENSOR_PIN, INPUT);
}
void loop() {
int hallSensorValue = digitalRead(HALL_SENSOR_PIN);
if (hallSensorValue == HIGH) {
Serial.println("Magnet Detected!");
} else {
Serial.println("No Magnet.");
}
delay(1000); // Check every second
}
```
This code initializes the ESP32 and continually checks the Hall Sensor for a magnetic field presence, providing real-time feedback through the serial monitor.
Using an ESP32 Hall Sensor setup is a cost-effective solution, especially in comparison to other forms of position sensors. The components involved are inexpensive, making it an attractive option for hobbyists and students.
With the ESP32’s capability to connect to WiFi and Bluetooth, integrating the Hall Sensor into an IoT project opens up a multitude of possibilities. For instance, you can create a system that sends alerts to your smartphone when a magnetic field is detected, enhancing your home automation systems or even launching workflows in industrial settings.
The ESP32 Hall Sensor is more than just a magnet detector; it is a gateway to endless project ideas and innovations. With its simplicity, versatility, and integration capabilities, it allows developers to craft sophisticated systems with minimal effort. Whether you're a seasoned engineer or just starting, understanding the operation and potential of this sensor can significantly elevate your projects in terms of functionality and efficiency. Embrace the power of the ESP32 Hall Sensor and start creating your magnet detection systems today!
======================================
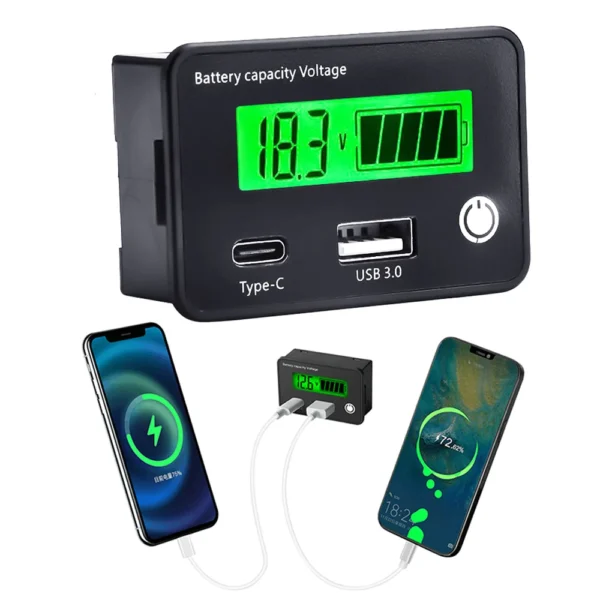 DC8-30V Battery Capacity Indicator Lead-Acid/Lron-Lithium/Ternary Lithium Measurement with USB3.0 and Tpye-C for Car Motorcycle
$7.90
DC8-30V Battery Capacity Indicator Lead-Acid/Lron-Lithium/Ternary Lithium Measurement with USB3.0 and Tpye-C for Car Motorcycle
$7.90
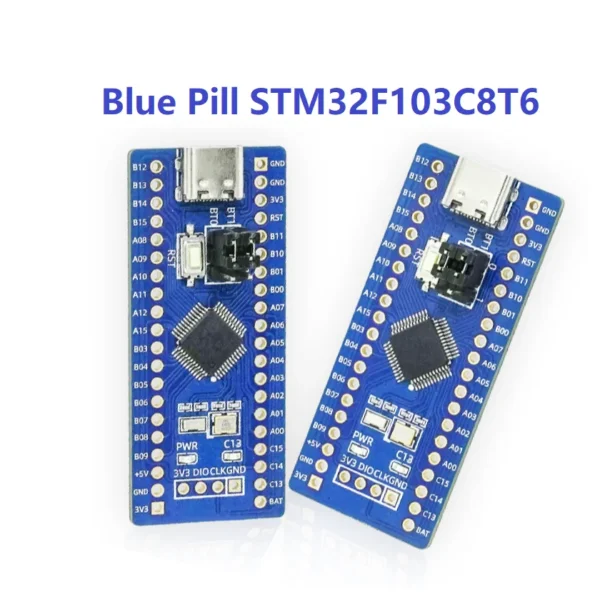 Blue Pill STM32 Development Board Onboard STM32F103 32F103C8T6 STM32F103C8T6 Microcontroller Core Board
$6.20
Blue Pill STM32 Development Board Onboard STM32F103 32F103C8T6 STM32F103C8T6 Microcontroller Core Board
$6.20
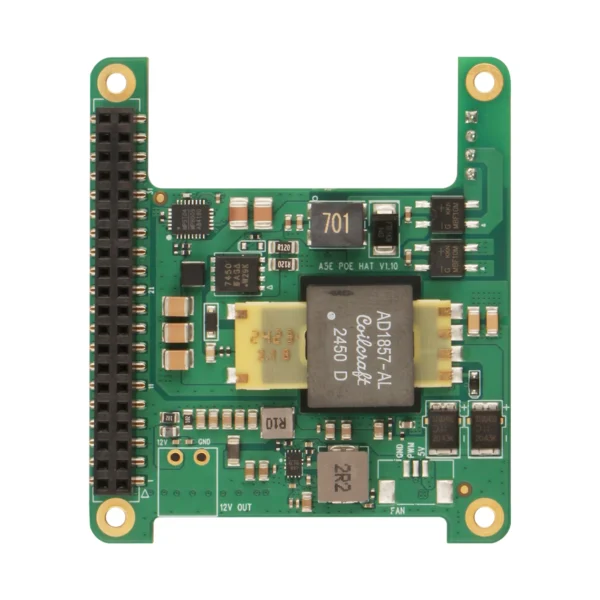 Radxa 20W PoE+ Module compact for CUBIE A5E
$19.80
Radxa 20W PoE+ Module compact for CUBIE A5E
$19.80
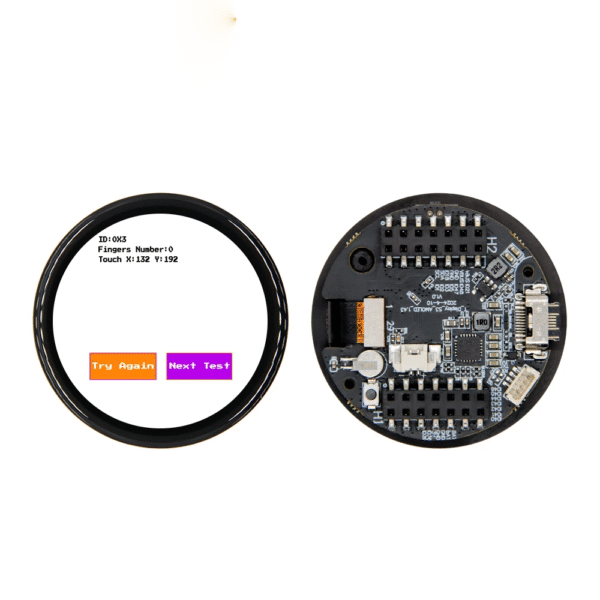 LILYGO T-Display-S3 ESP32-S3 1.43-inch AMOLED Development Board WiFi Bluetooth Wireless Module Flash 16MB PSRAM 8MB For Arduino
$28.90 – $38.90Price range: $28.90 through $38.90
LILYGO T-Display-S3 ESP32-S3 1.43-inch AMOLED Development Board WiFi Bluetooth Wireless Module Flash 16MB PSRAM 8MB For Arduino
$28.90 – $38.90Price range: $28.90 through $38.90
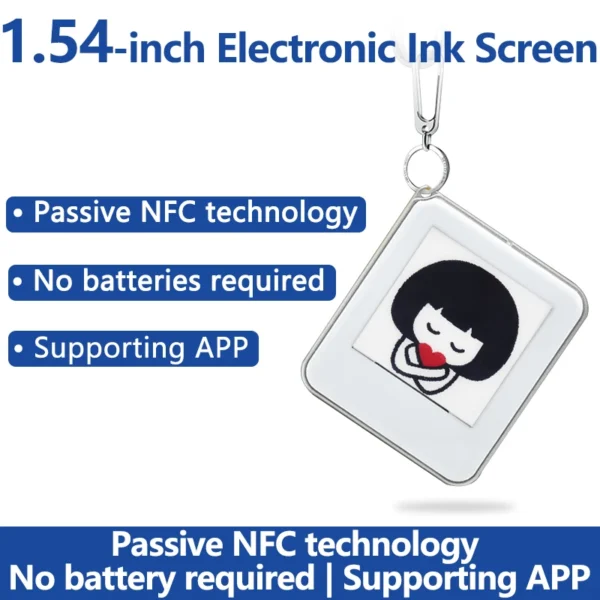 1.54 inch Passive NFC e-Paper BW Display E-ink Screen Red/Black/White Color No Need Battery Wireless Powered Data Transfer
$27.90
1.54 inch Passive NFC e-Paper BW Display E-ink Screen Red/Black/White Color No Need Battery Wireless Powered Data Transfer
$27.90
EMC testing is expensive, and failing it is worse than the test fee — it costs you a respin, a
We review a lot of boards — some designed in-house, some by other contractors, some by founders doing their own
When a battery-powered product dies too soon, the instinct is to blame the firmware. Surely there is a sleep mode
A wearable PCB is not just a small PCB. It is a board where every constraint that normally has some
The STM32 family is the workhorse of embedded hardware, and almost every project that uses one starts the same way:
The nRF52840 is one of the most popular BLE and multiprotocol chips in the world, and for good reason: it
No account yet?
Create an Account