Congratulations. You have successfully funded your Kickstarter campaign. The backers are excited, the stretch goals are unlocked, and the funds are in escrow. But as any seasoned hardware entrepreneur knows, funding is not manufacturing.
The period between "Campaign Ended" and "First Unit Shipped" is where 40% of hardware startups fail. The culprit is rarely a lack of passion; it is almost always a failure in the Engineering Validation Test (EVT) and Design Validation Test (DVT) phases. Specifically, the transition from a breadboard prototype to a mass-producible ESP32 device involves navigating complex RF impedance controls, supply chain bottlenecks for PCBA, and structural tolerances that 3D printing simply cannot replicate at scale.
At esp32s.com, we specialize in bridging this gap for IoT developers. This guide is not a generic tutorial on "how to use a 3D printer." It is a strategic manufacturing roadmap designed to help you validate your hardware and structure before you commit to expensive steel molds, ensuring your Kickstarter rewards actually reach your backers' doorsteps.
1. The "DevKit Trap": Why Your Prototype Isn't Ready for Manufacturing
Most Kickstarter campaigns feature demo videos using ESP32 DevKits (like the ESP32-DevKitC) connected via jumper wires to sensors and batteries. While excellent for code debugging, these boards are manufacturing liabilities.
The RF Performance Gap
ESP32 DevKits are designed for accessibility, not RF performance. They often have USB ports, debug headers, and voltage regulators placed directly adjacent to the antenna keep-out zone.
- The Pain Point: A prototype that shows -60dBm RSSI in your office might drop to -85dBm in a user's home because the final PCB layout lacks proper grounding or has incorrect trace impedance.
- The Fix: Your first custom PCB must treat the RF trace as a transmission line. For ESP32-WROOM or ESP32-S3 modules, the trace from the RF pin to the IPEX connector or ceramic antenna must be controlled at 50Ω ±10%. This requires specifying the exact laminate stack-up (e.g., Shengyi S1000-2M vs. Rogers 4003C) to your manufacturer. Standard FR4 without impedance control is a gamble you cannot afford with wireless products.
Power Integrity & Thermal Reality
DevKits typically use linear regulators (LDOs) that are inefficient for battery-powered IoT. When you switch to a DC-DC buck converter for your production board to extend battery life, you introduce switching noise.
- Validation Step: Before freezing your PCB design, you must validate power ripple under full load (Wi-Fi TX + BLE advertising). If your 3.3V rail has >50mV ripple, your ESP32 will brownout during high-current transmission bursts.
💡 Pro Tip for Crowdfunding: Do not wait until after the campaign to order your first custom PCBs. Order your EVT prototypes 3 months before launch. Use this time to validate RF range and power consumption in real-world environments, not just on your workbench.
2. Navigating the PCBA Supply Chain: Turnkey vs. Consignment
One of the most common reasons for Kickstarter delays is component sourcing. You might have designed a perfect board, but if the LDO you specified has a 52-week lead time, your project is dead in the water.
For crowdfunding volumes (typically 500–5,000 units), managing your own component procurement is a logistical nightmare. Buying reels of 0402 capacitors from DigiKey and shipping them to an assembler in Shenzhen incurs massive customs fees and handling costs.
- Consolidated Sourcing: A turnkey provider leverages bulk purchasing agreements with distributors like Arrow, Avnet, and Mouser. They can often source components faster and cheaper than you can as an individual.
- Substitution Management: Professional assemblers maintain databases of cross-referenced parts. If your primary capacitor is out of stock, they can suggest a pin-compatible alternative before production starts, preventing line stoppages.
- DFM Feedback Loop: Turnkey services don't just build; they audit. They will flag issues like "insufficient solder mask sliver between pads" or "via-in-pad without plugging" that could cause shorts in assembly.
When to Consider Consignment
You should only opt for consignment (where you buy and ship parts to the factory) if:
- You have existing inventory of critical components (e.g., leftover ESP32 modules from a previous batch).
- You require specific firmware pre-flashing that must be done by your team before assembly.
- The component is proprietary or security-sensitive and cannot be sourced by third parties.
For 90% of Kickstarter projects, turnkey is the safer, faster path to delivery.
3. Structural Validation: Beyond Basic 3D Printing
Your enclosure is more than just a pretty shell; it is a functional component that affects RF performance, thermal dissipation, and assembly yield. Relying solely on FDM (filament) 3D printing for validation is insufficient for consumer electronics.
Material Matters: SLA vs. SLS vs. Acrylic
- SLA (Resin) for Fit Check: Use high-resolution SLA printing for verifying internal clearances, screw boss alignment, and snap-fit tolerances. Resin offers isotropic strength and smooth surfaces that mimic injection-molded plastic far better than layered filament.
- SLS (Nylon) for Functional Testing: If your enclosure has living hinges, clips, or needs to withstand drop tests, Nylon SLS is mandatory. It has mechanical properties similar to ABS/PP and won't delaminate under stress.
- Acrylic Cutting for Panels & Light Guides: For flat front panels, display windows, or light-diffusing layers, laser-cut acrylic is superior to 3D printing. It provides optical clarity and precise edge quality that additive manufacturing cannot match. It’s also ideal for creating rigid internal mounting plates that stabilize the PCB within the housing.
The "Golden Sample" Workflow
Before opening steel molds (which cost $5k–$20k and take 4-6 weeks), you must create a "Looks-Like, Works-Like" prototype.
- PCB: Final revision with correct impedance and components.
- Enclosure: CNC-machined or high-end SLA printed in the exact material intended for production (or closest equivalent).
- Assembly: Fully assembled with adhesives, gaskets, and screws as per the final BOM.
Test this unit for:
- Drop Test: Does the PCB crack? Do connectors loosen?
- Thermal Chamber: Does the ESP32 throttle at 45°C ambient?
- Water/Dust Resistance: If claiming IP rating, validate with actual sealing tests, not just CAD simulations.
4. Scaling to Mass Production: The OEM/ODM Transition
Once your EVT/DVT units are validated, you face the final hurdle: scaling to 1,000+ units efficiently. This is where many makers get stuck in "pilot purgatory," paying prototype prices for volume orders.
Structuring Your Bulk Inquiry
To get accurate quotes and realistic timelines from manufacturers, your inquiry must be professional and complete. Avoid vague requests like "How much for 1000 boards?" Instead, submit a comprehensive package via a dedicated OEM/ODM Bulk Inquiry channel that includes:
Key Questions to Ask Your Manufacturer
Don't just ask for a price. Ask for risk mitigation:
- "What is your AOI (Automated Optical Inspection) coverage for QFN packages?" (ESP32 modules are QFN; visual inspection is impossible without X-ray or AOI).
- "Can you perform ICT (In-Circuit Test) or FCT (Functional Test) programming?" (You need every shipped unit to be verified, not just sampled).
- "What is your policy on component obsolescence during production?" (If a part goes EOL mid-run, do they notify you or substitute silently?).
- "Do you offer conformal coating for moisture protection?" (Critical for IoT devices deployed in variable environments).
5. Quality Assurance: Protecting Your Backer Trust
Kickstarter backers are forgiving of delays but unforgiving of broken promises. A 5% defect rate in a 1,000-unit run means 50 angry backers posting negative updates.
Mandatory QA Protocols for ESP32 Devices
- X-Ray Inspection (AXI): Non-negotiable for ESP32-WROOM/S3 modules. Verifies solder joint integrity under the chip where cameras can't see.
- RF Calibration & Testing: Every unit should be tested for TX power and RX sensitivity. Automated test fixtures can verify Wi-Fi/BLE functionality in seconds per unit.
- Burn-In Testing: Run devices at elevated temperature (45-50°C) for 2-4 hours to catch infant mortality failures before shipping.
- Cosmetic Inspection: Define clear cosmetic standards (e.g., "no scratches >0.1mm on visible surfaces"). Provide photos of acceptable vs. unacceptable finishes to your assembler.
Validation Is Your Insurance Policy
Launching a Kickstarter is an act of optimism; manufacturing is an act of precision. The gap between the two is filled with engineering rigor, supply chain management, and relentless validation.
By treating your prototype phase as a serious manufacturing exercise—validating RF impedance, leveraging turnkey PCBA services for agility, using appropriate rapid prototyping materials for structural verification, and establishing robust QA protocols—you transform uncertainty into confidence.
Don't let manufacturing be the reason your dream project fails. Validate early, validate thoroughly, and ship with confidence.

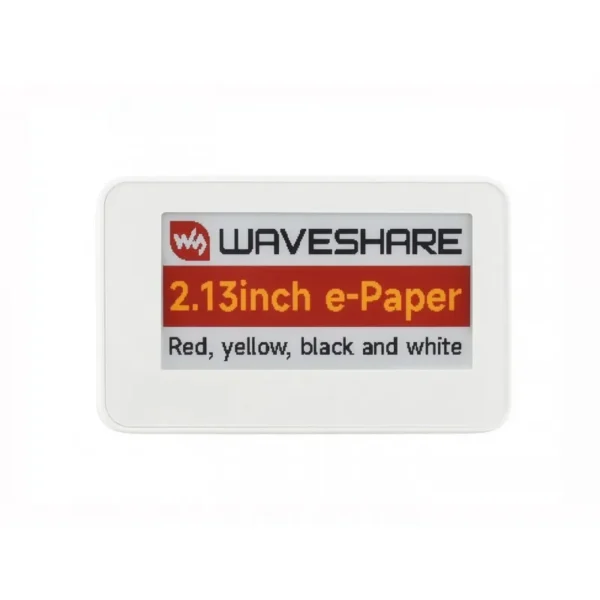 2.13 inch NFC-Powered e-Paper (G), Red/Yellow/Black/White 4-color Displaying, No Battery, Wireless Powering & Data Transfer
$27.90
2.13 inch NFC-Powered e-Paper (G), Red/Yellow/Black/White 4-color Displaying, No Battery, Wireless Powering & Data Transfer
$27.90
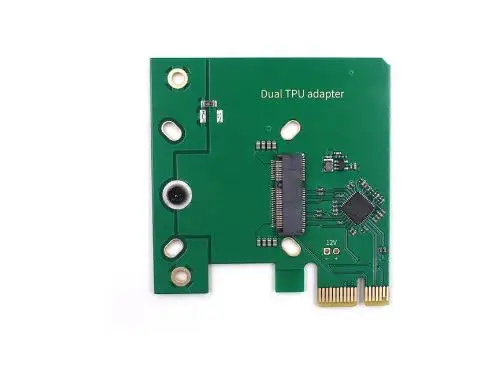 Dual Edge TPU Adapter - PCIe x1 Low Profile
$39.80
Dual Edge TPU Adapter - PCIe x1 Low Profile
$39.80
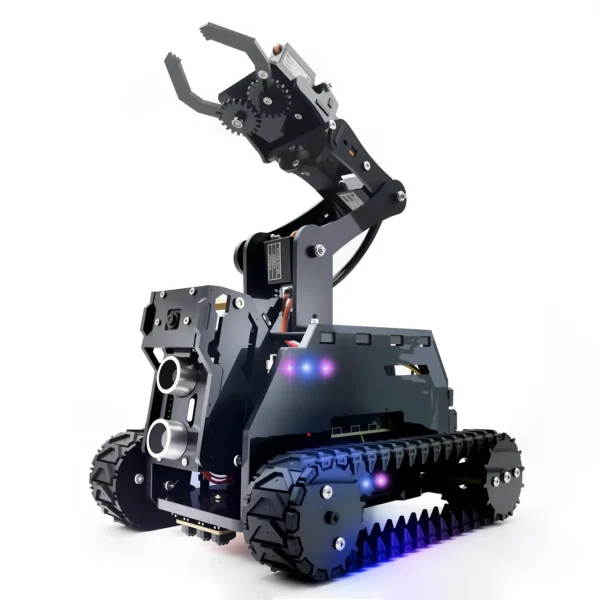 Adeept RaspTank Smart Robot Car Kit for Raspberry Pi 4/3B/3B+(Board Not Included)
$158.90
Adeept RaspTank Smart Robot Car Kit for Raspberry Pi 4/3B/3B+(Board Not Included)
$158.90
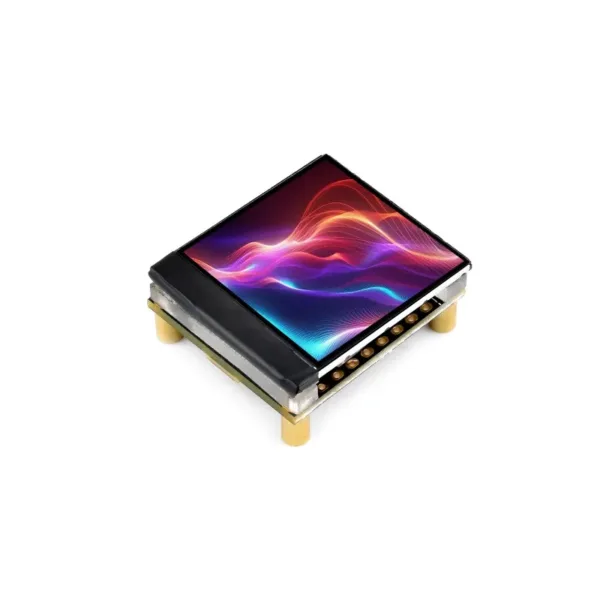 ESP32-S3 1.3inch Display Development Board, 240×240 Pixels, Built-in ST7789V2 Chip And 6-Axis IMU, 262K Color, SPI Communication
$15.90 – $29.80Price range: $15.90 through $29.80
ESP32-S3 1.3inch Display Development Board, 240×240 Pixels, Built-in ST7789V2 Chip And 6-Axis IMU, 262K Color, SPI Communication
$15.90 – $29.80Price range: $15.90 through $29.80
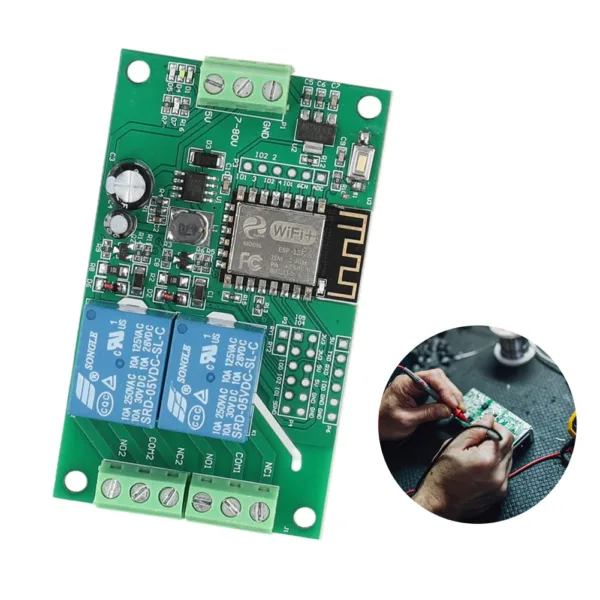 ESP8266 WIFI Relay Board Dual Channel ESP-12F Development Board DC 5V 10A Wireless Smart Relay Module Based on Arduino