
EMC/EMI Checklist Before Your Board Goes to Certification
EMC testing is expensive, and failing it is worse than the test fee — it costs you a respin, a
The ESP32-C6 Wi-Fi 6 module is a game-changer in the world of IoT devices, providing enhanced connectivity, speed, and efficiency. As the demand for smart devices increases, so does the need for powerful, versatile chips like the ESP32-C6. In this guide, we will explore the features, benefits, and setup process of the ESP32-C6, helping you harness its capabilities in your projects.
Before diving into the setup, let's take a closer look at what the ESP32-C6 Wi-Fi 6 offers. This cutting-edge chip is characterized by:
- Wi-Fi 6 Support: The ESP32-C6 is one of the first in the ESP32 series to support Wi-Fi 6 (802.11ax) technology, providing faster data rates and improved performance in crowded environments.
- Low Power Consumption: Designed with energy efficiency in mind, the ESP32-C6 helps reduce power requirements, making it ideal for battery-operated devices.
- Enhanced Range: With better signal strength and propagation characteristics, this module offers extended coverage, making it suitable for smart home setups.
The ESP32-C6 integrates several essential features that elevate its status in the IoT landscape:
With support for both 2.4 GHz and 5 GHz bands, users can experience reduced latency and improved performance. This dual-band capability ensures a reliable connection for various applications, from simple home automation to complex industrial systems.
Security is paramount in IoT environments. The ESP32-C6 incorporates advanced security protocols, including WPA3, to ensure encrypted connections that safeguard your data against unauthorized access.
One of the standout features of the ESP32-C6 is its support for the ESP32 Matter Protocol. This protocol is designed to enable seamless interoperability among smart home devices, making integration and control easier than ever. Developers can take advantage of this compatibility to create robust, scalable solutions in various domains.
Now that you understand the capabilities of the ESP32-C6, it’s time to get started with the setup. This guide will walk you through the essential steps to deploy it effectively.
Before starting, ensure you have:
- An ESP32-C6 development board.
- USB cable for power and data connection.
- A computer with the Arduino IDE or ESP-IDF (Espressif IoT Development Framework) installed.
- Basic electronic components (if needed for your project).
Depending on your preference, you can choose between the Arduino IDE or ESP-IDF:
- Arduino IDE: For beginners, Arduino IDE is more user-friendly. Install the board manager for ESP32-C6 and add the necessary libraries.
- ESP-IDF: This is more powerful for advanced users and provides a wide range of options for configuration.
Using the USB cable, connect your ESP32-C6 to your computer. Most often, the device is recognized automatically. If not, install the necessary drivers based on your operating system.
Start with a simple blink example to confirm that your setup is working. Here’s a basic snippet to get you started:
```cpp
#include
void setup() {
pinMode(LED_BUILTIN, OUTPUT);
}
void loop() {
digitalWrite(LED_BUILTIN, HIGH);
delay(1000);
digitalWrite(LED_BUILTIN, LOW);
delay(1000);
}
```
With your code written, click on the upload button. If everything is set up correctly, you should see the onboard LED blinking, indicating that your ESP32-C6 is functional.
Now, let’s explore how to connect your ESP32-C6 to a Wi-Fi network. You'll need to add the credentials for your Wi-Fi in the code:
```cpp
#include
const char ssid = "your_SSID";
const char password = "your_PASSWORD";
void setup() {
Serial.begin(115200);
WiFi.begin(ssid, password);
while (WiFi.status() != WL_CONNECTED) {
delay(1000);
Serial.println("Connecting to WiFi...");
}
Serial.println("Connected to WiFi!");
}
void loop() {
// Your main code
}
```
The ESP32-C6 Wi-Fi 6 module opens up a new world of possibilities for developers and hobbyists alike. With its advanced features, including support for the ESP32 Matter Protocol, setting up a robust smart device ecosystem has never been easier. Whether you’re building a basic home automation system or a complex IoT application, the ESP32-C6 provides the tools you need for success. Embrace the future of connectivity with this innovative module and take your projects to the next level!
======================================
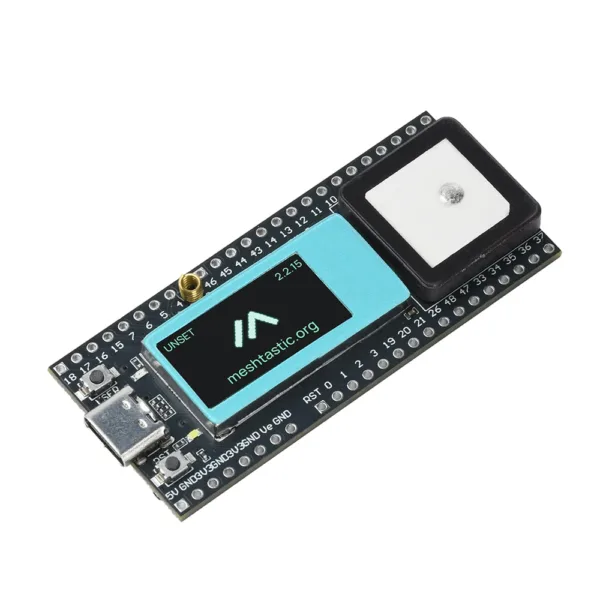 ESP32 S3FN8 LoRa Meshtastic Network Asset Tracker Wi-Fi Bluetooth GPS tracker 0.96 inch LCD display for bike kids Pet Car
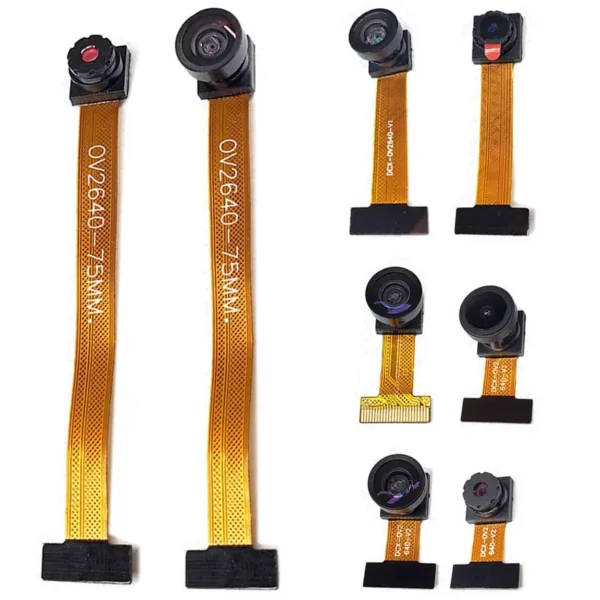 24PIN OV2640 Camera Module for ESP32 CAM Camera Module 2MP 180 66 120 160 222 200 Degree 650nm 850nm Night Vision DVP
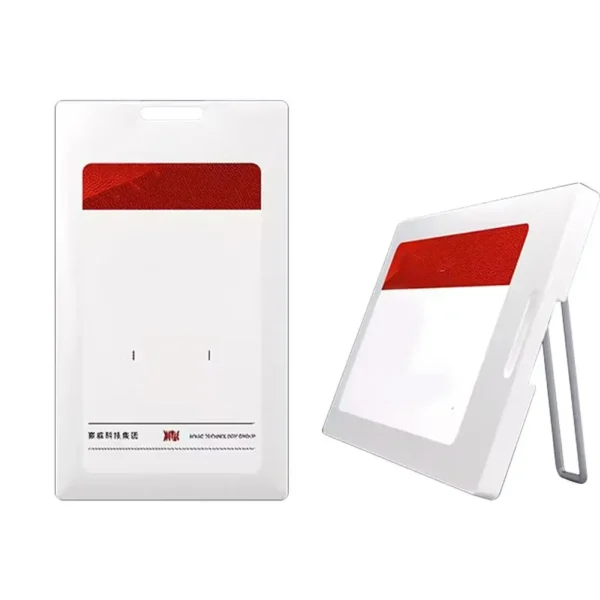 Electronic Ink Screen 3.7 inches 4-Color E-Ink Smart Badge Editable ID Badge for Employee Students NFC E-Paper Screen For iPhone
$28.90
Electronic Ink Screen 3.7 inches 4-Color E-Ink Smart Badge Editable ID Badge for Employee Students NFC E-Paper Screen For iPhone
$28.90
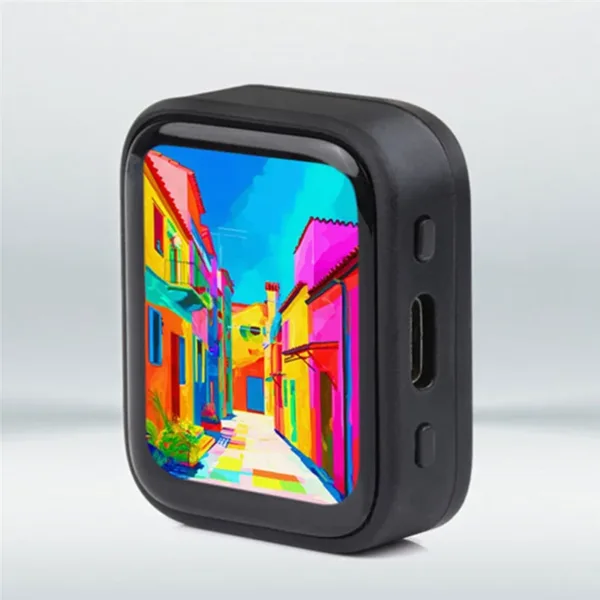 B48A For Deepseek AI Voice Chat Watch ESP32 S3 Development Board 1.8 Inch AMOLED Touchscreen 368X 448 Programmable Smart Watch
$34.90
B48A For Deepseek AI Voice Chat Watch ESP32 S3 Development Board 1.8 Inch AMOLED Touchscreen 368X 448 Programmable Smart Watch
$34.90
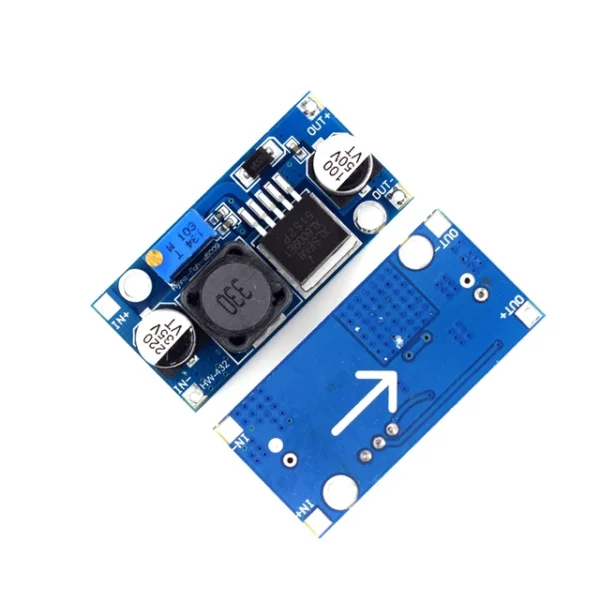 XL6009 4A Boost Converter Step Up Adjustable 15W 4V-32V to 5-35V DC-DC Power Supply Module LM2577 Step-up Module
$1.90
XL6009 4A Boost Converter Step Up Adjustable 15W 4V-32V to 5-35V DC-DC Power Supply Module LM2577 Step-up Module
$1.90
EMC testing is expensive, and failing it is worse than the test fee — it costs you a respin, a
We review a lot of boards — some designed in-house, some by other contractors, some by founders doing their own
When a battery-powered product dies too soon, the instinct is to blame the firmware. Surely there is a sleep mode
A wearable PCB is not just a small PCB. It is a board where every constraint that normally has some
The STM32 family is the workhorse of embedded hardware, and almost every project that uses one starts the same way:
The nRF52840 is one of the most popular BLE and multiprotocol chips in the world, and for good reason: it
No account yet?
Create an Account