
EMC/EMI Checklist Before Your Board Goes to Certification
EMC testing is expensive, and failing it is worse than the test fee — it costs you a respin, a
The ESP32-C6 Wi-Fi 6 module represents the cutting edge of wireless communication technology, enabling developers to easily create IoT devices with enhanced performance. With features that cater to both hobbyists and professional engineers, understanding how to set up and use the ESP32-C6 can revolutionize your projects. This guide will provide you with an in-depth look at the ESP32-C6 Wi-Fi 6, its connection to the ESP32 Matter Protocol, and a straightforward tutorial for an effortless setup.
The ESP32-C6 is a powerful microcontroller that integrates Wi-Fi 6 capabilities, offering substantial improvements over its predecessors. With an impressive processing speed and the ability to handle multiple connections at once, this module is perfect for applications where performance and reliability are paramount. Wi-Fi 6 technology also ensures faster data rates, reduced latency, and greater power efficiency, making it the ideal choice for smart homes and IoT applications.
Key features of the ESP32-C6 include:
- Dual-Mode Wi-Fi 6: This module is backward compatible with previous Wi-Fi standards, making it versatile for various applications.
- Low Power Consumption: Designed for efficient energy use, the ESP32-C6 is conducive to battery-operated devices.
- Enhanced Security: With features like WPA3 encryption, data protection is prioritized, crucial for IoT applications.
To begin your journey with the ESP32-C6, you must know the essential steps involved in setting it up. Below is an ESP32-C6 tutorial that guides you through the process.
Before diving into the setup, ensure that you have the following:
- An ESP32-C6 microcontroller
- A USB cable for connecting the module to your computer
- A development environment such as Arduino IDE or PlatformIO
- Optional: Additional sensors or components if you want to expand your project
1. Download Arduino IDE: If you don’t have it installed, visit the official Arduino website to download the latest version.
2. Add ESP32-C6 Board Support:
- Open the Arduino IDE.
- Go to File > Preferences > Additional Board Manager URLs.
- Add the ESP32 board URL: `https://dl.espressif.com/dl/package_esp32_index.json`.
- Access the Board Manager by navigating to Tools > Board > Board Manager, then search for "ESP32" and install the package.
- Use a USB cable to connect the ESP32-C6 to your computer.
- Select the correct port in Arduino IDE by going to Tools > Port.
To ensure your ESP32-C6 is functioning correctly, upload a simple sketch. Here’s a basic example to test the Wi-Fi connection:
```cpp
#include
const char ssid = "your_SSID";
const char password = "your_PASSWORD";
void setup() {
Serial.begin(115200);
WiFi.begin(ssid, password);
while (WiFi.status() != WL_CONNECTED) {
delay(1000);
Serial.println("Connecting to WiFi...");
}
Serial.println("Connected to WiFi!");
}
void loop() {
// Your code here.
}
```
Replace `your_SSID` and `your_PASSWORD` with your actual Wi-Fi credentials. After confirming the ESP32-C6 connects successfully, you can move on to more complex projects.
One of the key advantages of the ESP32-C6 is its compatibility with the ESP32 Matter Protocol, designed to enable smart home devices to communicate seamlessly. The Matter protocol is a unified connectivity standard that ensures devices from different manufacturers can work together effortlessly, enhancing usability and interoperability.
By using the ESP32 Matter Protocol, you can:
- Simplify setup processes for users.
- Ensure secure communication between devices.
- Increase market opportunities through broader compatibility.
The ESP32-C6 Wi-Fi 6 module opens a world of possibilities for IoT developers and enthusiasts alike. With its robust features and the ease of integration provided by the ESP32 Matter Protocol, you are equipped to build innovative and efficient smart solutions. Whether you are developing a simple sensor or a complex home automation system, the ESP32-C6 is undoubtedly a must-have tool for modern electronics projects. Enjoy experimenting and creating with this exceptional microcontroller!
======================================
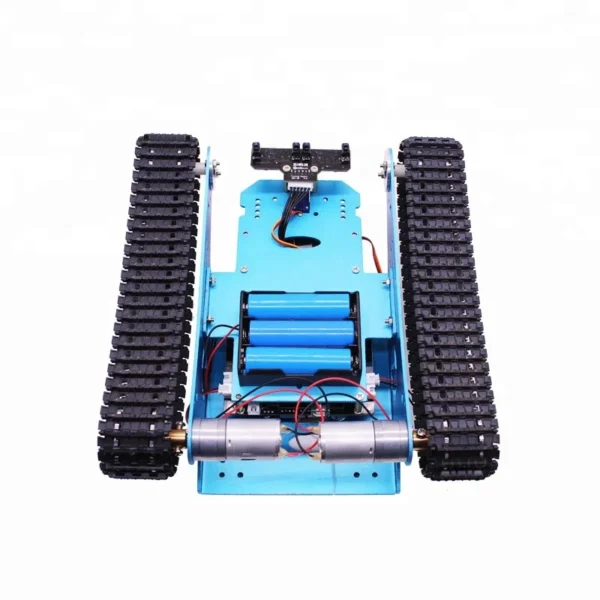 Yahboom DIY G1 Educational Blue Tank Smart Robot Track Car Kit For Smartduino R3 With Link Tracking Module
$125.90
Yahboom DIY G1 Educational Blue Tank Smart Robot Track Car Kit For Smartduino R3 With Link Tracking Module
$125.90
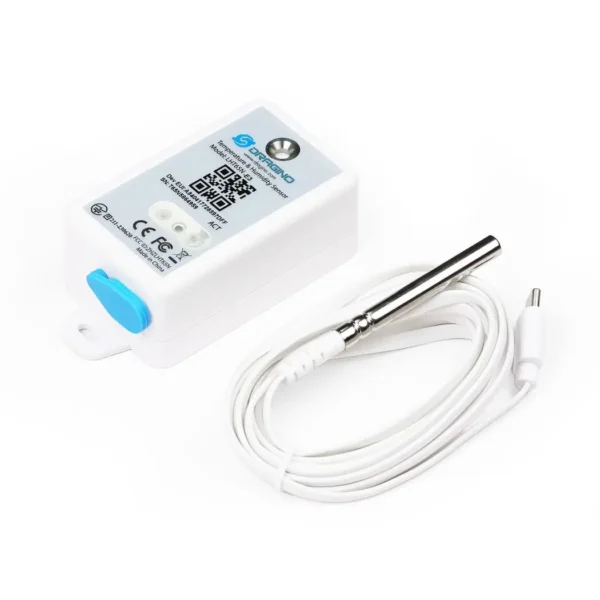 LHT65N LoRaWAN Temperature & Humidity Sensor - 868MHz
$57.90
LHT65N LoRaWAN Temperature & Humidity Sensor - 868MHz
$57.90
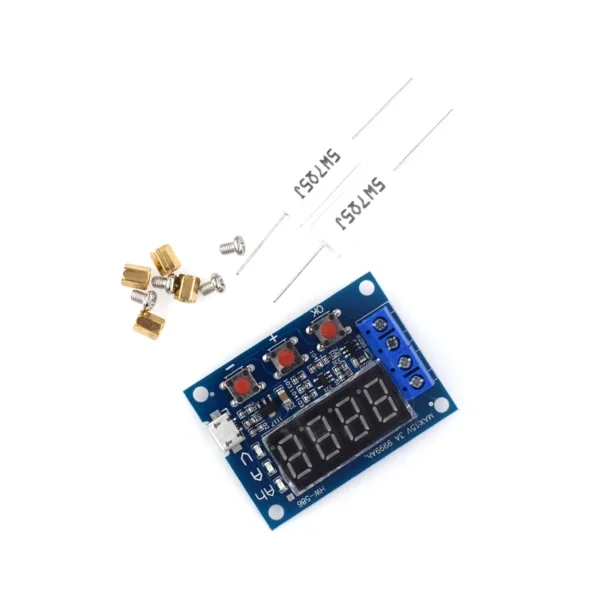 1.2v 12v 18650 ZB2L3 Li-ion Lithium Battery Capacity Tester + Resistance Lead-acid Battery Capacity Meter Discharge Tester
$2.90
1.2v 12v 18650 ZB2L3 Li-ion Lithium Battery Capacity Tester + Resistance Lead-acid Battery Capacity Meter Discharge Tester
$2.90
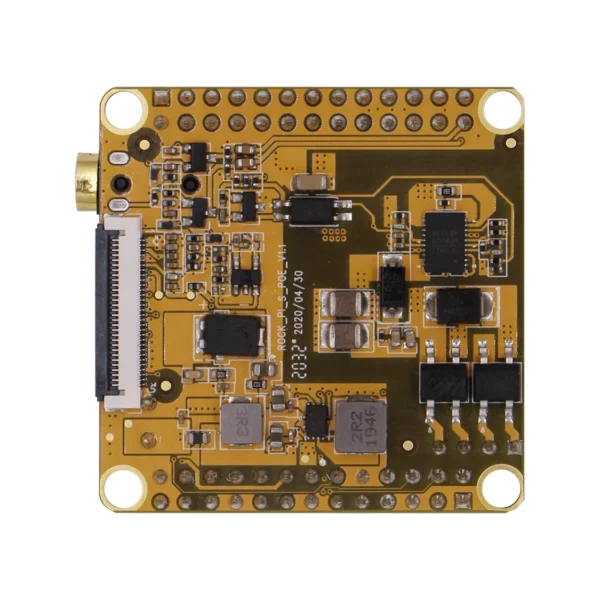 Radxa ROCK Pi S POE HAT, Designed for Radxa ROCK Pi S, Easy to Install and Remove.
$21.90
Radxa ROCK Pi S POE HAT, Designed for Radxa ROCK Pi S, Easy to Install and Remove.
$21.90
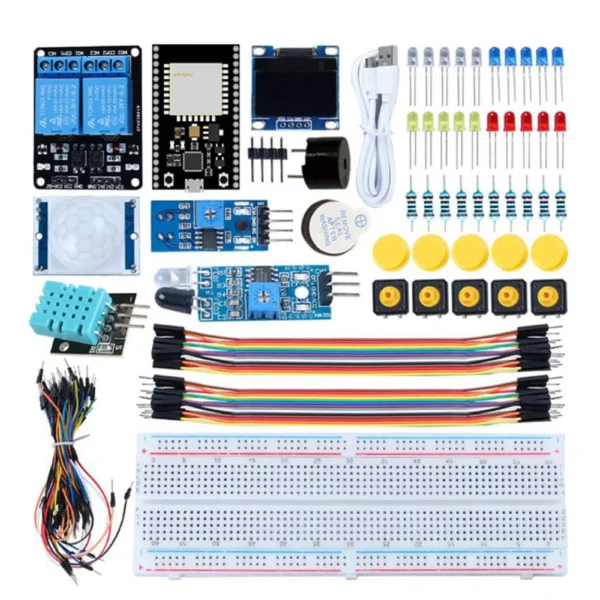 177PCS ESP32 ESP-32S WiFi Starter Kit for Arduino Kits Learning Suite With Retail Box
$16.90
177PCS ESP32 ESP-32S WiFi Starter Kit for Arduino Kits Learning Suite With Retail Box
$16.90
EMC testing is expensive, and failing it is worse than the test fee — it costs you a respin, a
We review a lot of boards — some designed in-house, some by other contractors, some by founders doing their own
When a battery-powered product dies too soon, the instinct is to blame the firmware. Surely there is a sleep mode
A wearable PCB is not just a small PCB. It is a board where every constraint that normally has some
The STM32 family is the workhorse of embedded hardware, and almost every project that uses one starts the same way:
The nRF52840 is one of the most popular BLE and multiprotocol chips in the world, and for good reason: it
No account yet?
Create an Account