
EMC/EMI Checklist Before Your Board Goes to Certification
EMC testing is expensive, and failing it is worse than the test fee — it costs you a respin, a
ESP32 WiFiManager simplifies the process of connecting your ESP32 module to a Wi-Fi network. With the growing popularity of IoT applications, ensuring a seamless and secure wireless setup is crucial. This guide will explore how to effectively use this powerful library to configure Wi-Fi settings for your ESP32 projects.
ESP32 WiFiManager is an open-source library that enables devices to connect to Wi-Fi networks easily without hardcoding the credentials into your code. Instead of manually entering your Wi-Fi credentials, this library creates a captive portal, allowing users to input their Wi-Fi credentials through a web interface. This feature is especially helpful for applications deployed in remote locations or when users frequently change networks.
Captive portals provide a user-friendly experience. Instead of involving technical setup steps, users can connect their ESP32 devices through a simple web page. This is particularly beneficial for end-users who may not have technical knowledge of Wi-Fi configurations. Additionally, implementing a captive portal prevents the need for complex configurations, making the process virtually seamless.
Setting up the ESP32 WiFiManager is a straightforward process. Below, we’ll break it down step by step, ensuring you have a clear pathway to establish a connection:
To start, install the ESP32 WiFiManager library through the Arduino IDE:
1. Open the Arduino IDE.
2. Go to Sketch > Include Library > Manage Libraries.
3. In the Library Manager, search for “WiFiManager” and install it.
Once the library is installed, it’s essential to draft a simple sketch to utilize it. Here’s a basic code example:
```cpp
#include
void setup() {
Serial.begin(115200);
WiFiManager wifiManager;
// Start captive portal
if (!wifiManager.autoConnect("ESP32_Captive_Portal")) {
Serial.println("Failed to connect, reset the ESP32");
delay(3000);
ESP.restart(); // Restart if failed
}
Serial.println("Connected!");
}
void loop() {
// Your main code here
}
```
In the code, the `autoConnect` function triggers the captive portal, allowing users to easily enter their Wi-Fi credentials when the device starts up.
After compiling and uploading the code to your ESP32, follow these steps:
1. Power on the ESP32, and it will create a local Wi-Fi network named "ESP32_Captive_Portal."
2. Connect your smartphone or PC to this network.
3. Open a web browser and navigate to `192.168.4.1`. This will access the Wi-FiManager captive portal.
4. Fill in your Wi-Fi network details and hit “Save.”
5. The ESP32 will attempt to connect to the provided network and, if successful, restart to establish the new connection.
The advantages of using the ESP32 WiFiManager are numerous:
- Ease of Use: No need for coding Wi-Fi credentials into the firmware.
- Flexibility: Change networks easily without recompiling the code.
- User-Friendly: A web interface that accommodates non-technical users.
- Security: Keeps network information private until it's submitted in a controlled environment.
While ESP32 WiFiManager is user-friendly, issues may arise. Here are a few troubleshooting tips:
- Check Power Supply: Ensure the ESP32 is adequately powered; insufficient power may hinder Wi-Fi performance.
- Network Compatibility: Verify that the Wi-Fi network supports the ESP32’s capabilities (2.4 GHz only).
- Firewall Settings: If using the captive portal but can’t access it, check your network’s firewall settings.
ESP32 WiFiManager streamlines the process of connecting your ESP32 to Wi-Fi networks. Its captive portal feature makes it incredibly convenient for end-users and developers alike. By following this guide, you can easily set up your ESP32 with Wi-Fi configurations, paving the way for successful IoT projects. Embrace the simplicity and security that ESP32 WiFiManager offers, and watch your applications thrive in the connected world.
======================================
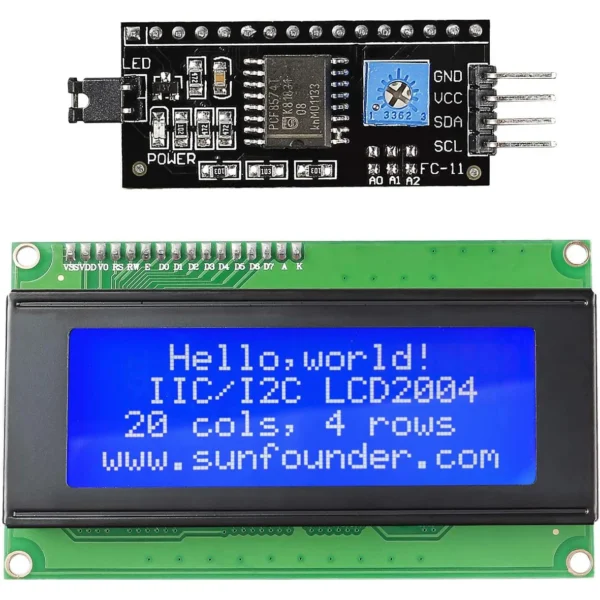 20x4 2004 LCD Display Module with IIC/I2C Serial Interface Adapter IIC I2C TWI Serial 2004 20x4 LCD Module Shield for Arduino R3
$4.90
20x4 2004 LCD Display Module with IIC/I2C Serial Interface Adapter IIC I2C TWI Serial 2004 20x4 LCD Module Shield for Arduino R3
$4.90
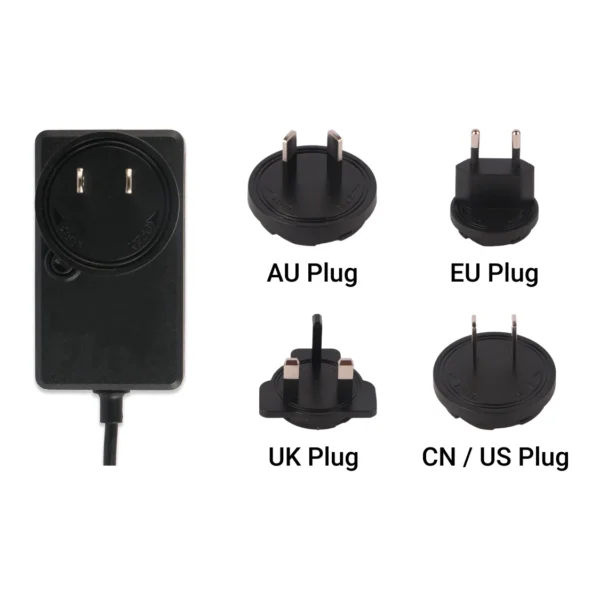 Radxa Power DC12 60W, Power Adapter, Supports Radxa SBCs
$20.90
Radxa Power DC12 60W, Power Adapter, Supports Radxa SBCs
$20.90
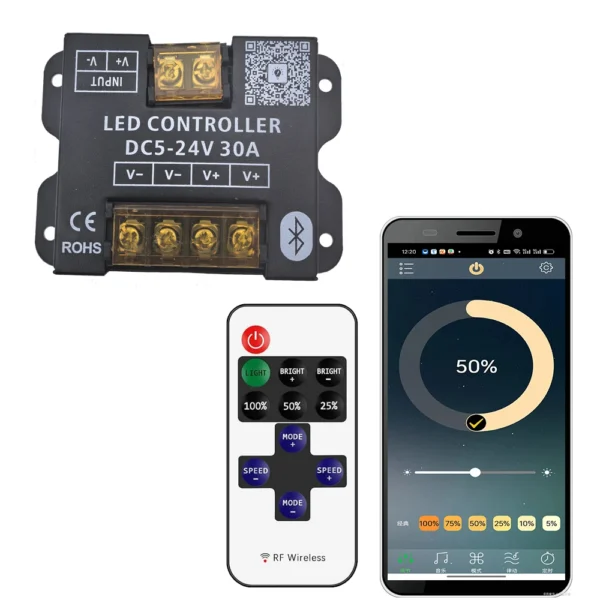 DC12-24V 30A 360W Mobile phone app Bluetooth connection LED Strip Controller dimmer With RF Touch Remote Use For LED Light
$5.90 – $6.30Price range: $5.90 through $6.30
DC12-24V 30A 360W Mobile phone app Bluetooth connection LED Strip Controller dimmer With RF Touch Remote Use For LED Light
$5.90 – $6.30Price range: $5.90 through $6.30
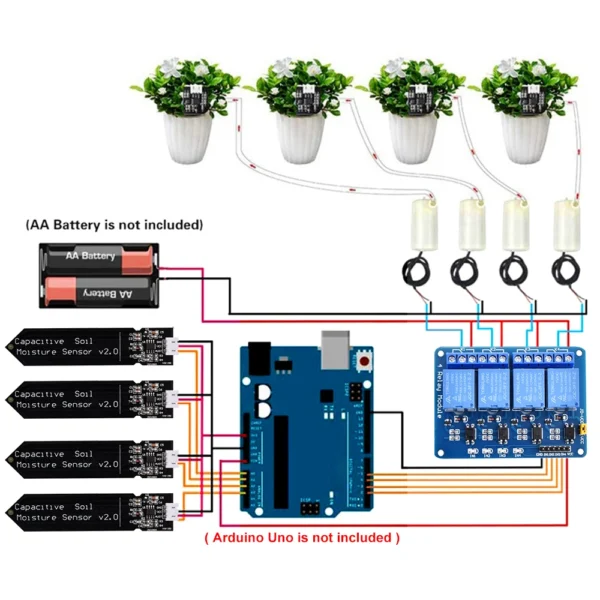 DIY Automatic Irrigation System Self Watering DIY Kit Garden Greenhouse Flower Water Pump Soil Moisture Sensor Relay Module
$10.90
DIY Automatic Irrigation System Self Watering DIY Kit Garden Greenhouse Flower Water Pump Soil Moisture Sensor Relay Module
$10.90
 LCD Digital Temperature Humidity Meter HTC-2 Home Indoor Outdoor Hygrometer Thermometer Weather Station with Clock
$4.90
LCD Digital Temperature Humidity Meter HTC-2 Home Indoor Outdoor Hygrometer Thermometer Weather Station with Clock
$4.90
EMC testing is expensive, and failing it is worse than the test fee — it costs you a respin, a
We review a lot of boards — some designed in-house, some by other contractors, some by founders doing their own
When a battery-powered product dies too soon, the instinct is to blame the firmware. Surely there is a sleep mode
A wearable PCB is not just a small PCB. It is a board where every constraint that normally has some
The STM32 family is the workhorse of embedded hardware, and almost every project that uses one starts the same way:
The nRF52840 is one of the most popular BLE and multiprotocol chips in the world, and for good reason: it
No account yet?
Create an Account