
EMC/EMI Checklist Before Your Board Goes to Certification
EMC testing is expensive, and failing it is worse than the test fee — it costs you a respin, a
The "esp32 camera get frame" function is a vital part of capturing images smoothly and efficiently. For hobbyists and professionals alike, understanding how to effectively connect and utilize this technology can transform your projects. Whether you're creating a DIY security system, developing a smart home gadget, or simply exploring new tech hobbies, the ESP32 camera module offers a versatile platform.
The ESP32-CAM is a low-cost, compact development board with a camera module built-in. It's renowned for its ability to capture images and stream video, making it an ideal choice for IoT applications and embedded projects. Before diving into connection tips, it's essential to understand the components involved.
The ESP32-CAM module integrates an ESP32-S chip, an OV2640 camera, and a small PCB antenna. Despite its small size, it packs a punch with several GPIOs and interfaces, including UART, SPI, and I2C.
One of the most common challenges users face is ensuring the "esp32-cam-mb connection" is correctly set up. The ESP32-CAM-MB is a programming board that simplifies the connection process by providing a USB interface to connect to your computer. Here are some critical tips for establishing a seamless connection:
- Power Management: Ensure adequate power supply. Most issues with the ESP32-CAM stem from insufficient power, so using a reliable 5V power source is crucial.
- USB Interface: The ESP32-CAM-MB eliminates the need for FTDI programmers, utilizing a USB connection for straightforward programming and communication.
- Arduino IDE Setup: Install the ESP32 board manager on Arduino IDE. Select the correct board and port when programming to prevent any confusion.
- Streamlining Code Upload: To upload code successfully, connect your ESP32-CAM to your computer via the ESP32-CAM-MB, hold the IO0 button, press the reset button, release the IO0, and upload.
A critical aspect of utilizing the ESP32-CAM is efficiently capturing images using the "esp32 camera get frame" function. Here’s how you can optimize this process for the best results:
- Resolution Settings: Adjust the resolution according to your needs. Higher resolutions provide better quality but require more resources.
- Frame Rates: Balance frame rates with quality and processing power. Test different configurations to find your project's sweet spot.
- Buffer Management: The ESP32-CAM has limited memory. Efficiently manage buffer settings within your code to avoid crashes or memory overflow issues.
Despite its capabilities, the ESP32-CAM can sometimes present challenges. Here’s how to tackle them:
- Check Wiring: Double-check all connections. Loose wires can lead to intermittent power or data transmission issues.
- Firmware Updates: Ensure you have the latest firmware to resolve potential bugs and improve performance.
- Lighting Conditions: Ensure adequate lighting to prevent grainy images. Consider using infrared LEDs for night vision capabilities.
- Focus Adjustments: Manually adjust the lens for sharper focus. Each module might need a little tweaking for the best clarity.
Once you’ve mastered the basics of connecting and using your ESP32-CAM, the sky's the limit with what you can create. Consider challenging yourself with projects like:
- Remote Wildlife Monitoring: Set up a remote camera to monitor wildlife using solar power and battery backups.
- Home Automation: Integrate with smart home systems to provide a live camera feed accessible from anywhere.
- Facial Recognition Gateways: Implement a facial recognition system to secure your home or office.
The ESP32-CAM is a powerful, cost-effective tool for a wide range of applications. Mastering the "esp32 camera get frame" function and perfecting your "esp32-cam-mb connection" will enhance the effectiveness and enjoyability of your projects. By following these tips and troubleshooting strategies, you'll unlock the full potential of your ESP32-CAM and expand the horizons of your creative endeavors. Happy experimenting!
======================================
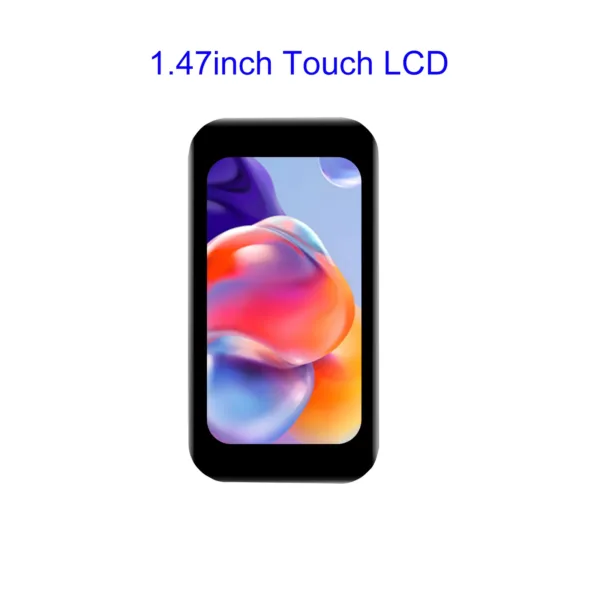 1.47inch LCD Display Module Development Board With Touch Panel Micro LCD Display 172x320 IPS SPI And I2C Communication
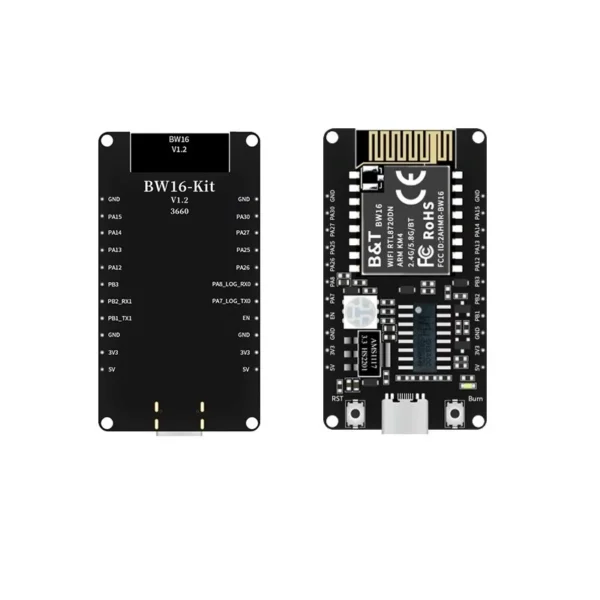 BW16-Kit development board RTL8720DN dual-band Wi-Fi low-power Bluetooth BLE module Type-C interface
$7.90
BW16-Kit development board RTL8720DN dual-band Wi-Fi low-power Bluetooth BLE module Type-C interface
$7.90
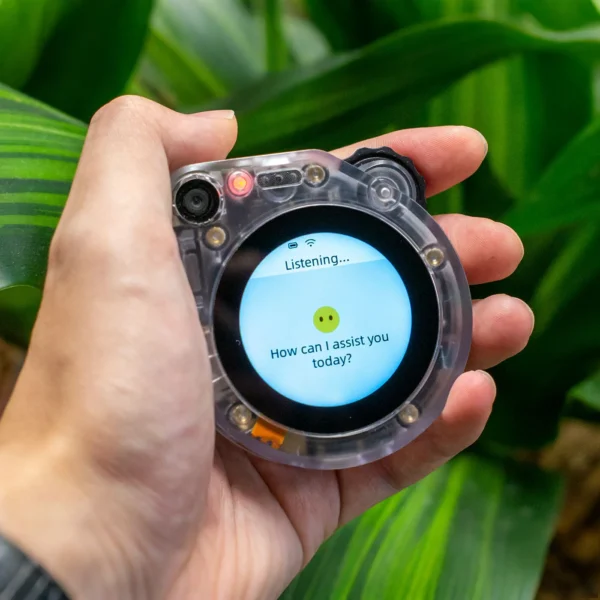 SenseCAP Watcher XiaoZhi AI Device Voice Assistant Smart Home,LLM, Camera,Face Recognition Visual Wake-Up,Multilingual,ESP32S3
$65.90
SenseCAP Watcher XiaoZhi AI Device Voice Assistant Smart Home,LLM, Camera,Face Recognition Visual Wake-Up,Multilingual,ESP32S3
$65.90
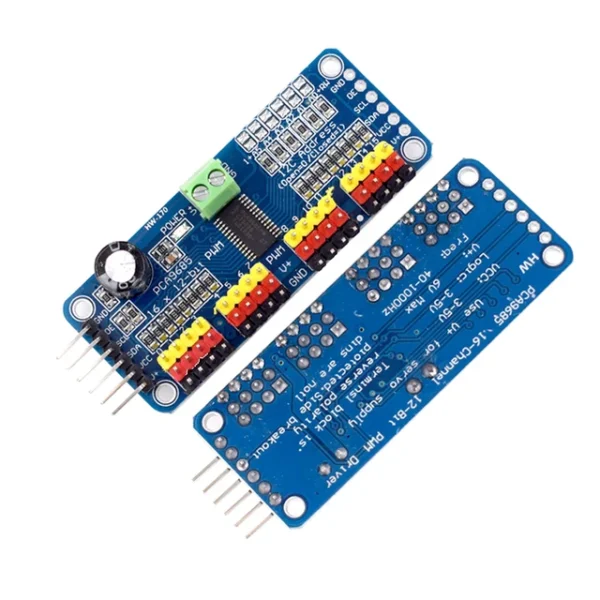 PCA9685PW 16 Channel 12-Bit PWM Servo Shield Driver I2C Interface PCA9685 Module For Raspberry Pi
$3.90
PCA9685PW 16 Channel 12-Bit PWM Servo Shield Driver I2C Interface PCA9685 Module For Raspberry Pi
$3.90
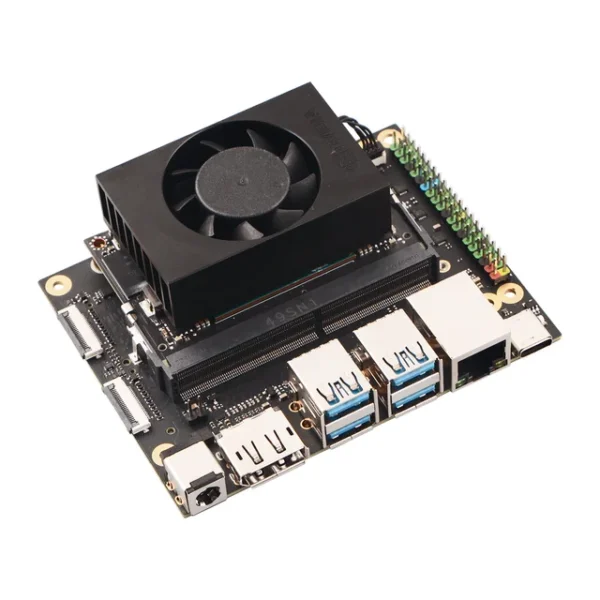 Radxa C200 Orin Developer Kit/Jetson Orin NX 8GB /Super Mode 117 TOPS / Edge AI
$819.70
Radxa C200 Orin Developer Kit/Jetson Orin NX 8GB /Super Mode 117 TOPS / Edge AI
$819.70
EMC testing is expensive, and failing it is worse than the test fee — it costs you a respin, a
We review a lot of boards — some designed in-house, some by other contractors, some by founders doing their own
When a battery-powered product dies too soon, the instinct is to blame the firmware. Surely there is a sleep mode
A wearable PCB is not just a small PCB. It is a board where every constraint that normally has some
The STM32 family is the workhorse of embedded hardware, and almost every project that uses one starts the same way:
The nRF52840 is one of the most popular BLE and multiprotocol chips in the world, and for good reason: it
No account yet?
Create an Account